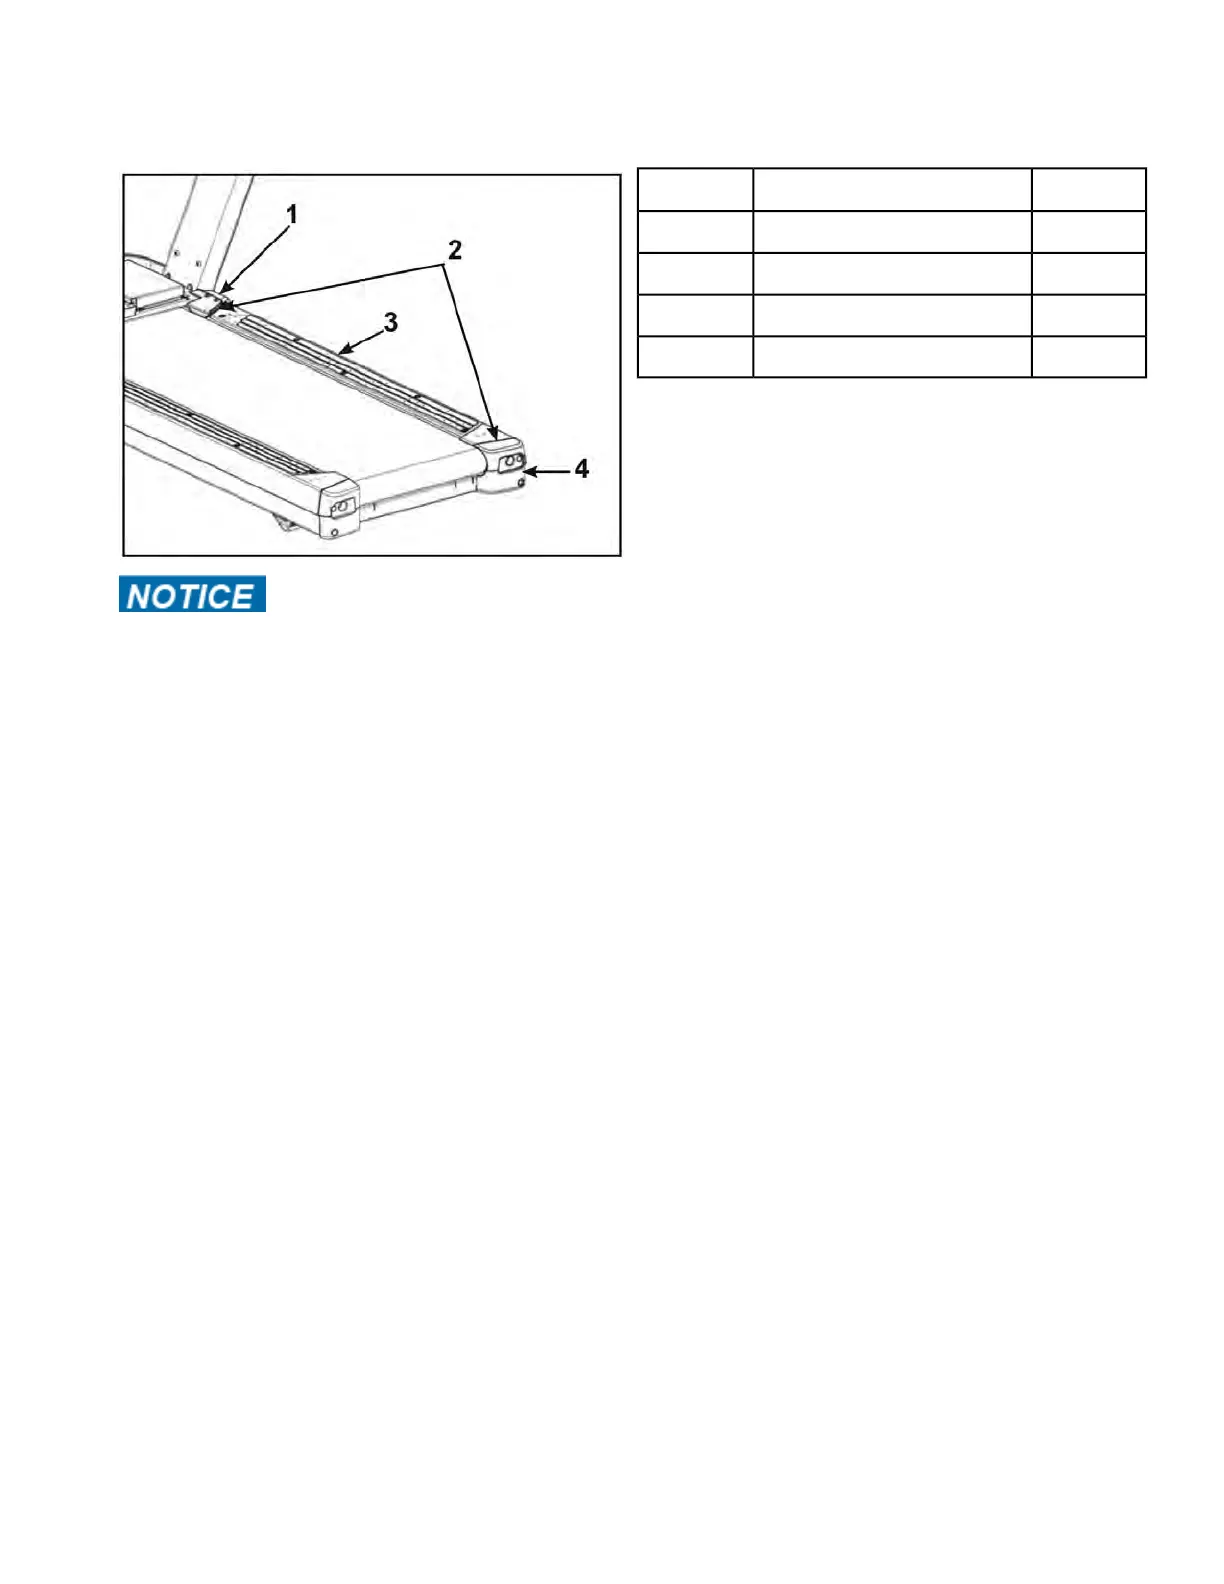
3. Align the top step to be centered between the hood cover support and end cap.
The gaps should be equal.
Qty.DescriptionItem
1Motor cover support1
1Gaps2
1Top step3
1End cap4
Do not use power toolsThe deck holes will strip out if over tightened.
4. Tighten the five screws to 28 in-lbs (3.16 Nm) using a torque screwdriver.
5. Install the five screw covers to the top step.
6. Repeat steps for the left top step.
Complete installation
1. Plug the power cord into the power outlet.
2. Verify the power cord is not being pinched under the front of the treadmill.
3. Operate the unit at all levels to verify proper operation.
Rear Roller
Tools Required:
• Phillips screwdriver
• Long 3/8” drive socket extension
• 3/4” Socket wrench
• 9/16” Socket wrench
Disconnect power source
1. Toggle the on/off (I/O) power switch to the off (O) position. The on/off (I/O) power switch is located
under the front end of the unit, or on the front right side panel.
Page 107 of 199
Cybex 525T Treadmill Part Number

 Loading...


