Cybex Pro+ Treadmill Service Manual
Service
Page 4-29
3. Remove the display board.
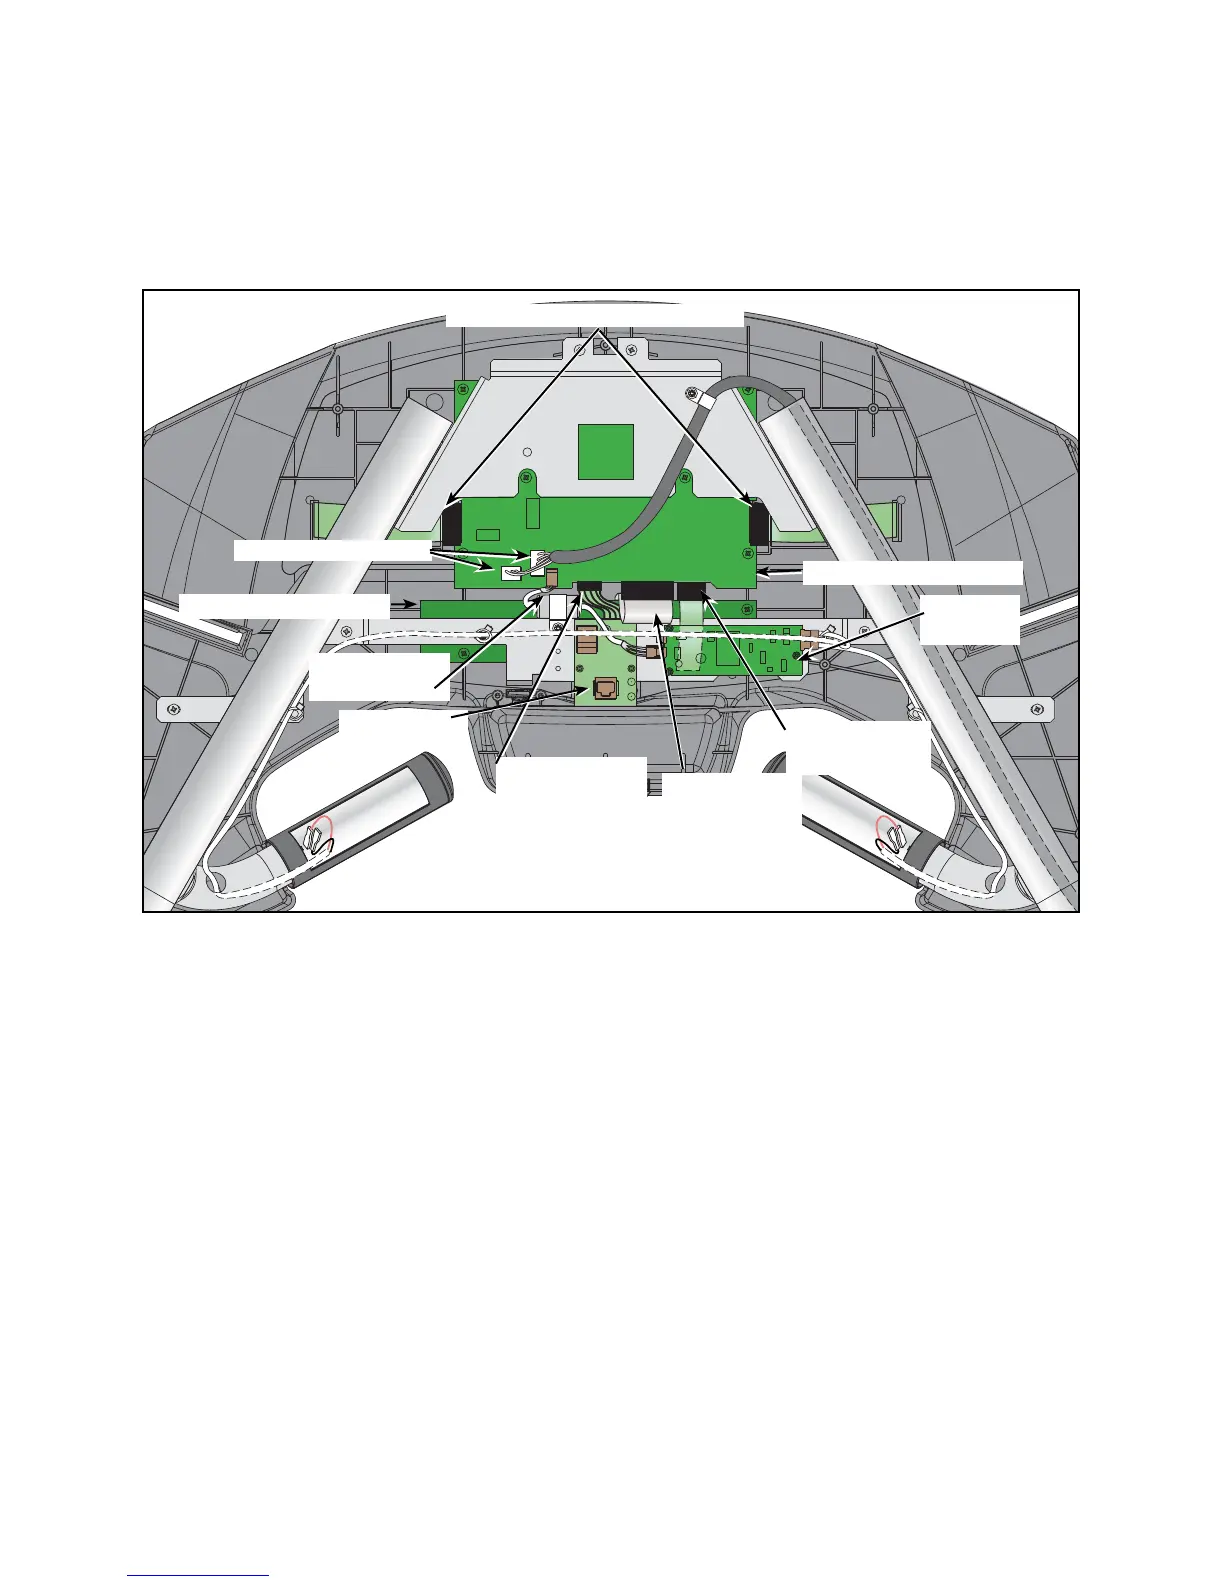
Disconnect these cables from the display board: the display cable (2 connectors), the two upper A.
switch membranes, the lower switch membrane, the contact heart rate cable, the CSAFE board
to display board jumper and the upper to lower board jumper. See Figure 23.
Using a Phillips screwdriver, remove the six Phillips screws that hold the display board to the B.
console.
4. Attach the display board.
Place the display board in position on the front console. A.
Using a Phillips screwdriver, secure the six screws that hold the display board to the console.B.
5. Connect the cables.
Connect these cables into the display board: the display cable (2 connectors), the two upper A.
switch membranes, the lower switch membrane, the contact heart rate cable, the CSAFE board
to display board jumper and the upper to lower board jumper. See Figure 23.
6. Check the connections.
Check to see that all of the cables are connected fi rmly in their proper place.A.
CSAFE Board
to Display
Board Jumper
Upper Display Board
Lower Display Board
Contact Heart
Rate Port
Lower Switch
Membrane
Upper to
Lower Board
Jumper
Heart Rate
Board
Display Cable Ports
Figure 23
RJ-45 Port
Upper Switch Membrane Ports