9D-Link DAP-1320 User Manual
Section 2 - Installation
Connect Your DAP-1320 to Your Router Using WPS
Step 2 - Press the WPS button on your wireless router.
The easiest and most secure way to connect your DAP-1320 to your the router or access point is with WPS (Wi-Fi Protected
Setup). Refer to your user manual for your router or access point to make sure you understand how to enable WPS. Once you
know, follow the steps below:
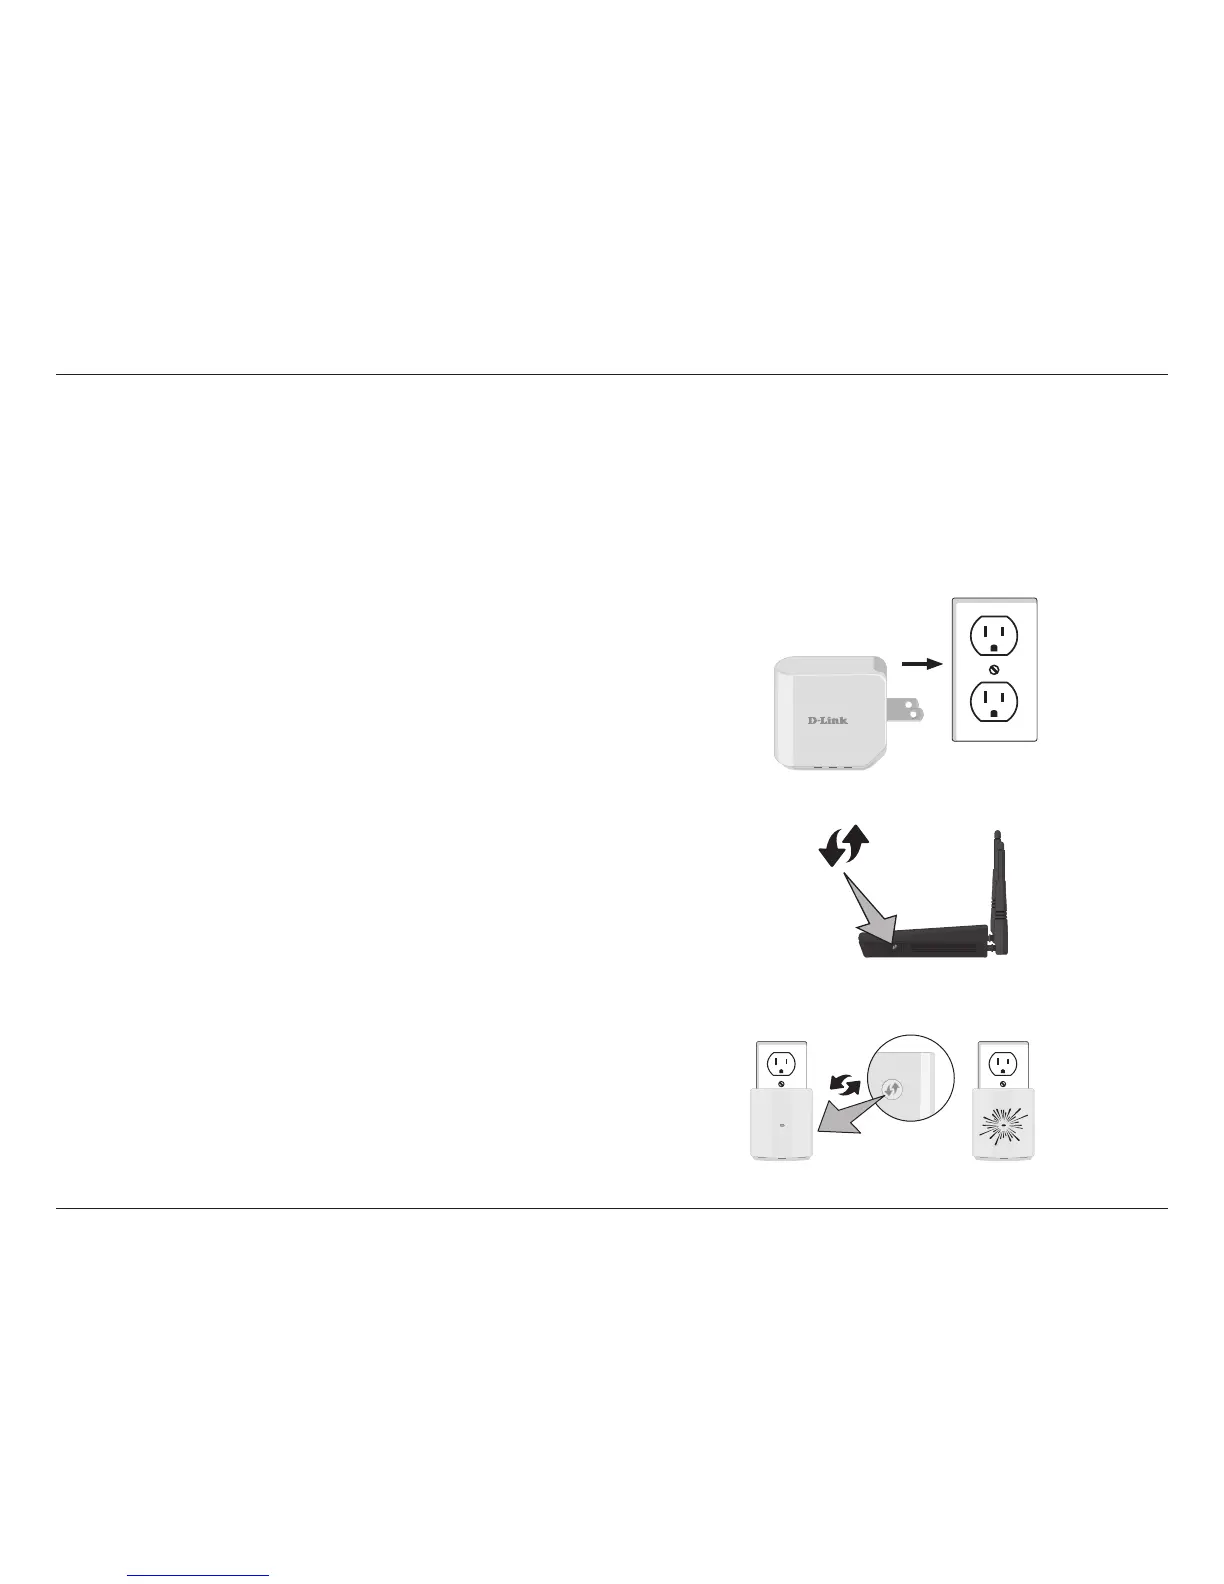
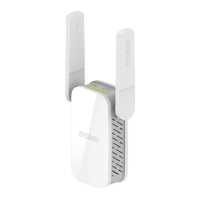
Step 1 - Find an available outlet near your wireless router. Plug the
DAP-1320 in, and wait until the power LED is blinking amber.
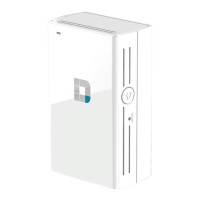
Step 3 - Within one minute, press and hold the WPS button on the
DAP-1320 until the light starts blinking green and then release.
Allow up to two minutes for the WPS process to nish.
WPS Button
Note: Usually the WPS LED will blink once it is pressed. Check your
router’s user manual for more information.
WPS Button
Installation