FRONT 4–19
5-2. REPAIR PROCEDURE
1. Remove the related parts.
• Hood, radiator grill and front bumper.
• Door and fender.
• Wiper, cowl and windshield.
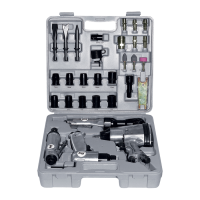
• Weatherstrip and pillar trims.
• Instrument panel and wiring harness.
• Carpet and others.
2. Roughly pull out and straighten the damaged area.
• Check the damage to the wheelhouse and roof
before removing the brace wheelhouse and front
pillar and determine the extent of the damage.
• Use the frame straightener to roughly pull out and
repair the damaged front pillar before removing
the brace wheelhouse and front panel.
NOTE: Pull out until the pillar is lined up with the
surface of the windshield and do not pull out more
than necessary.
CAUTION: To prevent eye injury, wear goggles or
safety glasses whenever sanding, cutting, or grind-
ing.
• Using a chisel, pry off the welded flange from the
front body pillar and wheelhouse.
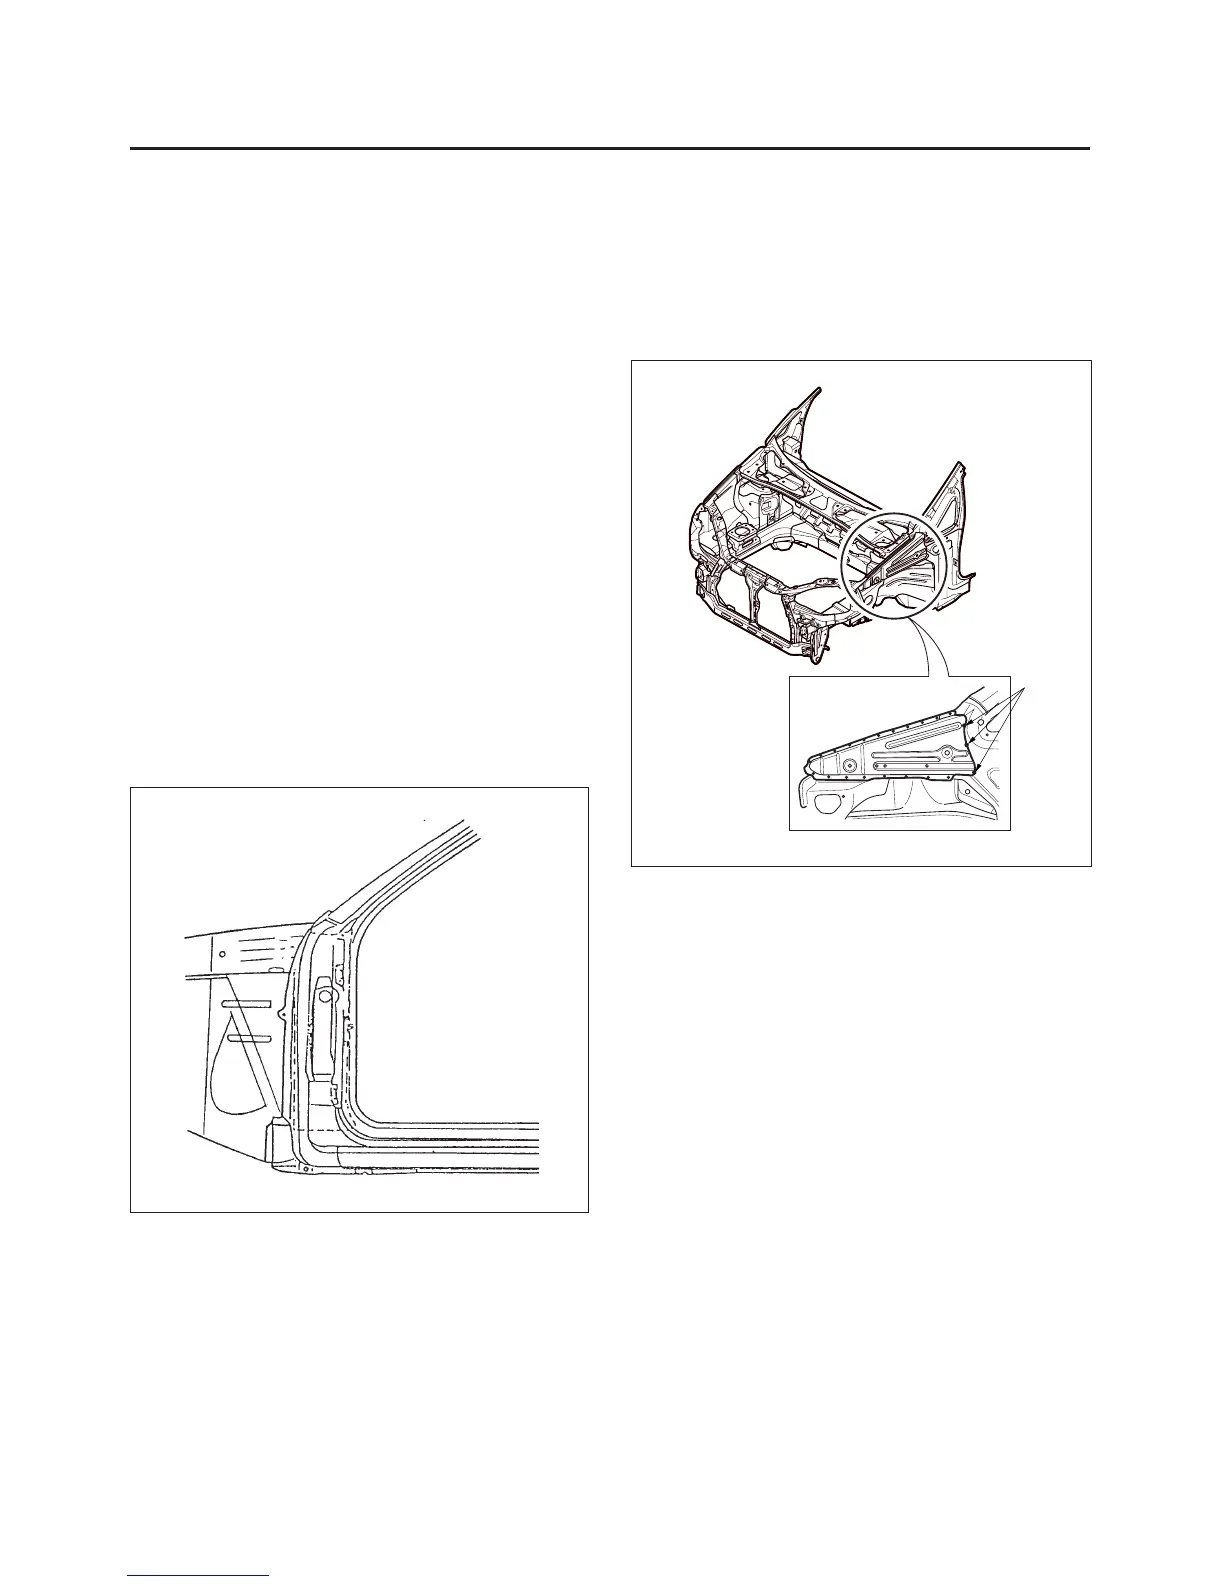
Fig. 27
3. Remove the brace wheelhouse.
• Center punch around the spot weld imprints.
• Use the special spot cutter to drill holes at the
spot weld nuggets on the brace wheelhouse.
• Remove the MIG weld areas with a disc sander.
Fig. 28
4. Peel off the undercoat and sealer.
• Heat the undercoat and sealer at the welding
areas of the wheelhouse and longitudinal with a
gas torch and peel off the undercoat and sealer
with a steel spatula.
5. Cut and pry off the front pillar.
• Cut off the front pillar along the bold lines as
shown in the figure below with a handsaw and
snips carefully.
NOTE: Be careful not to cut the inner section.