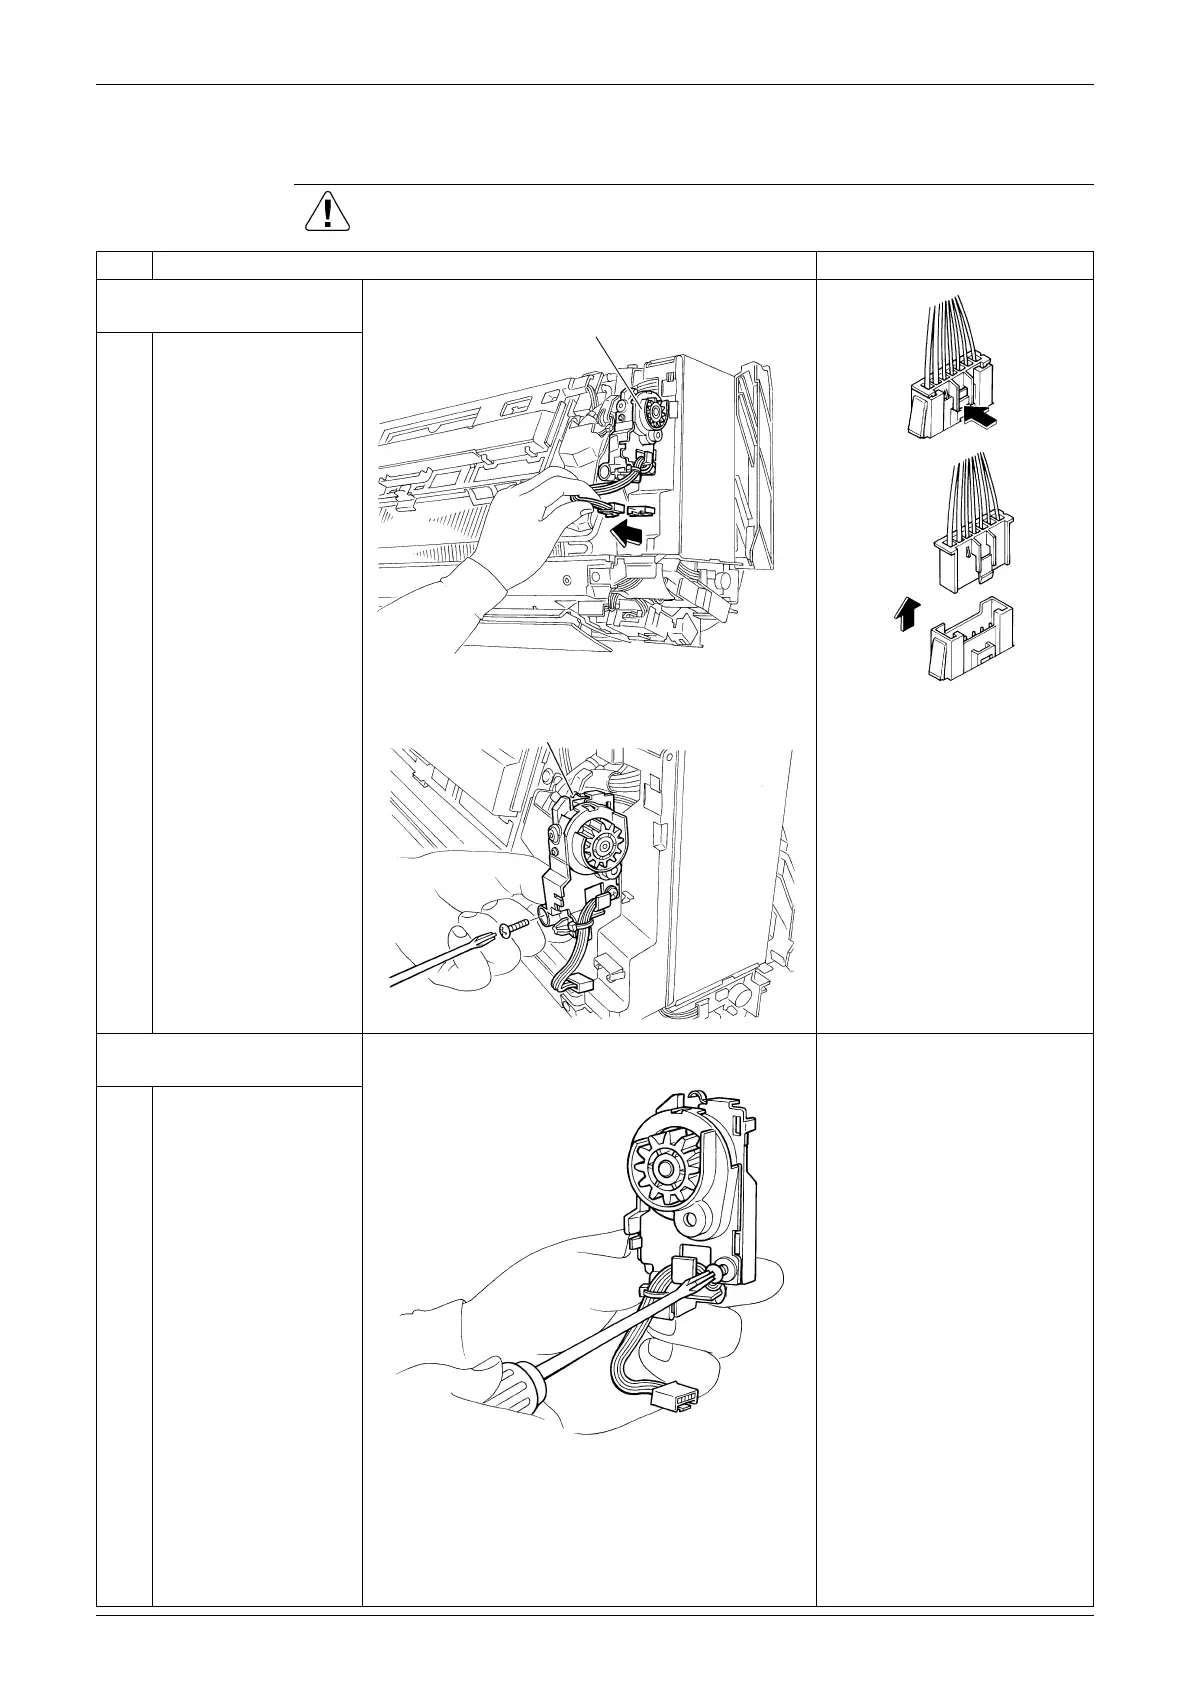
Removal of Reduction Motor Assembly Si04-756
16 Removal Procedure
5. Removal of Reduction Motor Assembly
Procedure Warning Be sure to wait for 10 minutes or more after turning off all power
supplies before disassembling work.
Step Procedure Points
1. Remove the reduction
motor assembly.
The figure above shows the
hook on the connector for
the reduction motor
assembly.
When touching the electrical
parts like the limit switch, be
sure to conduct the work
after discharging static
electricity of the human
body. It may cause trouble
of the PCB.
1
Disconnect the relay
connector for the
reduction motor.
2
Remove the screw and
remove the reduction
motor assembly.
2. Remove the reduction
motor.
1
Remove the screw.
(R13958)
Reduction motor assembly
(R5671)
(R5672)
Limit switch
(R5673)
 Loading...