VI. Cleaning and Maintenance
Dakewe (Shenzhen) Medical Equipment Co., Ltd. 65
www.dakewemedical.com
(3) Replace filter
1.Preparation
Cross head screwdriver;
Handheld Vacuum Cleaner;
Brushes and other cleaning tools.
2.Replace Front Filter
The front filter is located inside the maintenance door and it can be replaced as follows:
Step 1: Open the maintenance door, and operate according to the structure of the instrument:
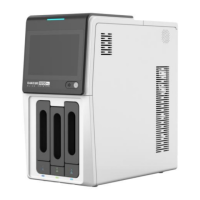
New structure (Figure 6-11): Unscrew the 4 screws directly by hand (do not leave any screw inside
the instrument when disassembling and assembling the screws);
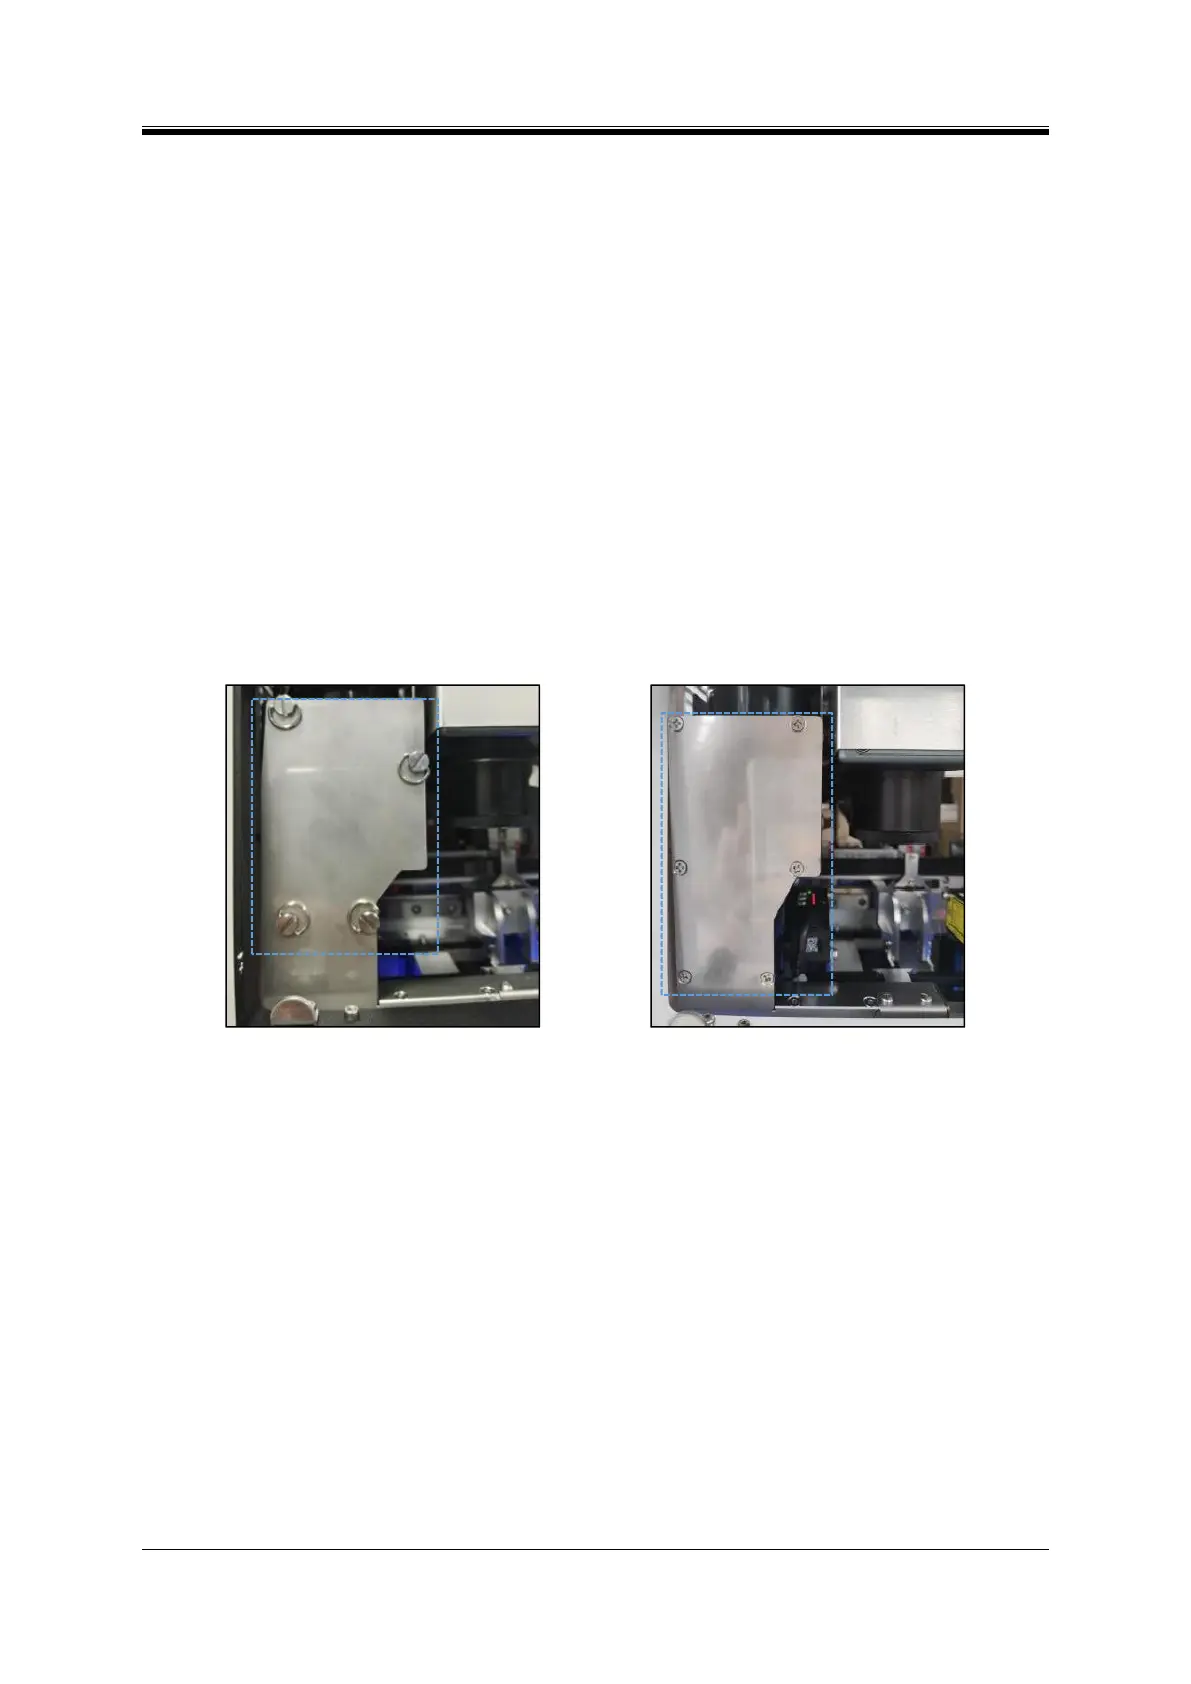
Old structure (Figure 6-12): Unscrew the 6 cross head screws using a cross head screwdriver (do
not leave the screws inside the instrument when disassembling and assembling the screws);
Figure 6- 11 Front filter position - new structure
Figure 6- 12 Front-end filter element-old structure
Step 2: Replace the filter:
New structure: Remove the front cover, take out the used filter , clean the dust inside and near the
chamber with a brush, and then fit in a new filter (Figure 6-13),
Proper filter direction is that the ribbon is facing outwards and the indication label of the filter is
on the left side and the arrow is facing upwards (Figure 6-14);
Old structure: Remove the front cover, take out the used filter, clean the dust inside and near the
chamber with a brush, and then fit in an unused filter (with the ribbon facing outwards and the folds
facing upwards);
Step 3: Cover the front cover (hide the ribbon), assemble the disassembled screw again, and close the
maintenance door.