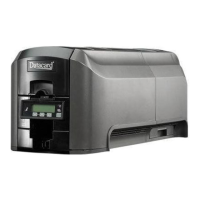
94 Card Design Tasks
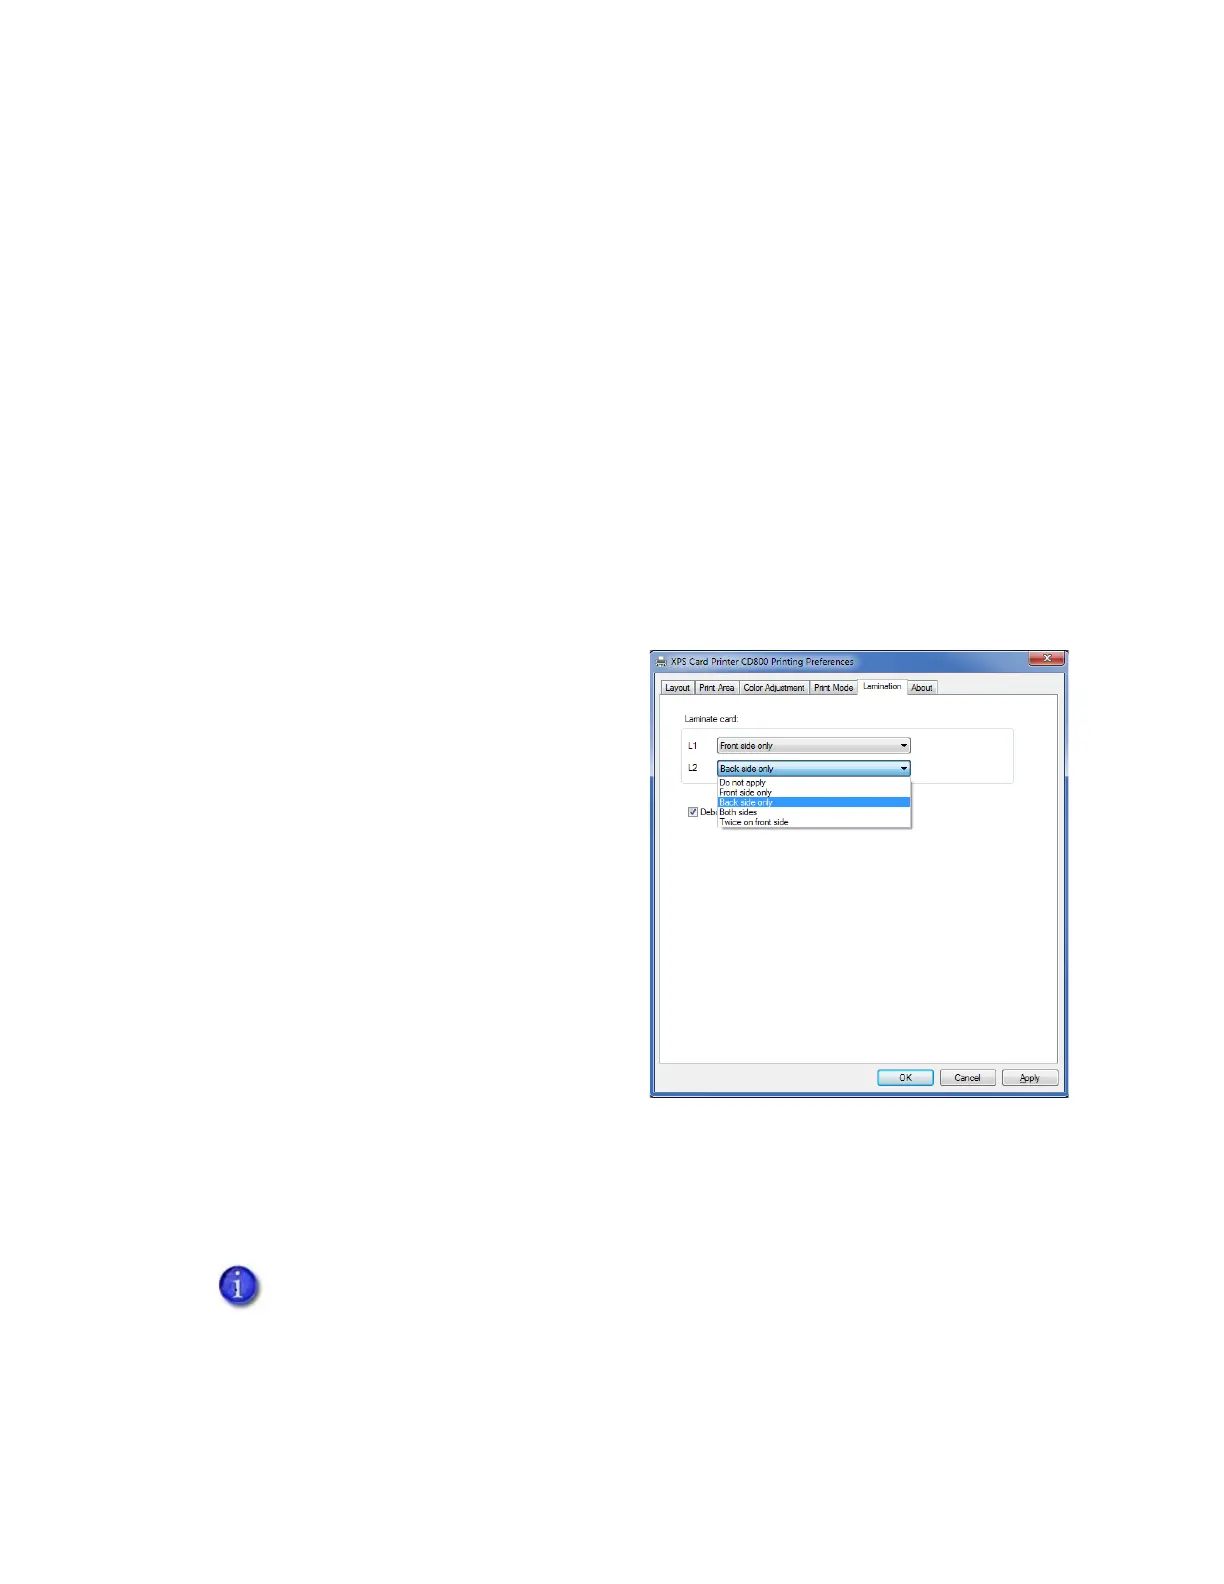
Lamination Tab
The Lamination tab displays only if your printer is part of a laminator system. It allows you to
specify how you want to apply overlay material to your card.
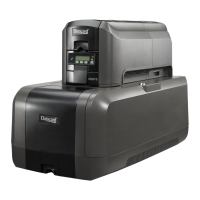
The laminator system can have one or two laminators (labeled L1 and L2) that can apply a patch
or topcoat overlay to one or both sides of a card. Refer to your printer’s User’s Guide and
Installation and Administrator’s Guide for complete information about setting up a laminator
system.
You can use escapes to override the printing preferences set on the Lamination tab on a card-by-
card basis. Refer to “Laminator Escape” on page 112.
Apply an Overlay
To specify lamination settings:
1. Open the Printing Preferences window.
2. Select the Lamination tab.
3. Select a Laminate card option for each
laminator. You can select from the
following options:
Do not apply—No overlay material is
applied.
Front side only—Applies the overlay
to the front of the card.
Back side only—Applies the overlay
to the back of the card.
Both sides—Applies the overlay
material to both sides of the card.
Twice on front side—Applies two
layers of the overlay material to the
front of the card. Use this option only with a topcoat overlay.
4. Click Apply to save your changes, and then click OK to close the Printing Preferences
window.
The default Laminate card setting for both L1 and L2 is Do not apply. You must
specify a lamination option on the Lamination tab or no overlay material is
applied to the card.
If an L2 laminator is not installed, Not installed displays and the L2 options are
not available.