SN301-8CH
8
BASIC SETUP
THINGS TO CONSIDER BEFORE INSTALLATION
• The camera should be installed between 8 to 13’ above the area to be monitored
• Decide whether the camera will be wall mounted, ceiling mounted or sitting on a desk/table top. Before
mounting the camera, ensure there is nothing obstructing the camera’s view
• Placing the camera in an open, visible area can help deter criminals
• To cover large, dark areas such as backyards, garages and driveways, place cameras in locations such as the
roof or deck
• Ensure that your camera is positioned away from light sources and that the sunshade is properly adjusted to
avoid glare
• For best viewing results, the lighting in front of the camera should be about the same brightness as the
lighting around the area being monitored
• Each camera comes with 60’ of video/power wire. If longer wiring distance is required, 60’ extensions can be
purchased (DF10W) from your local re-seller or at www.defender-usa.com
• We recommend using a surge protected power bar to protect the camera’s internal circuitry.
MOUNTING THE CAMERAS
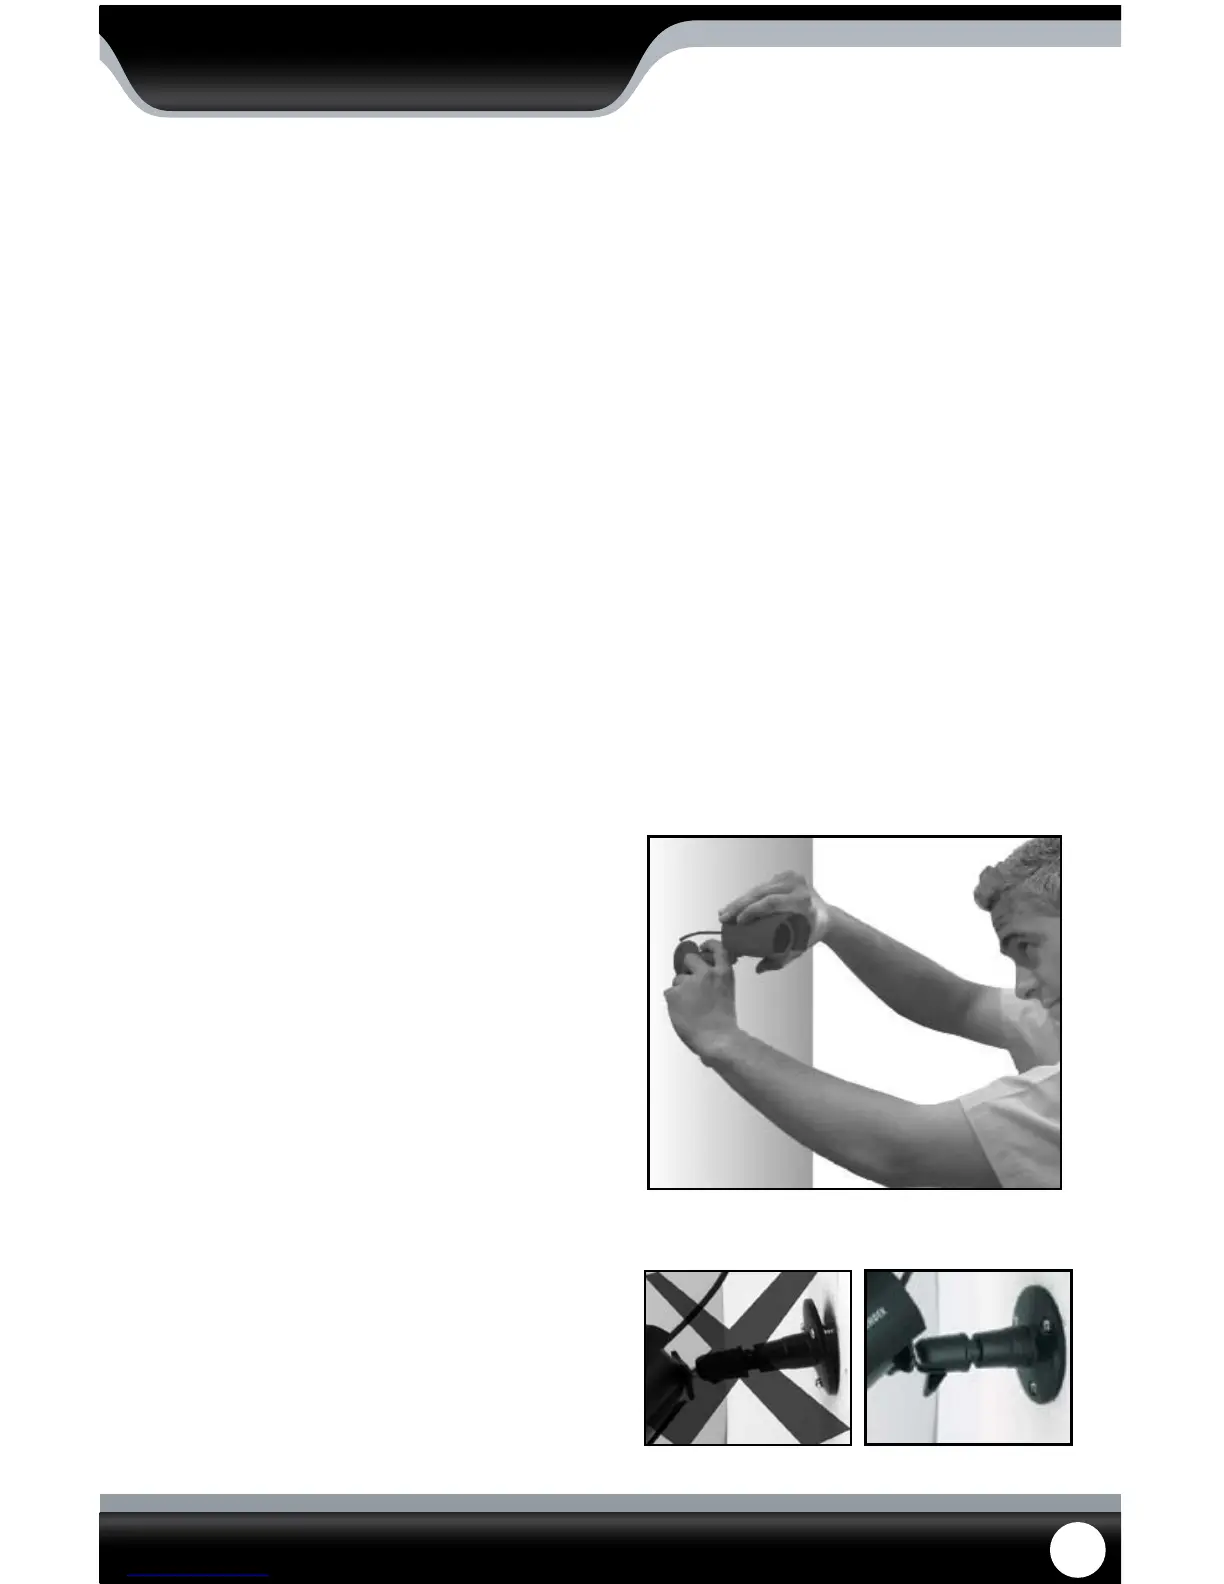
1. Rotate the camera mount so that camera is pointed in
the desired position.
2. Screw the mounting bracket into the camera’s
mounting hole, turning it clockwise.
3. Mount the camera in the desired location no more
than 60 ft from the DVR unless you have purchased
additional wiring. You may mount the cameras on a
wall, ceiling or desk.
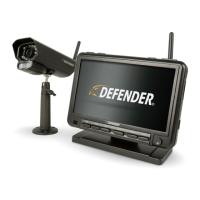
4. Ensure that the cameras are strongly secured into the
wall.
5. Adjust cameras to the desired viewing angles.
6. For additional help on mounting the cameras, please
see the drilling template, located at the end of the
manual.
Adjust camera to desired viewing angle
Ensure the camera is secured into place