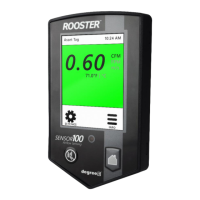
Rooster™ Sensor100 USER MANUAL
Rooster
TM
Sensor100 USER MANUAL 62320MN000-A04 23
1. Remove power from the Rooster
TM
Sensor100.
2. Insert USB thumb drive into left side of the Rooster
TM
.
3. Depress and hold the “Home” button, while reapplying power to your unit. (Hard Home
button must be depressed while Rooster
TM
powers up in order to enter the firmware
update sequence.)
4. After approximately 3 seconds, release the Home button. After approximately 10
seconds, the LED on the front of the Rooster
TM
will light, and the unit will boot up with
the new firmware.
5. When the field upgrade procedure is complete, navigate to the Info [ ] screen to
validate that the new firmware version was properly installed. The firmware release
information – listed next to “firmware” - should have changed to the most current build.
If this is not the case, repeat the upgrade procedure.
Factory Reset Procedure
The Master Reset will return the Rooster™ Sensor100 to its default alarm & input/output
settings. Time and date will be preserved during a factory reset. The following factory reset
procedure can be done at any time upon system reset to restore default settings and passwords.
1. After following the above steps, when the 1
st
information screen displays, momentarily
press the “Mute” key.
2. The “Enter Factory Password” screen will display. The Factory Password is “5878” and
cannot be changed.
3. Factory Menu will display. Depress “Reset to Factory Defaults”.
The factory-default certify password is “6425”