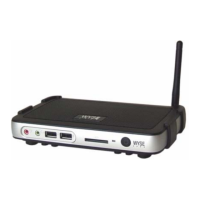
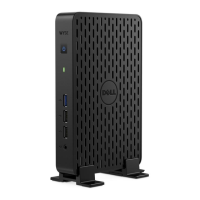
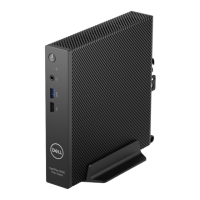
1-4 Rack Installation Guide
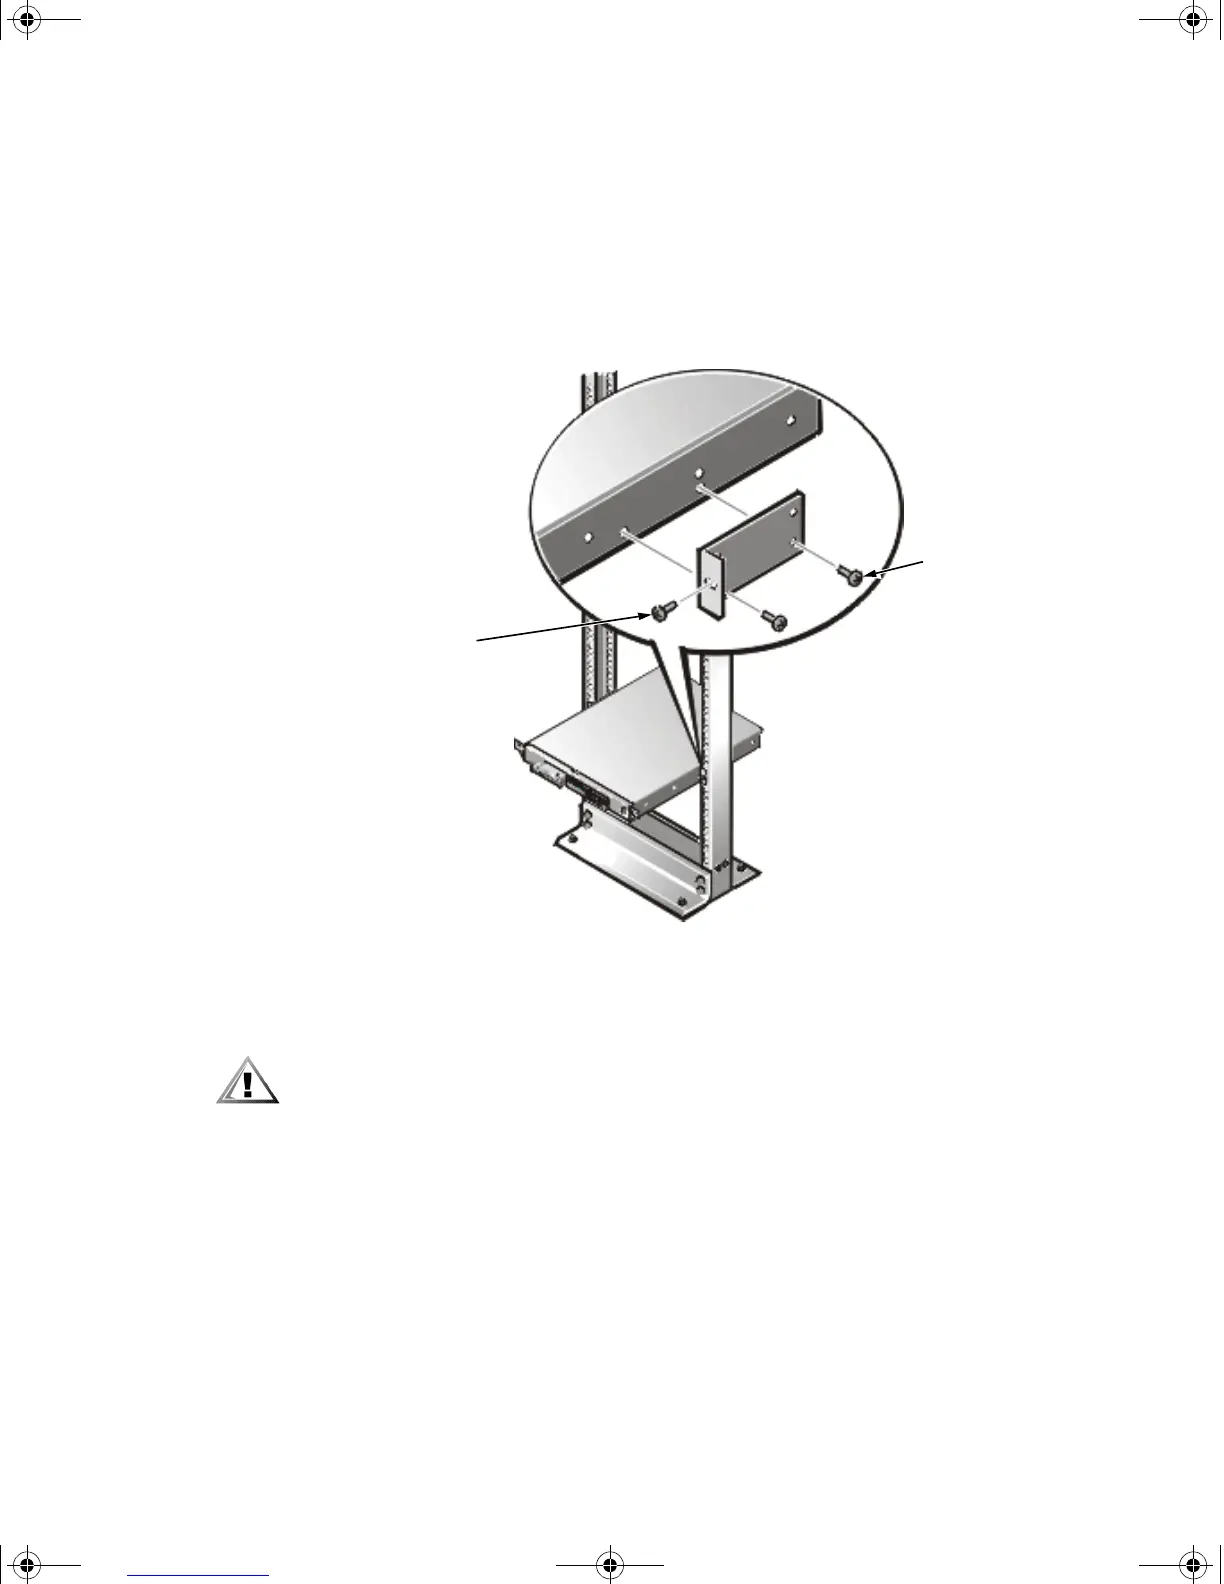
Attaching the Brackets
1. Locate one of the two brackets and align it over the two threaded holes on the
side of the system (see Figure 1-3).
2. Secure the bracket to the system chassis using two 10-24 x 0.375-inch screws
(see Figure 1-3).
Repeat this step to install the remaining bracket on the other side of the system.
Figure 1-3. Securing the System in the Rack
Installing the System in the Rack
CAUTION: Due to the size and weight of the system, never attempt to install
the system by yourself.
1. Lift the system into position between the two posts, with the hole in the mount-
ing bracket aligned one hole above the mark you made in the two posts.
2. Secure the system to the rack using a 12-24 x 0.5-inch screw through the mount-
ing bracket to the front of the left and right posts (see Figure 1-3).
3. Attach the front bezel, if it is not already attached, to the system (see the
Installation and Troubleshooting Guide for instructions).
This completes the two-post center-mount rack installation.
12-24 x 0.5-inch
pan-head
Phillips screws
10-24 x 0.375-inch
pan-head Phillips
screws (2 per
bracket)
2D786bk0.book Page 4 Thursday, January 18, 2001 8:44 PM