1-8 Rack Installation Guide
Installing the Bracket in the Rack
CAUTION: The 1-U mounting bracket is designed to support a single sys-
tem. Do not attempt to install any other system in this bracket. Damage to
the system and personal injury may result.
CAUTION: Due to the size and weight of the system, never attempt to install
the system by yourself.
1. Slide the back portion of the bracket to its widest opening and place the mount-
ing bracket into the rack, with the bottom of the bracket at the marks you made
earlier (see Figure 1-6).
2. Slide the back part of the bracket toward the front, with the pins entering the
lower screw holes in the rack, at the marks you made earlier. Secure the bracket
front and back to the rack with a 12-24 x 0.5-inch screw.
Repeat this step to install the remaining bracket on the other side of the rack.
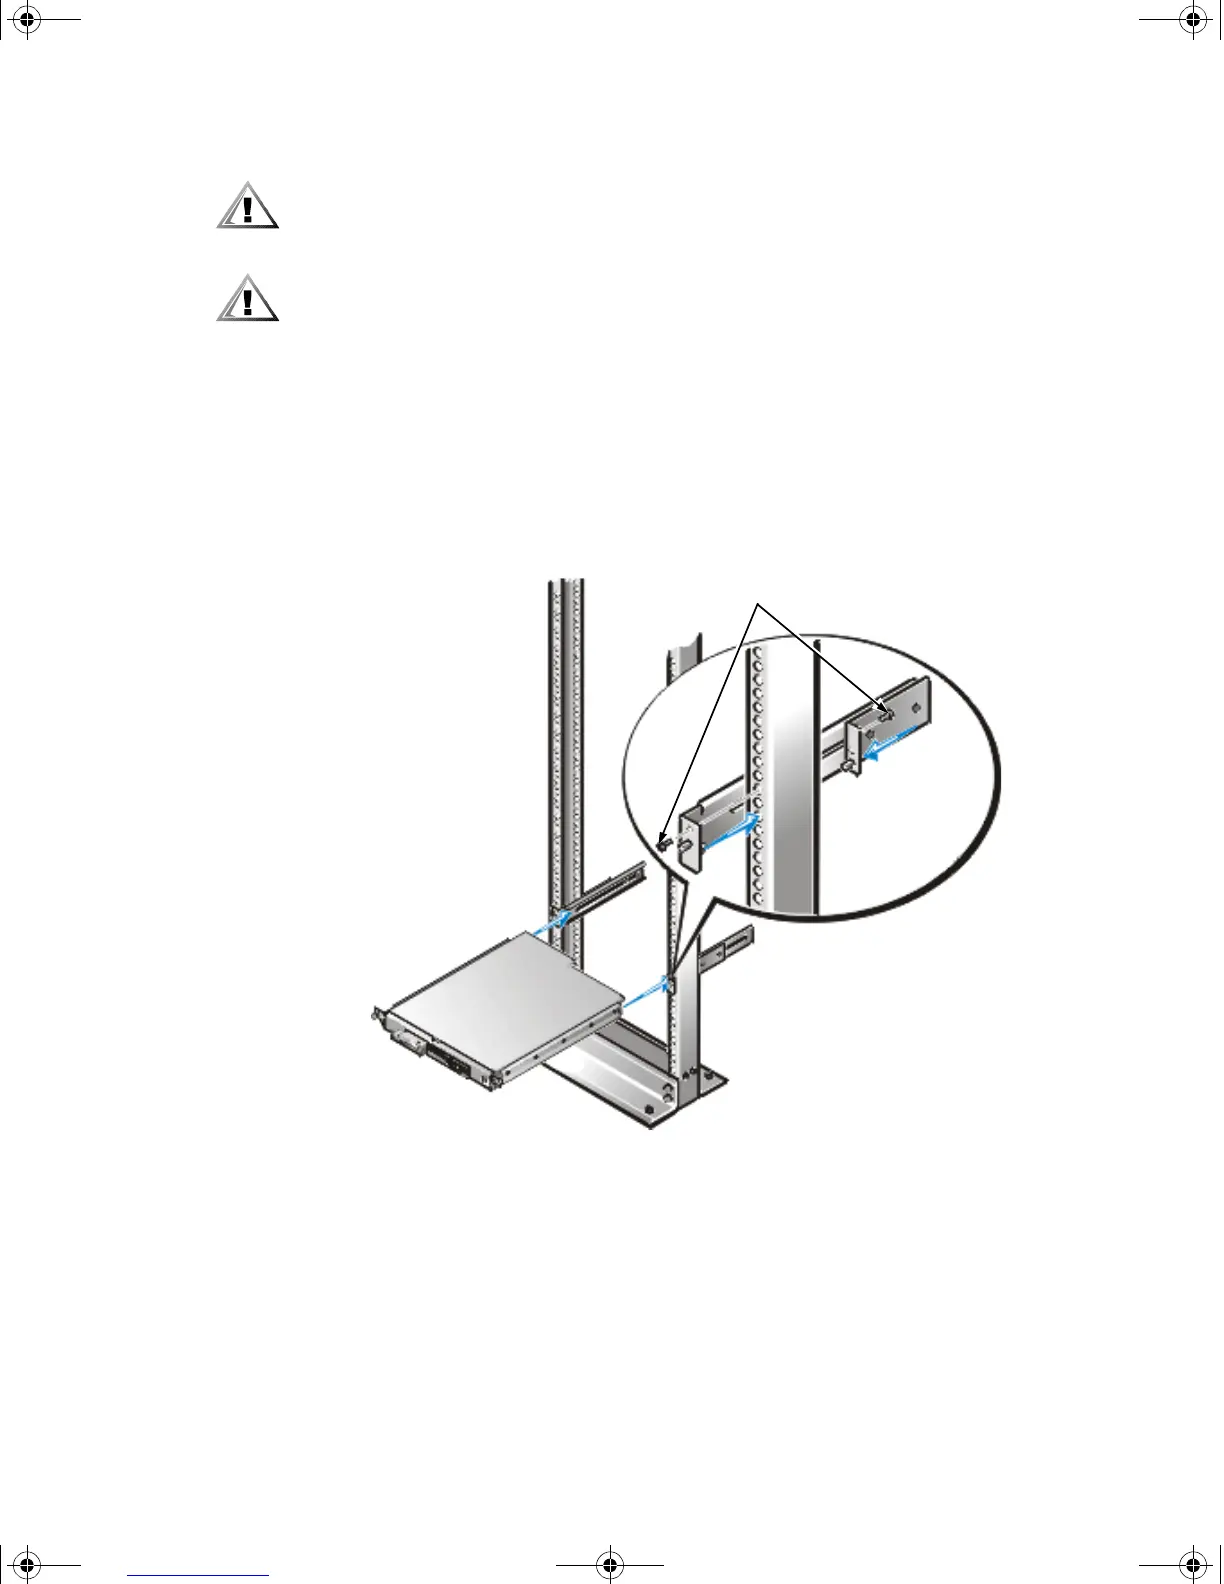
Figure 1-6. Installing the Bracket in the Rack
12-24 x 0.5 inch screws (4)
2D786bk0.book Page 8 Thursday, January 18, 2001 8:44 PM