1.
NOTE: When replacing the new display bezel, adhere the new stickers over the screws once the screws have been
secured.
Align the display bezel with the display assembly. Gently snap the display bezel into place.
2. Replace the four screws (M2.5x3.8) to secure the display bezel on the display assembly.
1. Install the display assembly.
2. Install the palmrest and keyboard assembly.
3. Follow the procedure in after working inside your computer.
Display panel
Removing the display panel
1. Follow the procedure in before working inside your computer.
2. Remove the palmrest and keyboard assembly.
3. Remove the display assembly for laptops, or the display assembly for 2-in-1s.
4. Remove the display bezel for laptops, or the touch-panel assembly for 2-in-1s.
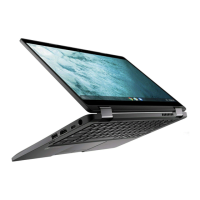
The following images indicate the location of the display panel and provide a visual representation of the removal procedure.
Removing and installing components
69
 Loading...