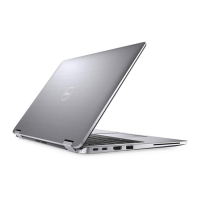
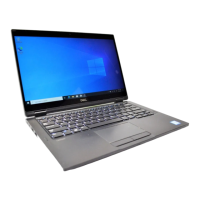
1. Align and place the display hinges on the display assembly.
2. For laptops, replace the two (M2x2.5) screws and four (M2.5x2.5) screws to secure the display hinges to the display
assembly.
3. For 2-in-1 computers, replace the six (M2.5x2.5) screws and four (M2x2) screws to secure the display hinges to the display
assembly.
4. Affix the tape from the left hinge to secure the display cable.
5. Affix the tape from the right hinge to secure the WLAN antenna cables.
1. Install the display panel.
2. For laptops, install the display bezel; for 2-in-1 computers, install the touch-panel assembly.
3. Install the display assembly for laptops, or display assembly for 2-in-1s.
4. Install the palmrest and keyboard assembly.
5. Follow the procedure in after working inside your computer.
Display back-cover
Display back-cover assembly
1. Follow the procedure in before working inside your computer.
2. Remove the palmrest and keyboard assembly.
3. Remove the display assembly for laptops, or display assembly for 2-in-1s.
4. For laptops, remove the display bezel; for 2-in-1 computers, remove the touch-panel assembly.
5. Remove the display panel.
6. Remove the user-facing camera.
7. Remove the display cable.
Removing and installing components
79

 Loading...


