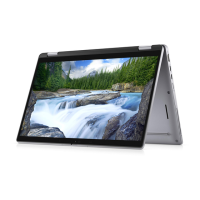
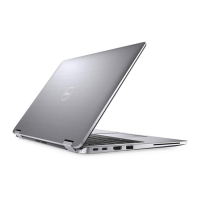
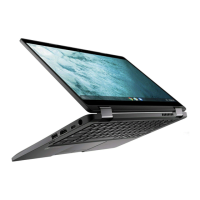
8. Remove the display hinges.
After performing the preceding steps, you are left with the display cover assembly.
1. Install the display hinges.
2. Install the display cable.
3. Install the user-facing camera.
4. Install the display panel.
5. For laptops, install the display bezel; for 2-in-1 computers, install the touch-panel assembly.
6. Install the display assembly for laptops, or display assembly for 2-in-1s.
7. Install the palmrest and keyboard assembly.
8. Follow the procedure in after working inside your computer.
Base-cover assembly
Replacing the base-cover assembly
1. Follow the procedure in before working inside your computer.
2. Remove the palm-rest and keyboard assembly.
NOTE:
Be sure to loosen the captive screws that secure the palm-rest assembly to the computer chassis before
removing the palm-rest and keyboard assembly.
3. For systems that are shipped with a Solid State Drive (SSD), remove the solid-state drive.
4. Remove the speakers for laptops or speakers for 2-in-1s.
5. Remove the audio board.
6. Remove the 3-cell battery or the 4-cell battery depending on the system configuration.
7. Remove the display assembly for laptops or display assembly for 2-in-1s.
8. Remove the power adapter port.
9. For 2-in-1s, remove the world-facing camera.
10. Remove the system board for laptops, or system board for 2-in-1s.
NOTE: The system board can be removed with the heat sink attached.
After performing the preceding steps, you are left with the base cover assembly.
80
Removing and installing components

 Loading...


