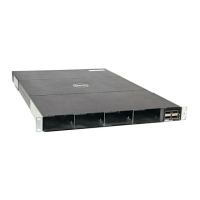
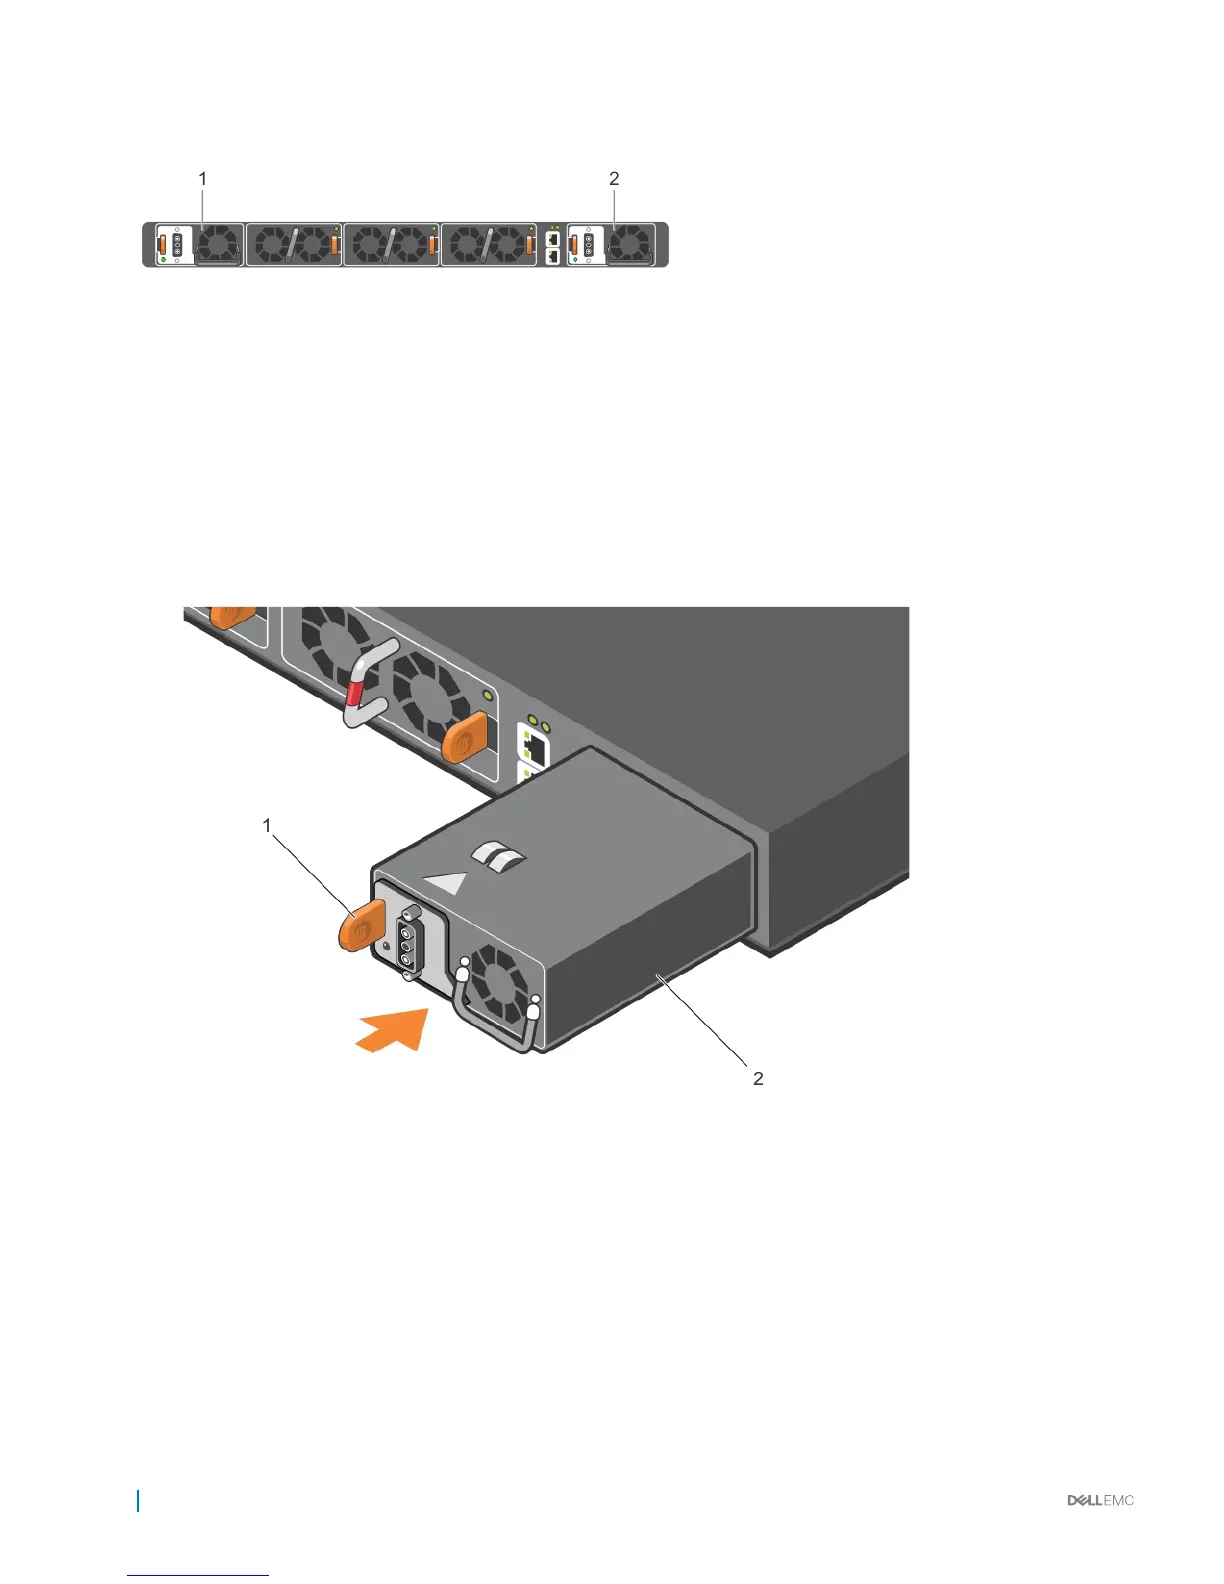
Figure 14. S4048–ON DC power supplies
1 Power supply 1 2 Power supply 2
1 Remove the PSU slot cover from the S4048-ON.
2 Remove the PSU from the electro-static bag.
3 Insert the PSU into the switch PSU slot. Insert the PSU exposed PCB edge connector rst.
The PSU slot is keyed so that the PSU inserts fully in one orientation only.
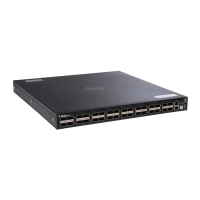
Figure 15. DC PSU installation
1
Orange release tab 2 DC PSU
When you install the PSU correctly, it snaps into place and is ushed with the back of the switch.
4 Plug in the DC power cord from the switch PSU to the external power source.
5 If you have a redundant PSU, a second PSU, repeat steps 1 through 4 using the second PSU slot on the S4048-ON system.
6 Attach the DC power label. See Attaching the DC Label.
28
Power supplies