• 115200 baud rate
• No parity
• 8 data bits
• 1 stop bit
• No ow control
When you connect the Micro USB-B port, it becomes the primary connection and, while connected, all messages are sent to the Micro
USB-B port.
NOTE: Before starting this procedure, be sure you have a terminal emulation program already installed on your PC. You need to
install the appropriate drivers to support the Micro USB-B port. For assistance, contact www.dell.com/support to download the
drivers.
1 Power on the PC.
2 Connect the USB-A end of cable into an available USB port on the PC.
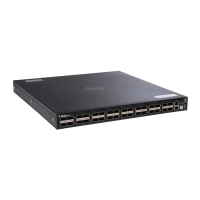
3 Connect the MicroUSB-B end of cable into the MicroUSB-B console port on the S4048-ON.
4 Power on the S4048-ON.
5 Install the necessary USB device drivers. To download the drivers, go to www.dell.com/support.
For assistance, contact Dell Technical Support.
6 Open your terminal software emulation program to access the S4048-ON.
7 Conrm that the terminal settings on your terminal software emulation program are as follows:
• 115200 baud rate
• No parity
• 8 data bits
• 1 stop bit
• No ow control
Mounting the USB Storage
The USB storage supports the FAT le system. The USB storage does not automatically mount. To use USB storage, you must rst mount
the device.
1 Create a mount directory for the USB.
ONIE:/ # mkdir /mnt/usb
2 View the xed disks using fdisk.
ONIE:/mnt # fdisk -l
For internal storage:
Disk /dev/sda: 15.8 GB, 15829303296 bytes
255 heads, 63 sectors/track, 1924 cylinders
Units = cylinders of 16065 * 512 = 8225280 bytes
Device Boot Start End Blocks Id System
/dev/sda1 1 1925 15458303+ ee EFI GPT
For USB storage:
Disk /dev/sdb: 30.9 GB, 30942946304 bytes
64 heads, 32 sectors/track, 29509 cylinders
Units = cylinders of 2048 * 512 = 1048576 bytes
Device Boot Start End Blocks Id System
3 Mount the device /dev/sdb to the /mnt/usb directory.
ONIE:/ # mount -t vfat /dev/sdb /mnt/usb
34
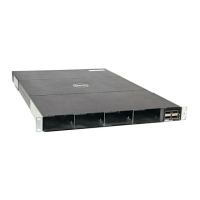
Management ports