About your monitor │ 11
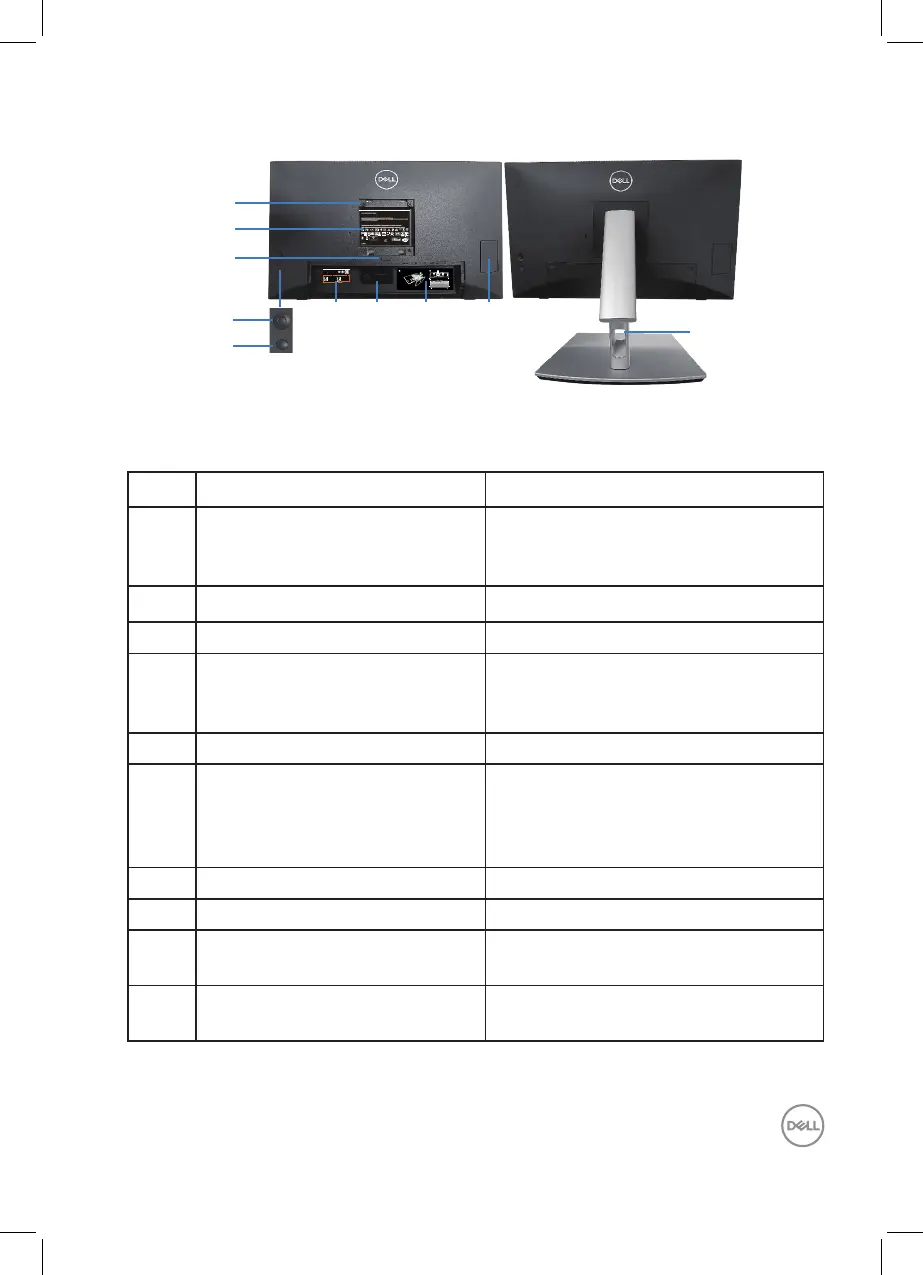
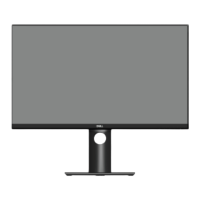
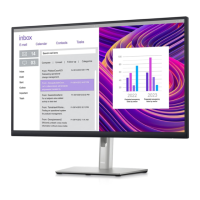
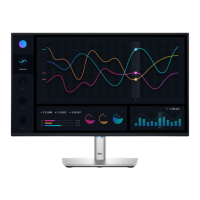
Back view
Q40G024N-700-40A XX P
DELL P2424HT
Flat Panel Monitor /Monitor Plano Panel /Moniteur écran plat /液晶顯示器
Model No. /Modelo /N°de modelo /型號/모델명/モデル番号: P2424HTc
정격입력/
輸入電源:交流電壓100-240伏特,2安培,50/60赫茲
Удельная мощность рабочего режима - XX Вт/см² Consumo de energía en operación: XXX Wh
Потребляемая мощность изделием в режиме ожидания - XX Вт
Потребляемая мощность изделием в выключенном режиме - XX Вт
The equipment must be connected to an earthed mains socket-outlet.
L'appareil doit être branché sur une prise de courant munie d'une mise à la terre.
Made in China /Fabricado en China/сделанный в Китай /Fabriqué en Chine/中國製造/중국제조
警語: 使用過度恐傷害視力。
www.dell.com/regulatory_compliance Raheen Business Park Limerick Ireland (for EU Only)
CAN ICES-003(B)/NMB-003(B) For UK only: Cain Road, Bracknell, RG12 1LF
(1) this device may not cause harmful interference, and
R33037
RoHS
XXXXXXXX
R-R-E2K-P2424HTc
신청인:DELL INC.
제조자:TPV Electronics (Fujian) Co., Ltd.(For Korea)
IS 13252 (Part 1)/
IEC 60950-1
R-41018660
www.bis.gov.in
080-854-0066
XXXXXXXXXX
デル・テクノロジーズ
入力:100V, 2 A, 50/60 Hz
XXXXXX-XX
XXXXX
Tension d’entrée:100-240V 50/60Hz, 2A
SVC Tag:
1234567
Express Service
Code:
123 456 789 0
Date of Mfg/生产日期/生產日期: December. 2022
液晶显示器
型号:P2424HT
输入电源:
100-240V 50/60Hz,2A
中国制造
MAC address:XXXXXXXXXXXX
S/N: CN-0N9FXX-
TV100-2C7-001L-
A00
1
2
3
6 7 9
4
5
8
10
2
HDMI
3
1
Back View with monitor stand
Label Description Use
1 VESA mounting holes (100 mm x
100 mm - behind attached VESA
Cover)
Wall-mount the monitor using VESA-
compatible wall mount kit (100 mm x
100 mm).
2 Regulatory label Lists the regulatory approvals.
3 Stand release button Releases the stand from the monitor.
4 Joystick Use to control the OSD menu. (For
more Information, see Operating the
monitor)
5 Power On/Off button To turn the monitor on or off.
6 Barcode, serial number, and
Service Tag label
Contains monitor details and support
information. Refer to this label if you
need to contact Dell for technical
support.
7 Cable hook Use to route cables.
8 Cable routing label Shows how to route cables.
9 Quick Access Door Push to open/Push to close the Quick
Access Door.
10 Cable-management slot Use to organize cables by inserting
them through the slot.