Getting Started Guide 5
Installation
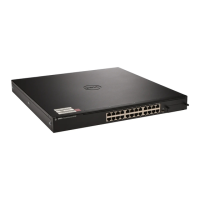
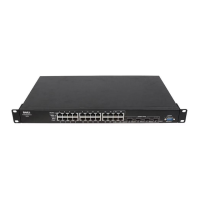
This document provides basic information to install, configure, and operate
Dell™ PowerConnect™ 8024 and 8024F systems. For more information, see the
User’s Guide
,
which is available on your
User Documentation
CD, or check the Dell Support web site at
support.dell.com
for the latest updates on documentation and firmware.
Site Preparation
PowerConnect 8024 and 8024F switches can be mounted in a standard 48.26-cm (19-inch) rack
or left freestanding (placed on a flat surface) and function as stand-alone switches.
Before installing the switch or switches, make sure that the chosen installation location meets
the following site requirements:
•
Power
— The switch is installed near an easily accessible 100–250 VAC, 50–60 Hz outlet.
•
Clearance
— There is adequate front and rear clearance for operator access. Allow clearance
for cabling, power connections, and ventilation.
•
Cabling
— The cabling is routed to avoid sources of electrical noise such as radio
transmitters, broadcast amplifiers, power lines, and fluorescent lighting fixtures.
•
Ambient
— The ambient switch operating temperature range is 0 to 45ºC (32 to 113ºF) at a
relative humidity of up to 95 percent, non-condensing.
Unpacking the Switch
Package Contents
When unpacking each switch, make sure that the following items are included:
• One PowerConnect switch
• Two AC power cables
• One RJ-45 to DB9 female cable
• One rack-mount kit for rack installation (two mounting brackets, bolts, and cage nuts)
• One set of self-adhesive rubber pads for the free-standing switch (four pads are included)
•
User Documentation
CD
• Getting Started Guide
• Product Information Guide

 Loading...