1-4 Installation Guide
www.dell.com | support.dell.com
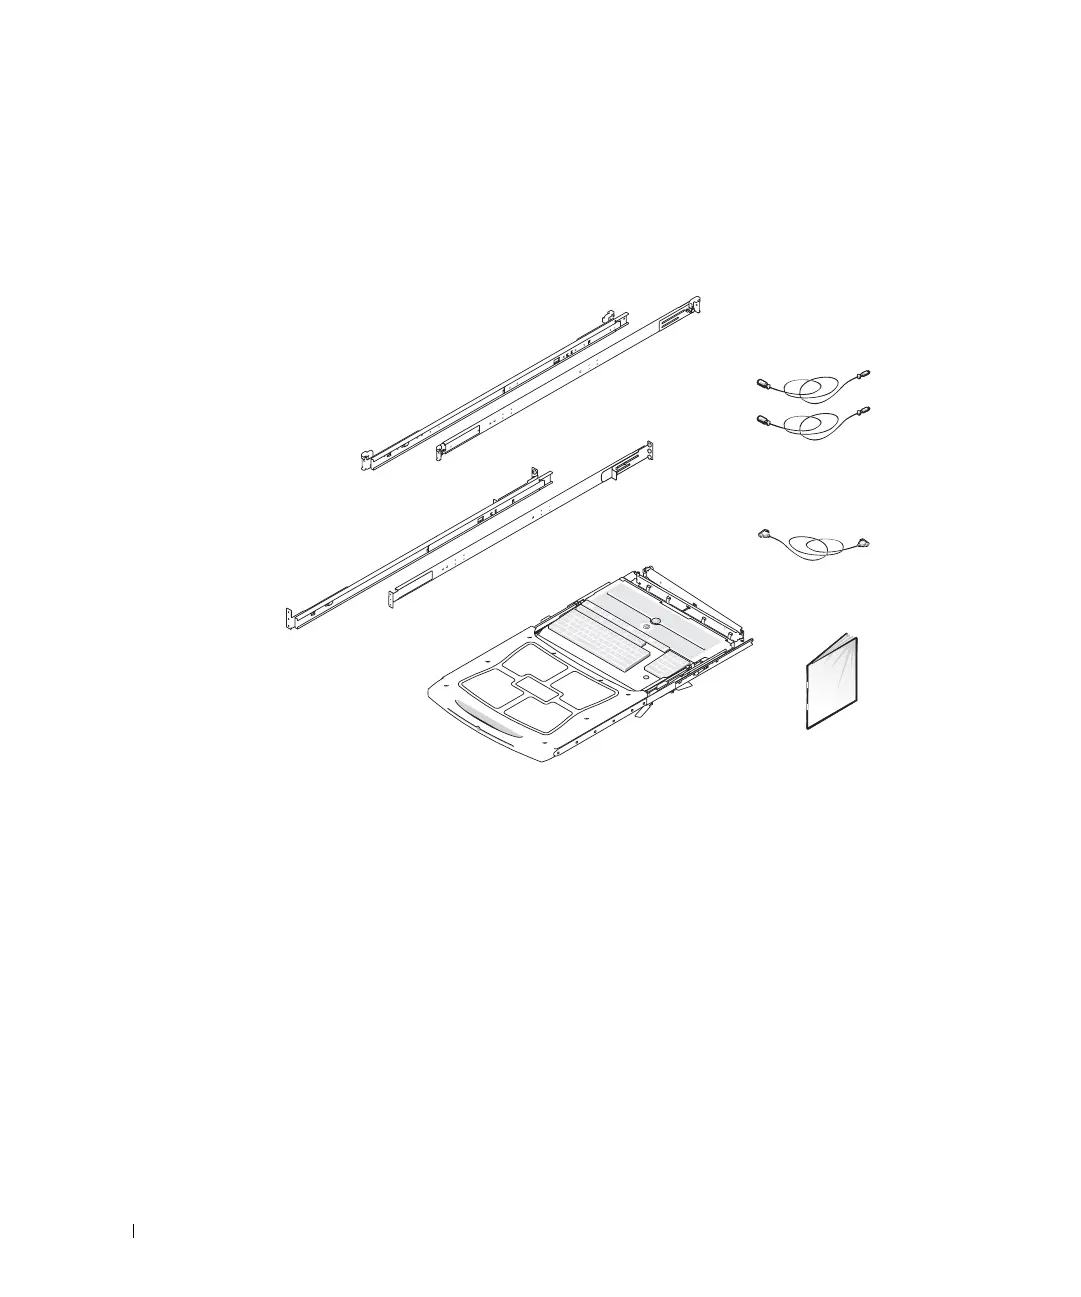
• 10-32 x 0.5-inch flange-head Phillips screws and centering washers (four sets with a
RapidRails assembly; eight sets with a VersaRails assembly) (not shown in Figure 1-1)
• One or more region-specific power cords (not shown in Figure 1-1)
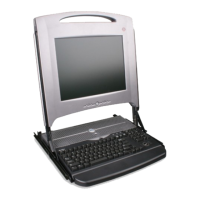
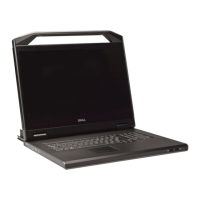
Figure 1-1. 1-U KMM Tray Kit Contents
Installing the 1-U KMM Tray
Installing the 1-U KMM tray consists of performing the following tasks in order:
1 Removing the rack doors
2 Marking the rack
3 Installing the slide assemblies (RapidRails or VersaRails) in the rack
4 Installing the KMM tray in the rack
5 Attaching the cable-management arm to the rack
6 Installing the keyboard in the tray (if the keyboard is shipped separately from the tray)
7 Replacing the power cable (if necessary to satisfy the power requirements in your
region)
RapidRails
VersaRails
keyboard/trackball
extension cables (2)
monitor extension cable
1-U KMM tray
monitor documentation
8x738bk0.book Page 4 Monday, April 28, 2003 10:21 AM