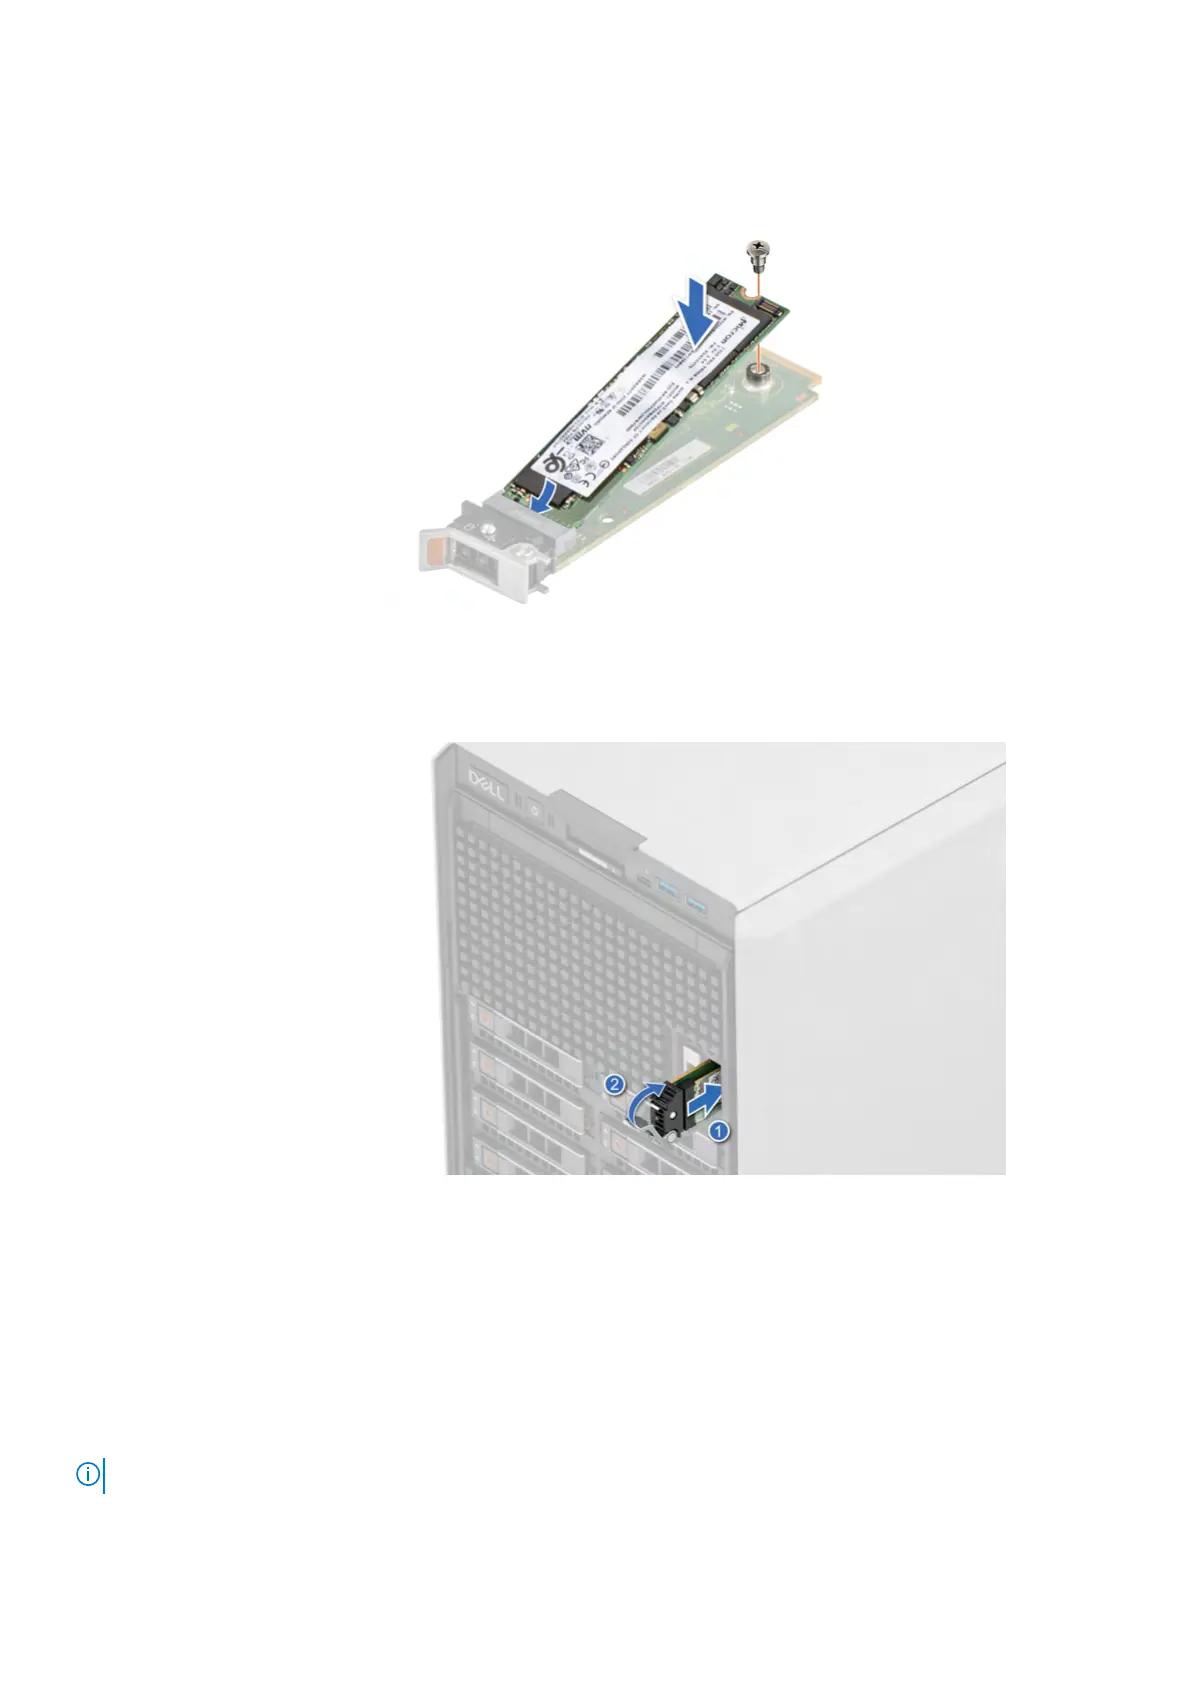
2. Align the M.2 NVMe SSD at an angle with the BOSS-N1 card carrier.
3
. Insert the M.2 NVMe SSD until it is firmly seated in the BOSS-N1 card carrier.
4. Using the Phillips #1 screwdriver, secure the M.2 NVMe SSD on the BOSS-N1 card carrier with the M3 x 0.5 x 4.5 mm
screw.
Figure 146. Installing the M.2 NVMe SSD
5. A
lign and push the BOSS-N1 card carrier into the slot in the BOSS-N1 module.
6. Close the release latch to secure the BOSS-N1 card carrier.
Figure 147. Installing the BOSS-N1 card carrier
Ne
xt steps
1. If removed, install the front bezel.
2. Follow the procedure that is listed in After working inside your system.
Optional internal USB card
NOTE: To locate the internal USB port on the system board, see the S
ystem board jumpers and connectors section.
Installing and removing system components 191