128 Installing System Components
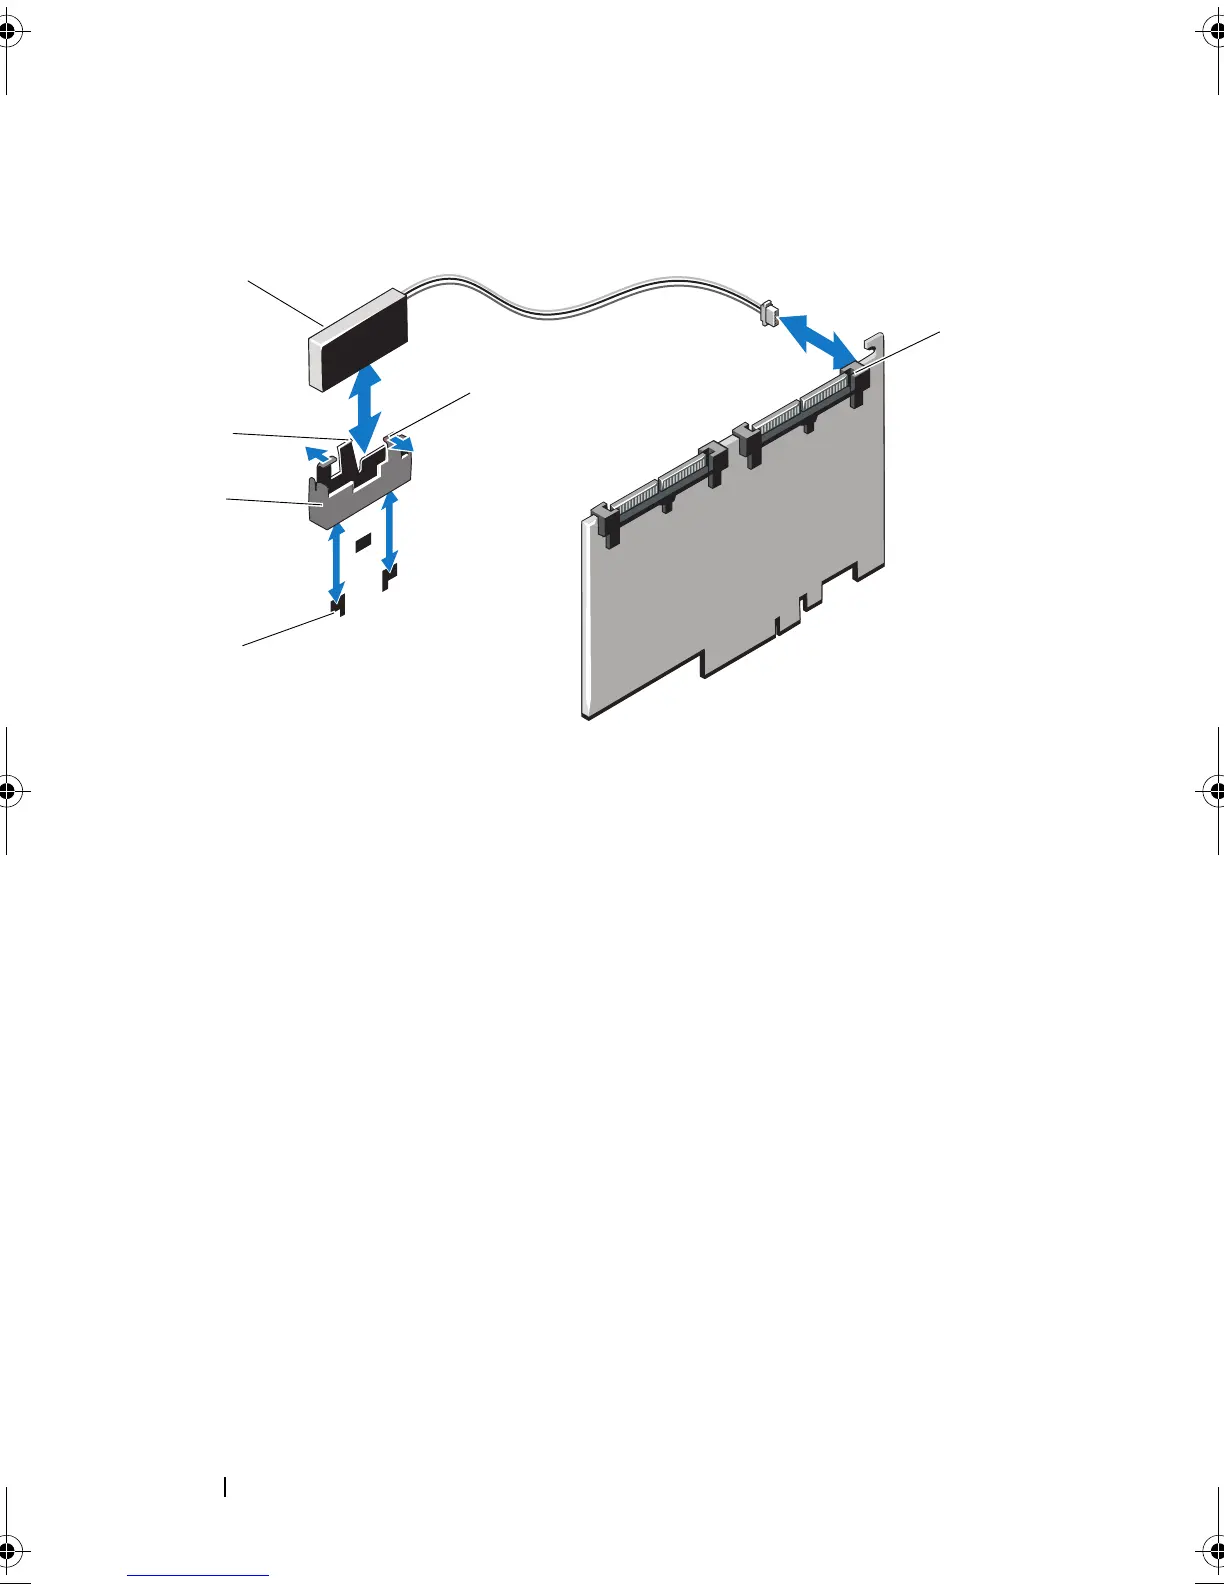
Figure 3-21. Removing and Installing a RAID Battery
Installing a RAID Battery
1
Insert the RAID battery into the battery carrier. See Figure 3-21.
2
Insert the battery carrier with the RAID battery into the battery carrier
slots until the carrier release latch locks into place. See Figure 3-21.
3
Connect the battery cable to the connector on the integrated storage card
(see Figure 3-23) and replace the integrated storage controller card. See
"Installing an Integrated Storage Controller Card" on page 134.
4
Close the system. See "Closing the System" on page 86.
5
Place the system upright and on its feet on a flat, stable surface.
6
Rotate the system feet outward.
7
Reattach any peripherals, then connect the system to the electrical outlet.
8
Turn on the system and attached peripherals.
1 RAID battery 2 battery carrier release tab
3 battery carrier 4 battery carrier slots (2)
5 battery carrier tabs (2) 6 battery cable connector
1
2
3
4
5
6
book.book Page 128 Monday, June 15, 2009 11:33 AM