90 Installing System Components
Removing a Hard-Drive Blank
CAUTION: To maintain proper system cooling, all empty hard-drive bays must
have drive blanks installed.
1 Remove the front bezel. See "Removing the Front Bezel
" on page 84.
2 Grasp the front of the hard-drive blank, press the release lever on the
right side, and
slide the blank out until it is free of the drive bay
. See
Figure 3-6
.
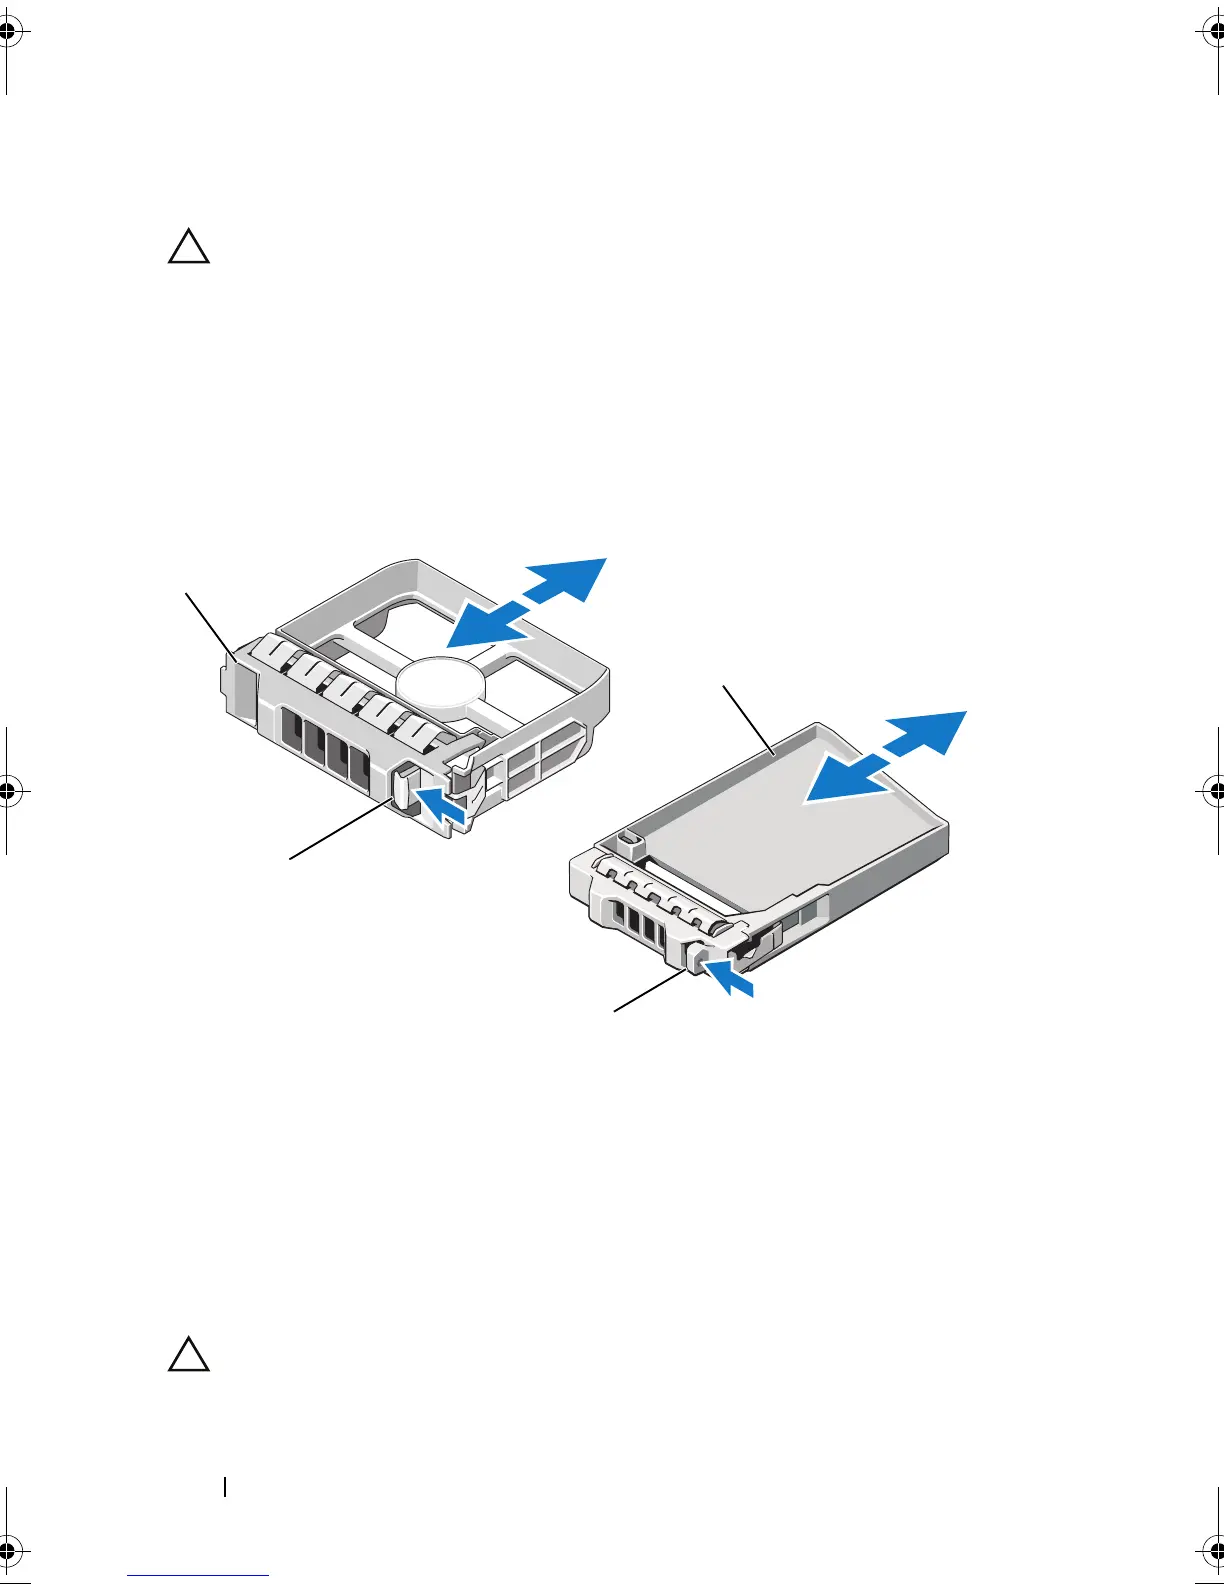
Figure 3-6. Removing and Installing a Hard Drive Blank
Installing a Hard-Drive Blank
Align the hard-drive blank with the drive bay and insert the blank into the
drive bay until the release lever clicks into place.
Removing a Hot-Swap Hard Drive
CAUTION: To prevent data loss, ensure that your operating system supports hot-
swap drive removal and installation. See the documentation provided with your
operating system for more information.
1 3.5-inch hard drive blank 2 2.5-inch hard drive blank
3 release latch
3
1
2
3
book.book Page 90 Monday, June 15, 2009 11:33 AM