Installing System Components 139
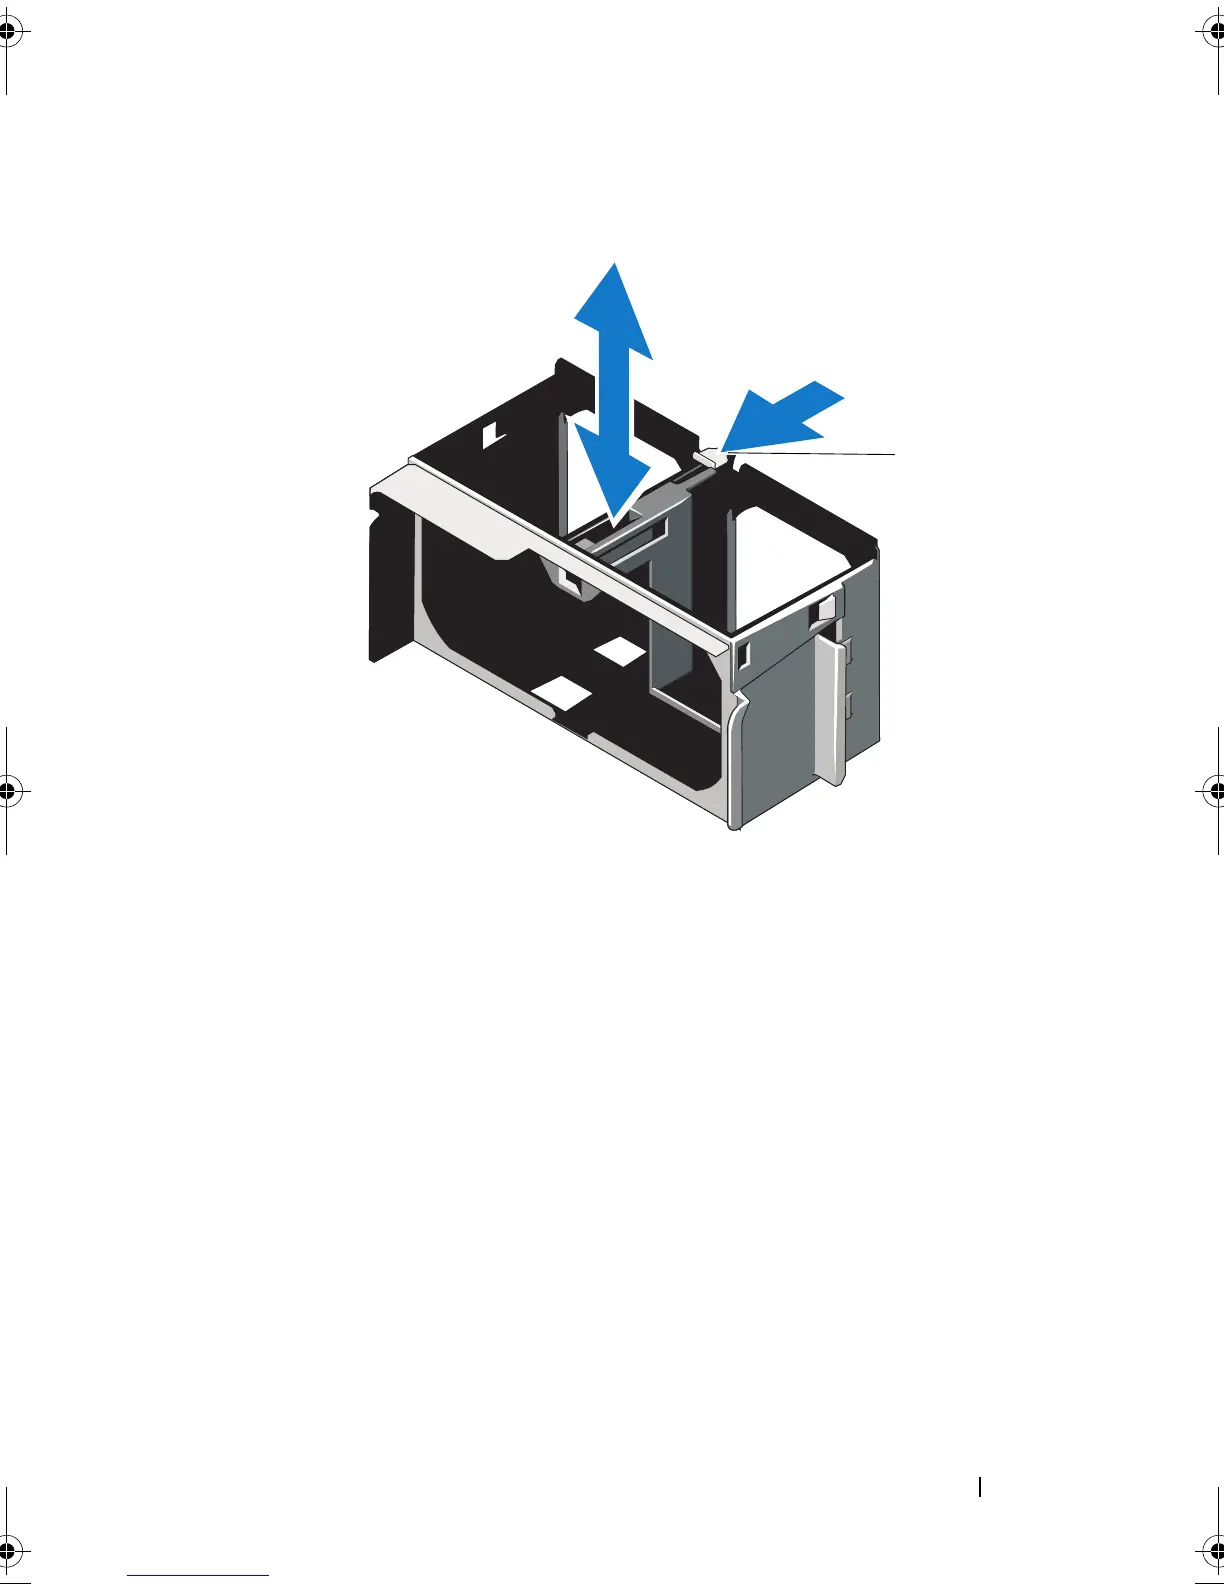
Figure 3-25. Removing and Installing a Fan Cage
Installing a Fan Cage
1
Align the fan cage alignment guides to the slots on the system board and
slide down the fan cage into the securing slot on the chassis until it snaps
into place.
2
Install the fan modules. See "Installing a Cooling-Fan Module" on
page 137.
3
Install the cooling shroud. See "Installing the Cooling Shroud" on page 88.
4
Close the system. See "Closing the System" on page 86.
5
Place the system upright and on its feet on a flat, stable surface.
6
Rotate the system feet outward.
7
Reattach any peripherals, then connect the system to the electrical outlet.
8
Turn on the system and attached peripherals.
1 release tab
1
book.book Page 139 Monday, June 15, 2009 11:33 AM