84 Installing System Components
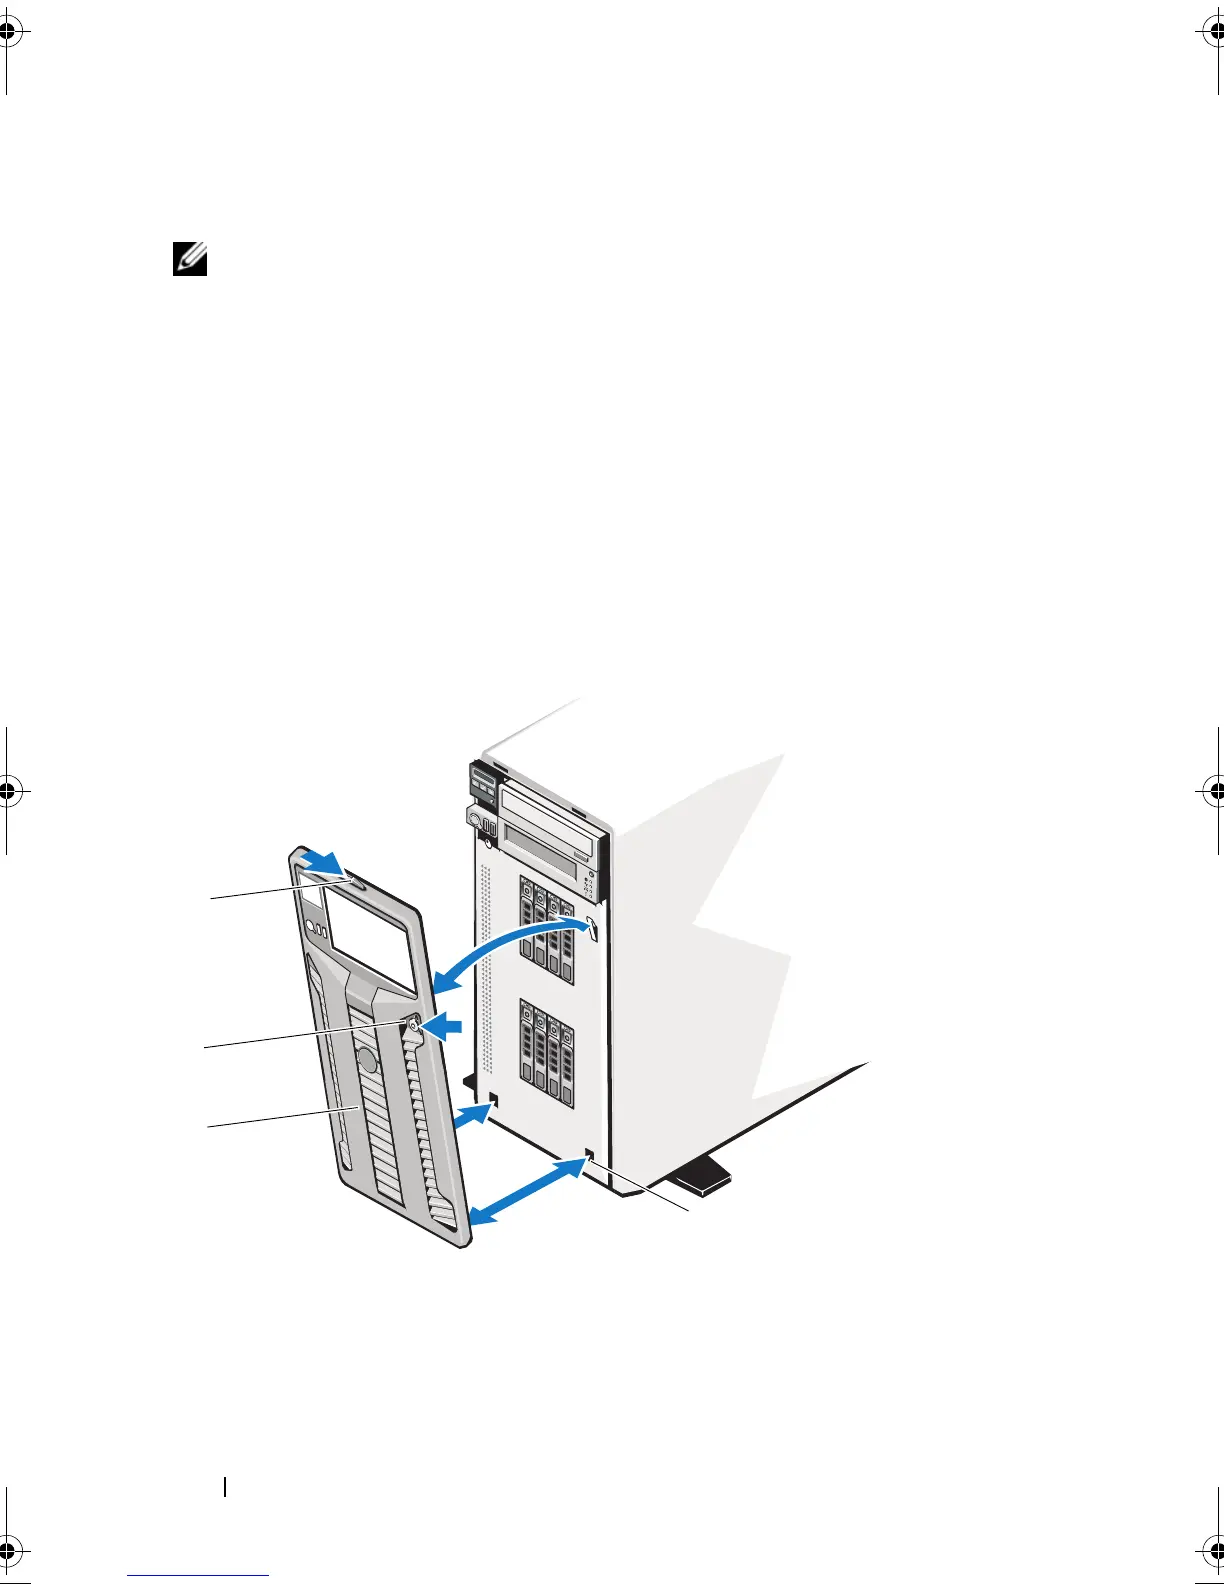
Front Bezel
NOTE: If you are removing or installing a hot-swappable hard drive, the system may
remain turned on and in the upright position during removal of the front bezel. If you
are removing or installing any other system component(s), the system should be
turned off and placed in the orientation shown in Figure 3-1.
Removing the Front Bezel
1
Using the system key, unlock the front bezel (if locked).
2
Slide the release latch in the direction of the arrow and rotate the top end
of the bezel away from the chassis.
3
Lift the bezel away from the chassis.
Figure 3-3. Removing and Installing the Front Bezel
1 front bezel 2 front bezel lock
3 release latch 4 bezel tab slots (2)
4
3
1
2
book.book Page 84 Monday, June 15, 2009 11:33 AM