14 Getting Started
Network Configuration
Cabling and Configuring Your Network Connection
1
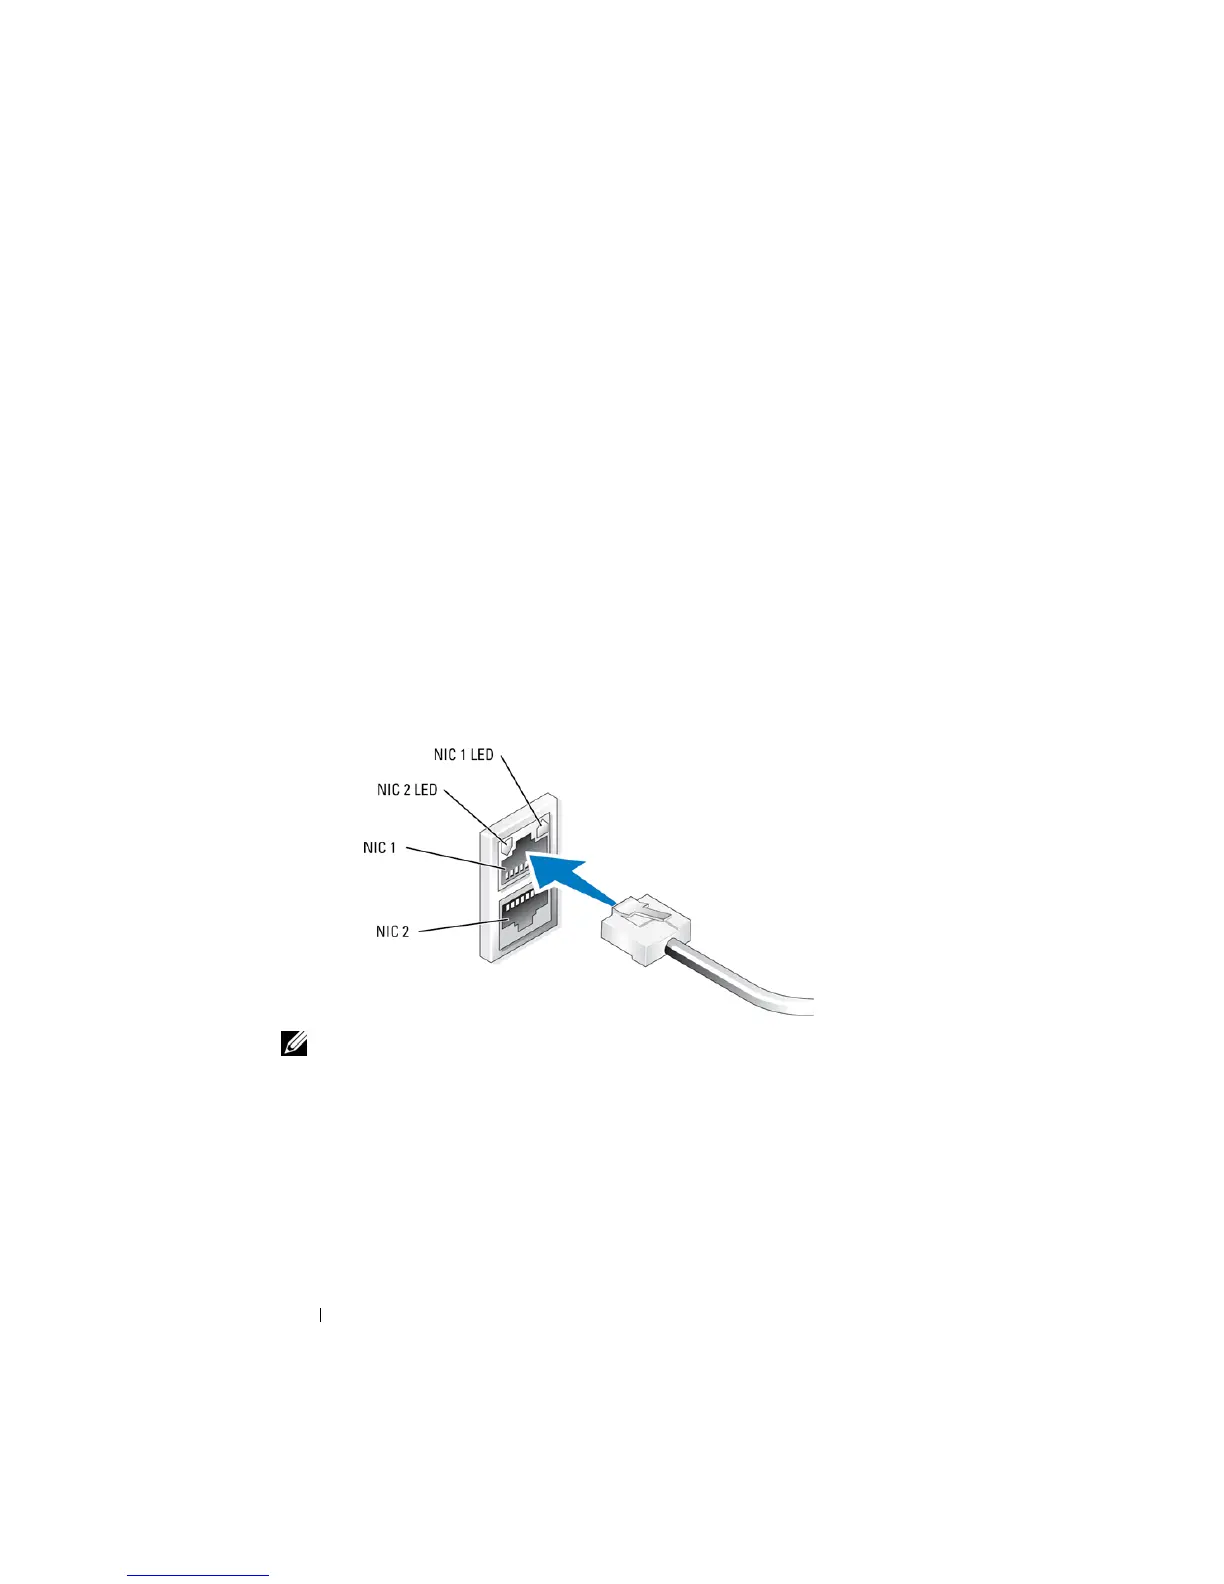
Connect one end of an Ethernet cable into one of the RJ-45 network
interface connectors (NIC) (see Figure 1-8) on the back of your system.
See the
Hardware Owner’s Manual
for the NIC locations.
2
Connect the other end of the Ethernet cable to a functioning Ethernet
jack.
3
Verify that the NIC connector LED is lit (see Figure 1-8). If the LED is
steady green, the connection is good. If the LED is flashing amber, data is
successfully being transferred.
4
If the LED is not lit, make sure that each end of the Ethernet cable is
seated properly in the NIC connector and Ethernet jack.
Figure 1-8. NIC Connector
NOTE: The NIC connector’s physical orientation may vary depending on your
system. See your system’s Hardware Owner’s Manual for more information.
Configuring TCP/IP Using DHCP (Default Setting)
Dynamic Host Configuration Protocol (DHCP) is enabled by default on your
system. If your network is not configured with a DHCP server, proceed to
"Configuring TCP/IP Using a Static IP Address" on page 15 to configure a
static IP address on your system. Use the following procedure to verify your
system’s DHCP configuration.
 Loading...