22 Disassembly and reassembly
Next steps
1. Install the keypad board.
2. Install the back cover.
3. Install the VESA cover.
4. Install the stand.
5. Follow the procedure in After working inside your monitor.
Interface board
Removing the interface board
Prerequisites
1. Follow the procedure in Before working inside your monitor.
2. Remove the stand.
3. Remove the VESA cover.
4. Remove the back cover.
5. Remove the keypad board.
6. Remove the chassis assembly.
Steps
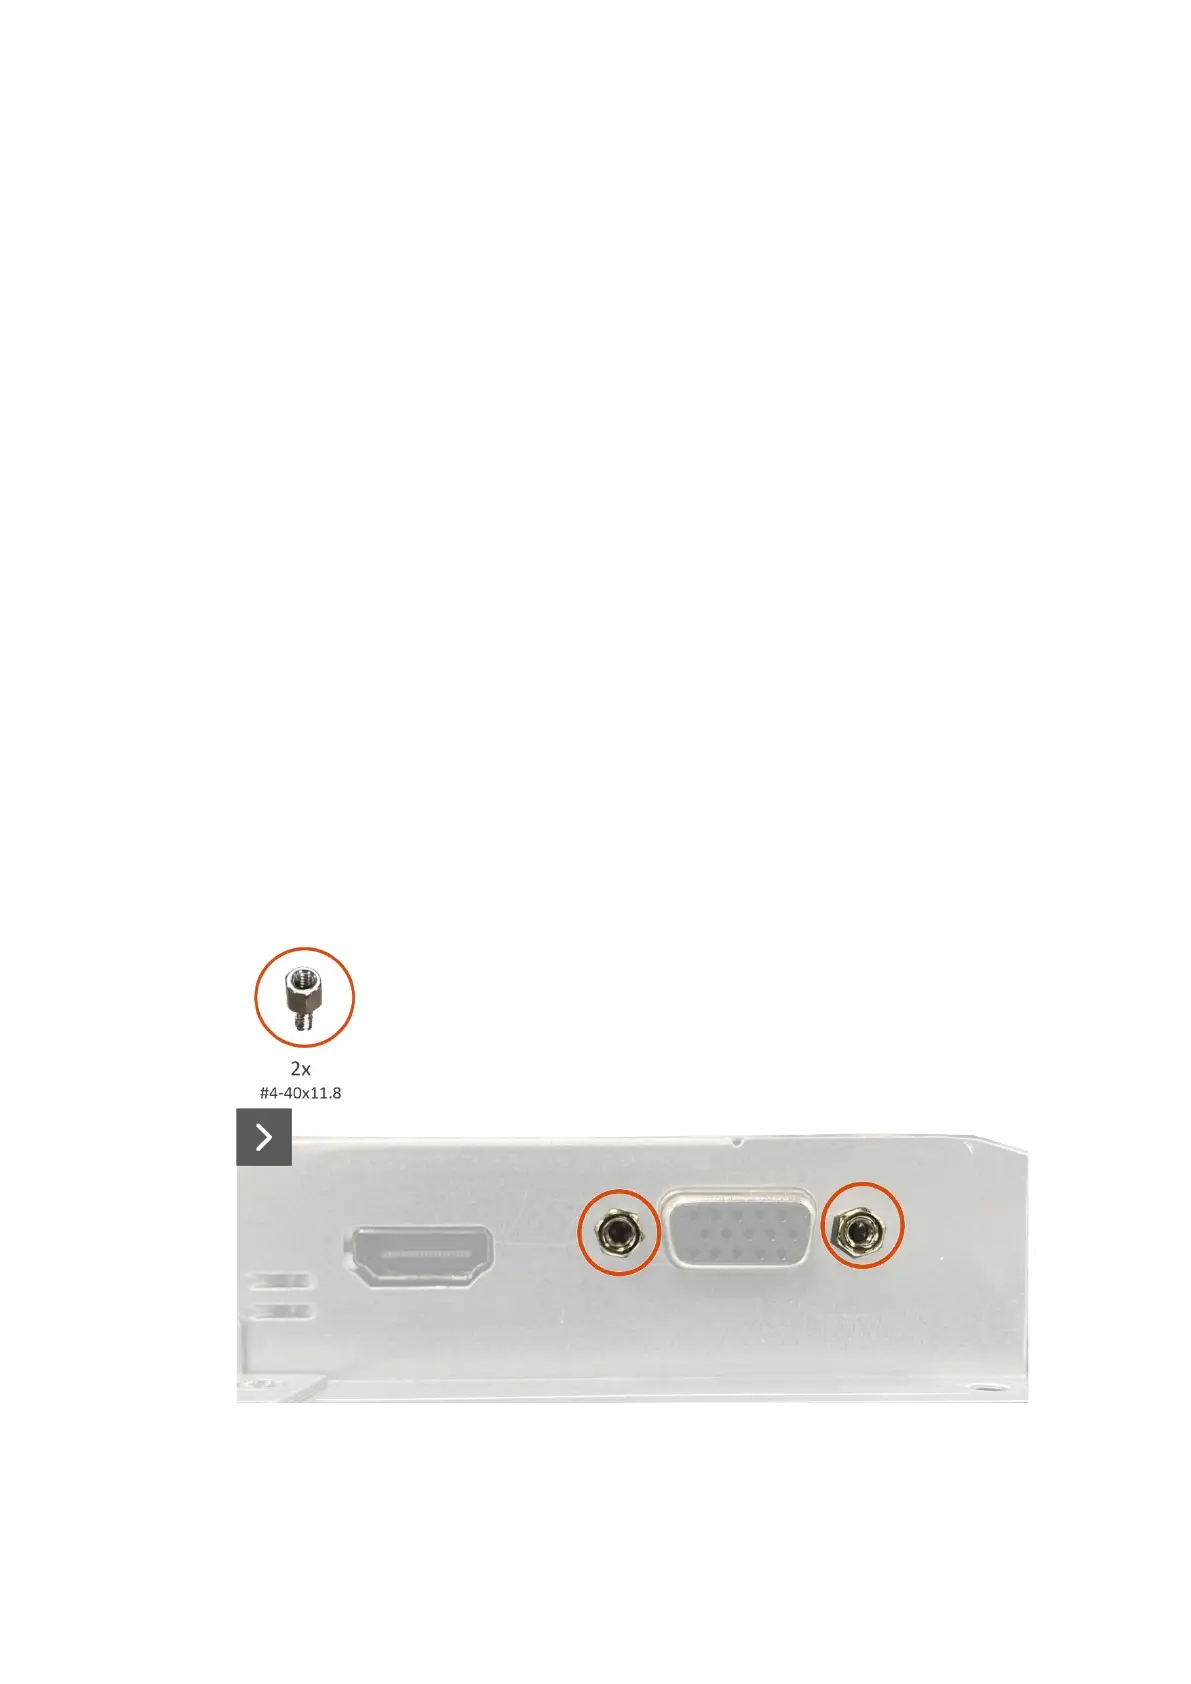
1. Remove the two hex screws from the VGA port.
2. Peel the mylar from the chassis assembly.
3. Remove the four screws (M3x6) from the interface board and power board.
4. Remove the screw (M4x9) from the power board.
5. Remove the interface board and power board from the chassis.
6. Disconnect the power cable from the connector on the interface board.
7. Disconnect the LVDS cable from the connector on the interface board.
Figure 20. Removing the interface board