Setting up the monitor | 45
Connecting your monitor
WARNING: Before you begin any of the procedures in this section, follow
the Safety Instructions.
NOTE: Dell monitors are designed to work optimally with the Dell supplied
cables inside the box. Dell does not guarantee the video quality and
performance if non-Dell cables are used.
NOTE: Route the cables through the cable-management slot before
connecting them.
NOTE: Do not connect all the cables to the computer simultaneously.
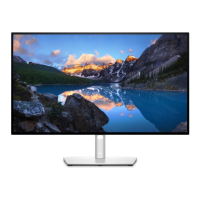
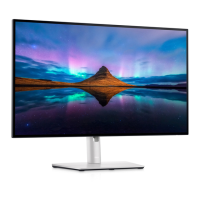
NOTE: The images are for the purpose of illustration only. The appearance
of the computer may vary.
To connect your monitor to the computer:
1. Turn o your computer.
2. Connect the DisplayPort or USB cable, and the Thunderbolt
TM
4 cable from your
monitor to the computer.
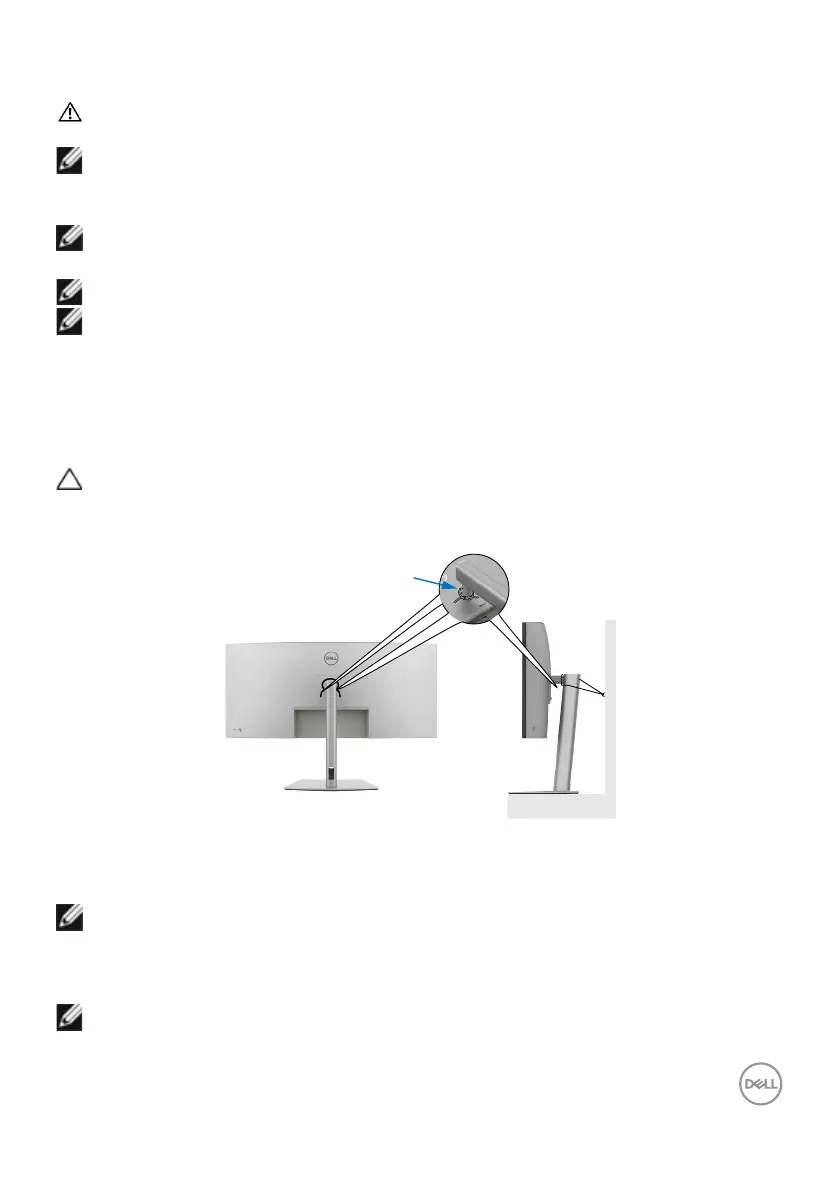
CAUTION: Before using the monitor, it is recommended to fasten the stand
riser to a wall using cable tie or a cord that can support the weight of
monitor in order to prevent the monitor from falling.
cable tie or a cord
3. Turn on your monitor.
4. Select the correct input source from the OSD Menu on your monitor and then
turn on your computer.
NOTE: U4025QW default setting is DisplayPort 1.4. A DisplayPort 1.4
Graphic card may not display normally. See product specific problems
– No image when using DP connection to the PC to change the default
setting.
NOTE: Remove the rubber plug when using Thunderbolt™ 4 downstream
or USB-C
®
upstream connector.