110
ENGLISH
Operating the main remote control unit
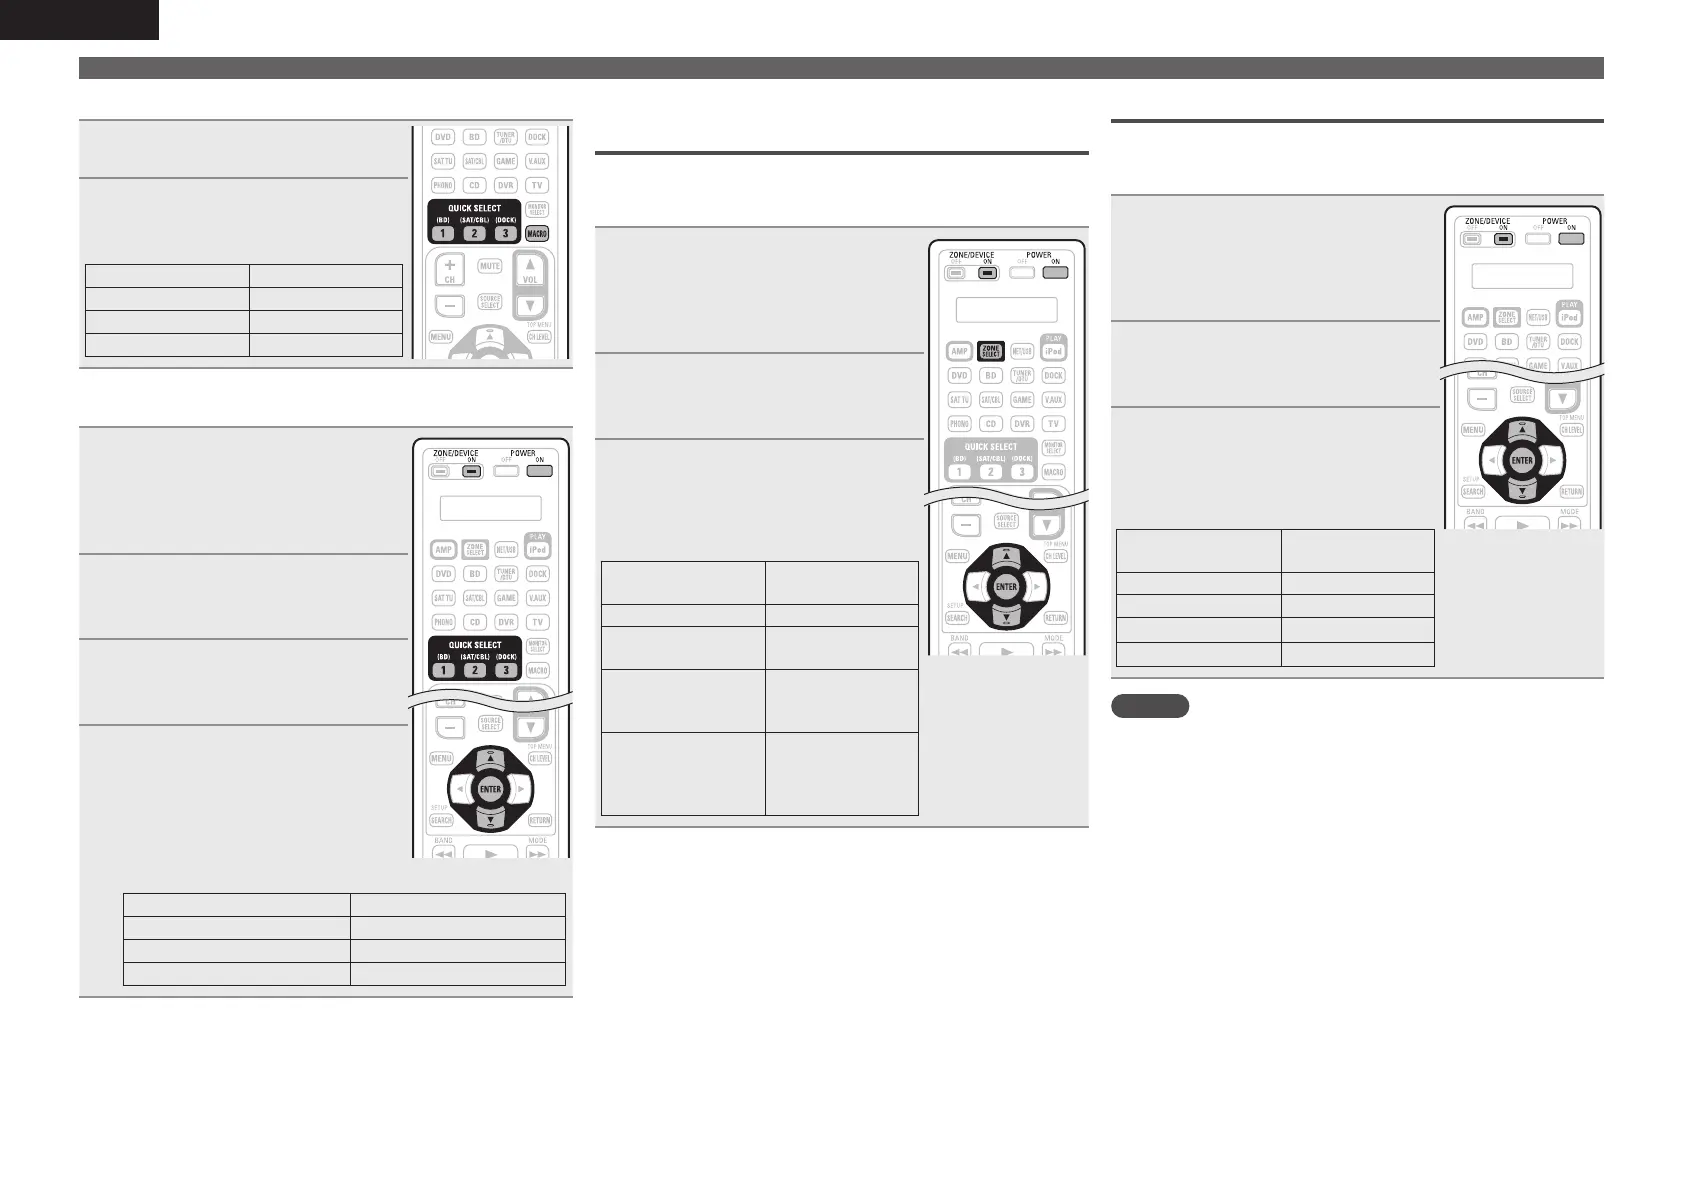
n Using the macro function
1
Press MACRO.
2
Press the QUICK SELECT button
you used to store the macro
function.
Button Macro number
QUICK SELECT 1 MACRO-1
QUICK SELECT 2 MACRO-2
QUICK SELECT 3 MACRO-3
n Resetting the macro function
1
Press and hold POWER ON and
ZONE/DEVICE ON for at least 3
seconds.
“SETUP” flashes twice on the remote
control unit.
2
Use ui to display “RESET” on
the remote control unit and press
ENTER.
3
Use ui to display “MACRO”
on the remote control unit and
press ENTER.
4
When “MCNo? ” appears on the
remote control unit, press the
QUICK SELECT button that you
want to reset.
“RESET” flashes four times on the
remote control unit and the normal
operation mode is restored.
Button Macro number
QUICK SELECT 1 MACRO-1
QUICK SELECT 2 MACRO-2
QUICK SELECT 3 MACRO-3
Specifying the zone used with the main
remote control unit
When the ZONE SELECT button is pressed, only the set zone can be
operated with the remote control unit.
• The factory setting is “M234”.
1
Press and hold POWER ON and
ZONE/DEVICE ON for at least 3
seconds.
“SETUP” flashes twice on the remote
control unit.
2
Use ui to display “ZONEL” on
the remote control unit and press
ENTER.
3
Use ui to set the zone to be used
and press ENTER.
“SET” flashes four times on the remote
control unit and the normal operation
mode is restored.
Remote control unit
display
Zone to be used
M MAIN ZONE only
M2
MAIN ZONE /
ZONE2
M23
MAIN ZONE /
ZONE2 /
ZONE3
M234
MAIN ZONE /
ZONE2 /
ZONE3 /
ZONE4
Setting the Remote ID
When using multiple DENON AV receivers in the same room, make
this setting so that only the desired AV receiver operates.
• The factory setting is “ID-1”.
1
Press and hold POWER ON and
ZONE/DEVICE ON for at least 3
seconds.
“SETUP” flashes twice on the remote
control unit.
2
Use ui to display “RC-ID” on
the remote control unit and press
ENTER.
3
Use ui to set the remote ID and
press ENTER.
“SET” flashes four times on the remote
control unit and the normal operation
mode is restored.
Remote control unit
display
Remote ID
ID-1 1
ID-2 2
ID-3 3
ID-4 4
NOTE
When you change the remote ID, make sure that the remote
control unit and the remote ID of the main unit are exactly the same
(vpage101).
1.AVR4311E2_ENG_6th_0810.indd 110 2010/08/12 10:12:21
 Loading...