29
CAUTION!
• The master volume is set to “–30 dB” when test tones are output.
• The test tones are for confirming the low frequency playback limits and are played at an extremely high level. When using a low output
subwoofer, be very careful about irregular operations exceeding clipping by for example turning down the subwoofer’s attenuator before
starting then slowly turning the attenuator up to the listening level.
• Also, when the subwoofer is set to “No” in the speaker configuration, the test tones are output from the front speakers. When using front
speakers with low input resistance, check that the sound is not clipped at sections where the signal is strong on the CD music source before
starting the peak limit setting. The peak limit setting should not be performed if the music source cannot be played with the master volume
set at “–15”. Set the front speakers to “Small” and the subwoofer to “Yes” in the speaker configuration. When this is done, the low
frequencies are cut, so the effect is insufficient. We strongly recommend adding a subwoofer.
• If the test tone is clipped when it is set to “–18 dB”, set the peak limit to “–18 dB”. In this case, the input resistance of the subwoofer or
front speakers is insufficient so clipping may occur when playing music. We recommend switching to a subwoofer with a higher input
resistance.
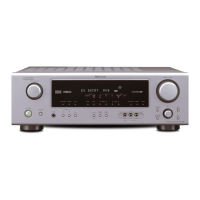
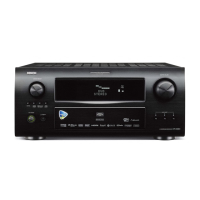
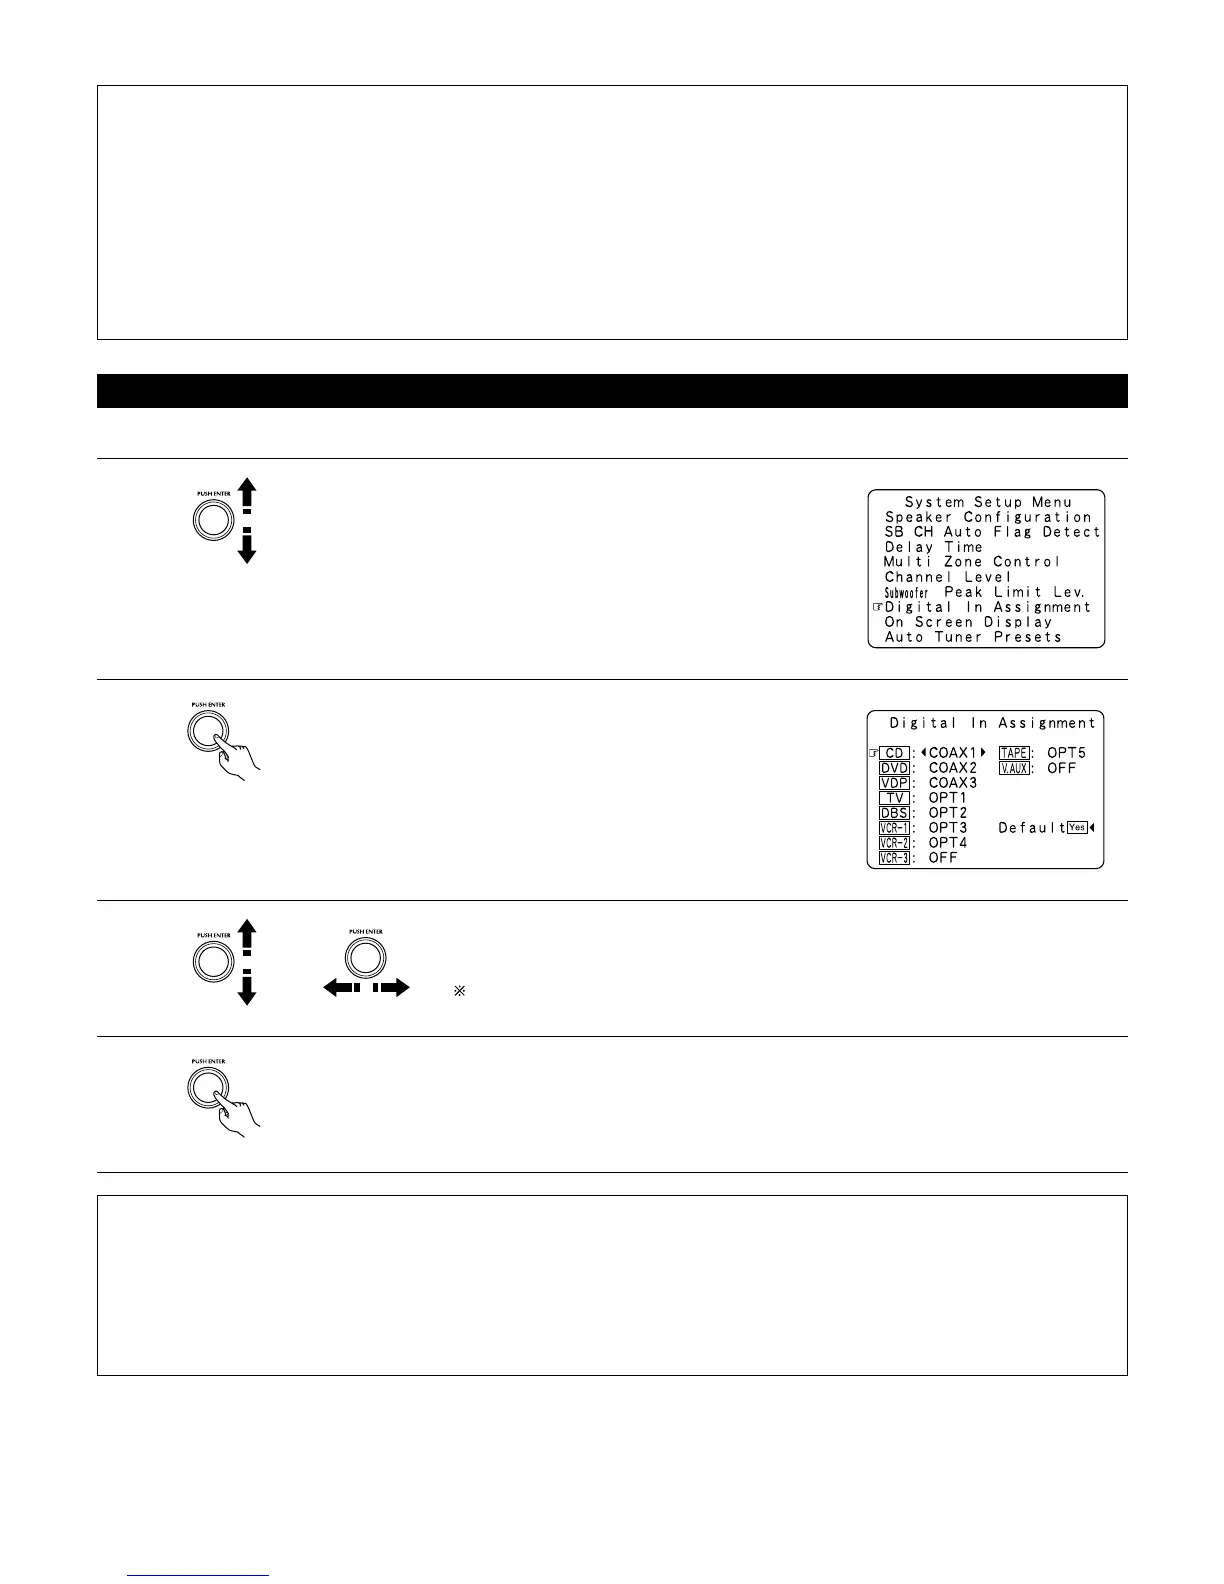
Setting the Digital In Assignment
• This setting assigns the digital input jacks of the AVR-4802 for the different input sources.
1
At the System Setup Menu select “Digital In Assignment”.
2
Switch to the Digital In Assignment screen.
3
Select the digital input jack to be assigned to the input source.
• To select the input source
• To select the digital input jack
Select “OFF” for input sources for which no digital input jacks are used.
If “Ye s” is selected for “Default”, the settings are automatically reset to the default values.
4
Enter the setting.
The System Setup Menu reappears.
NOTES:
• The OPTICAL 4 and 5 jacks on the AVR-4802’s rear panel are equipped with an optical digital output jack for recording digital signals on a
DAT deck, MD recorder or other digital recorder. Use this for digital recording between a digital audio source (stereo - 2 channel) and a digital
audio recorder.
• Do not connect the output of the component connected to the OPTICAL 4 OUT jack on the AVR-4802’s rear panel to any jack other than the
OPTICAL 4 IN jack.
• Do not connect the output of the component connected to the OPTICAL 5 OUT jack on the AVR-4802’s rear panel to any jack other than the
OPTICAL 5 IN jack.
•“PHONO” and “TUNER” cannot be selected on the Digital In Assignment screen.
 Loading...