Getting Started Connections Settings Playback Remote ControlMulti-zone Information Troubleshooting SpecificationsSettings
ENGLISH
Audyssey Auto Setup detects the presence of each speaker and
automatically calculates the speaker size, channel level, distance and
crossover frequency settings. In addition, acoustical distortions are
corrected within the listening area.
When measuring begins, a test tone is output from each speaker.
Position and connect all speakers before commencing Audyssey
Auto Setup.
•
•
•
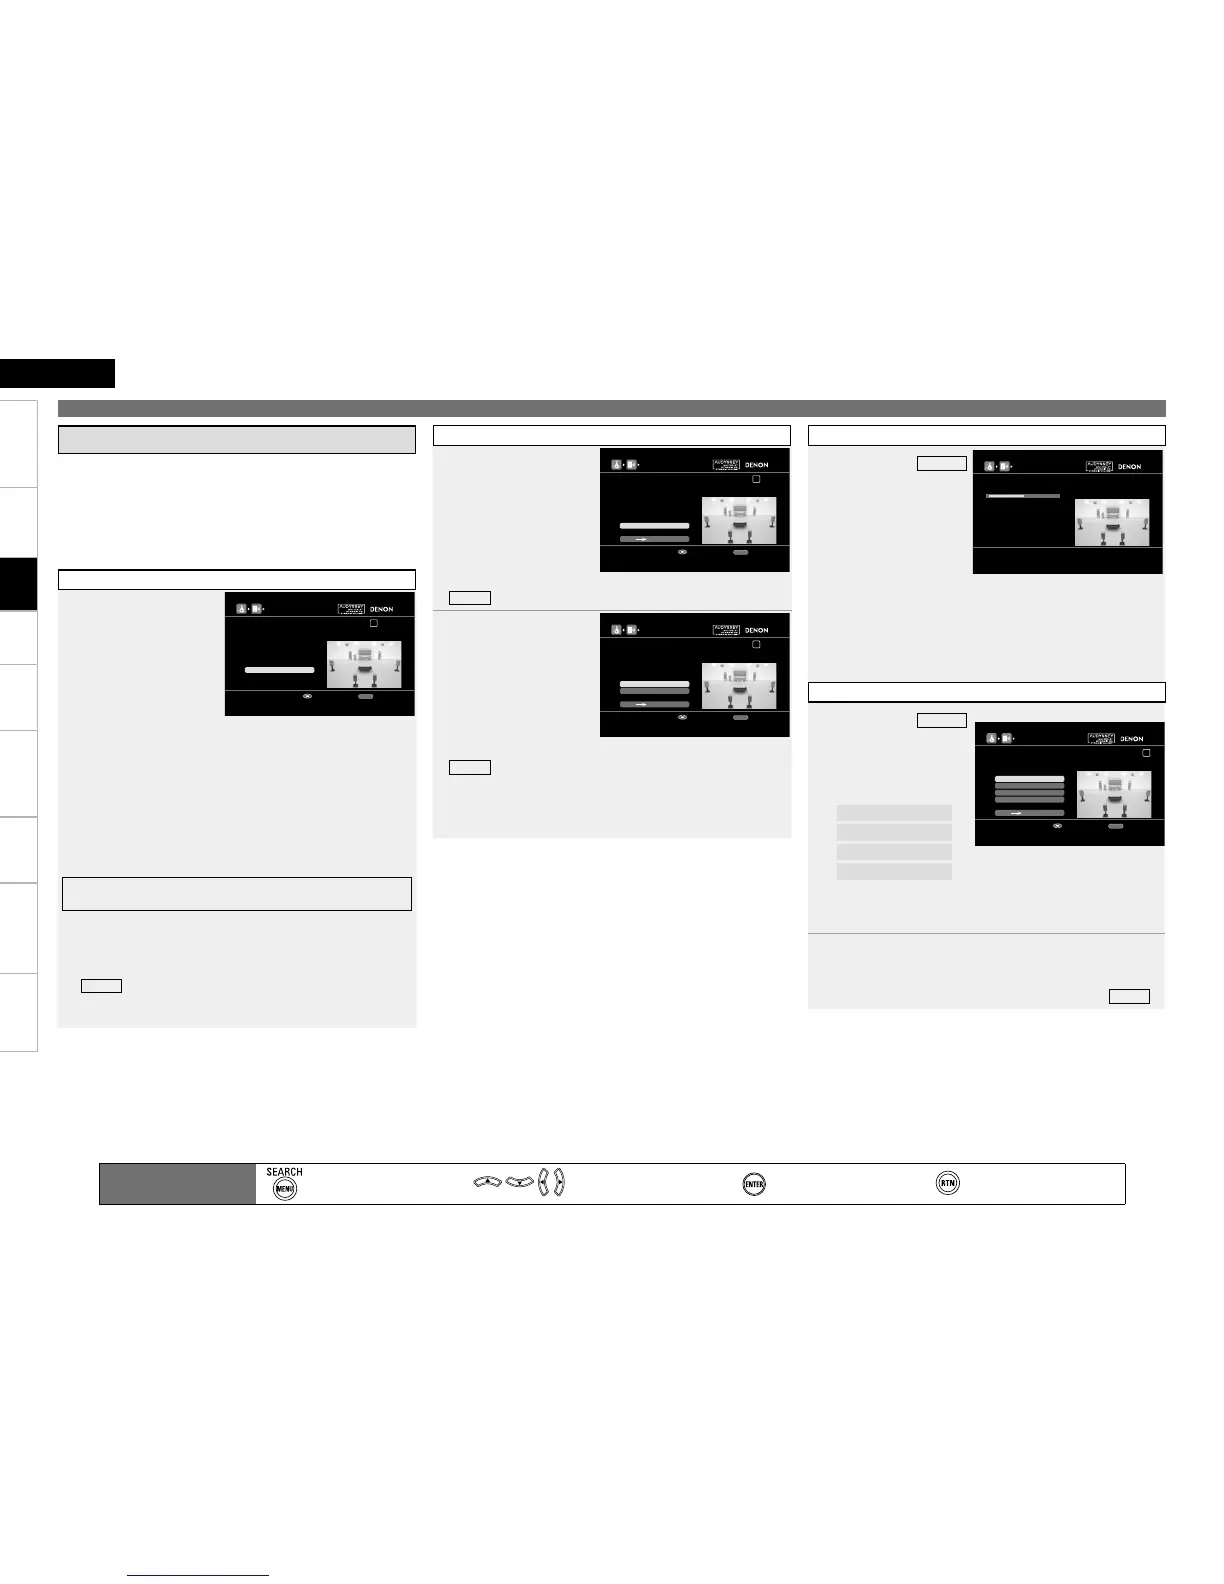
STEP2 Speaker Detection
1
Select “Measure” and
then press ENTER.
AUDYSSEY AUTO SETUP
1 2 3 4 5 6
RETURN
Measure
STEP2 Speaker Detection
Please pl ace th e m icr oph one at ea r
height at ma in lis ten ing po sit ion .
Start measurement. Output large test tone during measuring
Enter Cancel
q Measure the subwoofer
level
To stop measuring, select
“Cancel” and then press
ENTER.
b
When “Subwoofer” is set to “Skip” with “Channel Skip”, this
measurement is not taken, and the process proceeds to “w
Measure each speaker”.
w
Measure each speaker
Once the measurements in step q are complete, the
measurements in step w start automatically.
The measuring channel changes depending on the setting of “Amp
Assign” (vpage 38 ~ 40) and “Channel Skip” (vpage 33).
When an error message is displayed, check “Error Messages” for
details (vpage 36).
e Check the speaker detection results
When measuring ends, the speaker detection results are
displayed.
Select “Next → Measurement” and press ENTER to proceed to
“
STEP3
”.
Press u to select “Retry”, and when you press ENTER, measuring
at the main listening position starts again.
b
b
b
b
b
d Perform Audyssey Auto Setup
Make the Optimal Speaker Settings, and Correct the Room Acoustics (Audyssey™ Auto Setup)
STEP3 Measurement
2
Move the setup
microphone to
position 2, select
“Measure”, and then
press ENTER.
The measurement of the
2nd position starts.
AUDYSSEY AUTO SETUP
1 2 3 4 5 6
RETURN
Measure
STEP3 Measurement
Please pl ace th e m icr oph one at ea r
height at 2n d l ist eni ng pos iti on.
Start measurement. Output large test tone during measuring
Enter Cancel
Next Calculation
To skip this step, select “Next → Calculation” and proceed to
STEP4
.
b
3
Repeat step 2,
measuring positions
3 ~ 8.
When measurement of
position 8 is completed,
a “Measurements
finished.” message is
displayed.
AUDYSSEY AUTO SETUP
1 2 3 4 5 6
RETURN
STEP3 Measurement
Please pl ace th e m icr oph one at ea r
height at 3r d l ist eni ng pos iti on.
Start measurement. Output large test tone during measuring
Enter Cancel
Next Calculation
Measure
Retry
To skip this step, select “Next → Calculation” and proceed to
STEP4
.
Measure in at least 6 positions in and around the main listening
position. Even though you can complete measurement with at
least 6 positions, it is advisable to use more than 6 (a maximum
of 8 positions).
b
b
STEP4 Calculation
4
On the
STEP3
screen, select “Next
→ Calculation”, and
then press ENTER.
Measuring results
are analyzed, and the
frequency response
of each speaker in
the listening room is
determined.
AUDYSSEY AUTO SETUP
1 2 3 4 5 6
STEP4 Calculation
Now calcu lat ing ... Pl eas e w ait .
50%
Analysis takes several minutes to complete. The time required for
this analysis depends on the number of speakers connected.
The more connected speakers there are, the longer it takes to
perform analysis.
b
STEP5 Check
5
On the
STEP5
screen, press ui
to select the item you
want to check, and
then press ENTER.
Speaker Config. Check
Distance Check
Channel Level Check
Crossover Freq. Check
AUDYSSEY AUTO SETUP
1 2 3 4 5 6
RETURN
STEP5 Check
Check pro ces sin g r esu lts .
To procee d, pre ss “Ne xt” .
Select item to check
Enter Cancel
Next Store
Ch. Level Check
Crossover Check
Distance Check
Spkr Config Check
Subwoofers may measure a greater reported distance than
the actual distance due to added electrical delay common in
subwoofers.
b
6
Press ui to select the channel you want to check.
The measurement result of each speaker is displayed.
If you want to check another item, press RETURN.
Select “Next → Store” and press ENTER to proceed to “
STEP6
”.
b
b
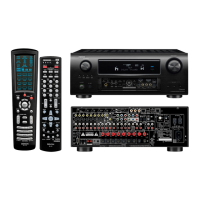
Main remote control unit
operation buttons
:Displaying the menu
Cancel the menu
:Moves the cursor
(Up/Down/Left/Right)
:Confirm the setting :Return to previous menu

 Loading...