b When there are several pages of preset codes, the pages can be
switched by pressing the main remote control unit’s o or p when
the main remote control unit is in “MAIN” mode.
How to carry out preset register
See page 109 for details on how to carry out preset registration.
1. Press DEVICE (DVD/HDP, VCR/DVR, TV or SAT/CABLE) on the main
remote control unit for the device you want to preset.
2. Press and hold in RC SETUP on the main remote control unit for at least
3 seconds.
The signal transmission indicator flashes twice.
3. Enter a 5-digit code using 0 ~ 9 on the main remote control unit.
When the code is registered, the signal transmission indicator flashes
twice.
4. Check if the device is operating with the registered preset code.
If the device does not operate try registering a different preset code.
5
.
Press MAIN on the main remote control unit to set the remote control
to “MAIN” mode.
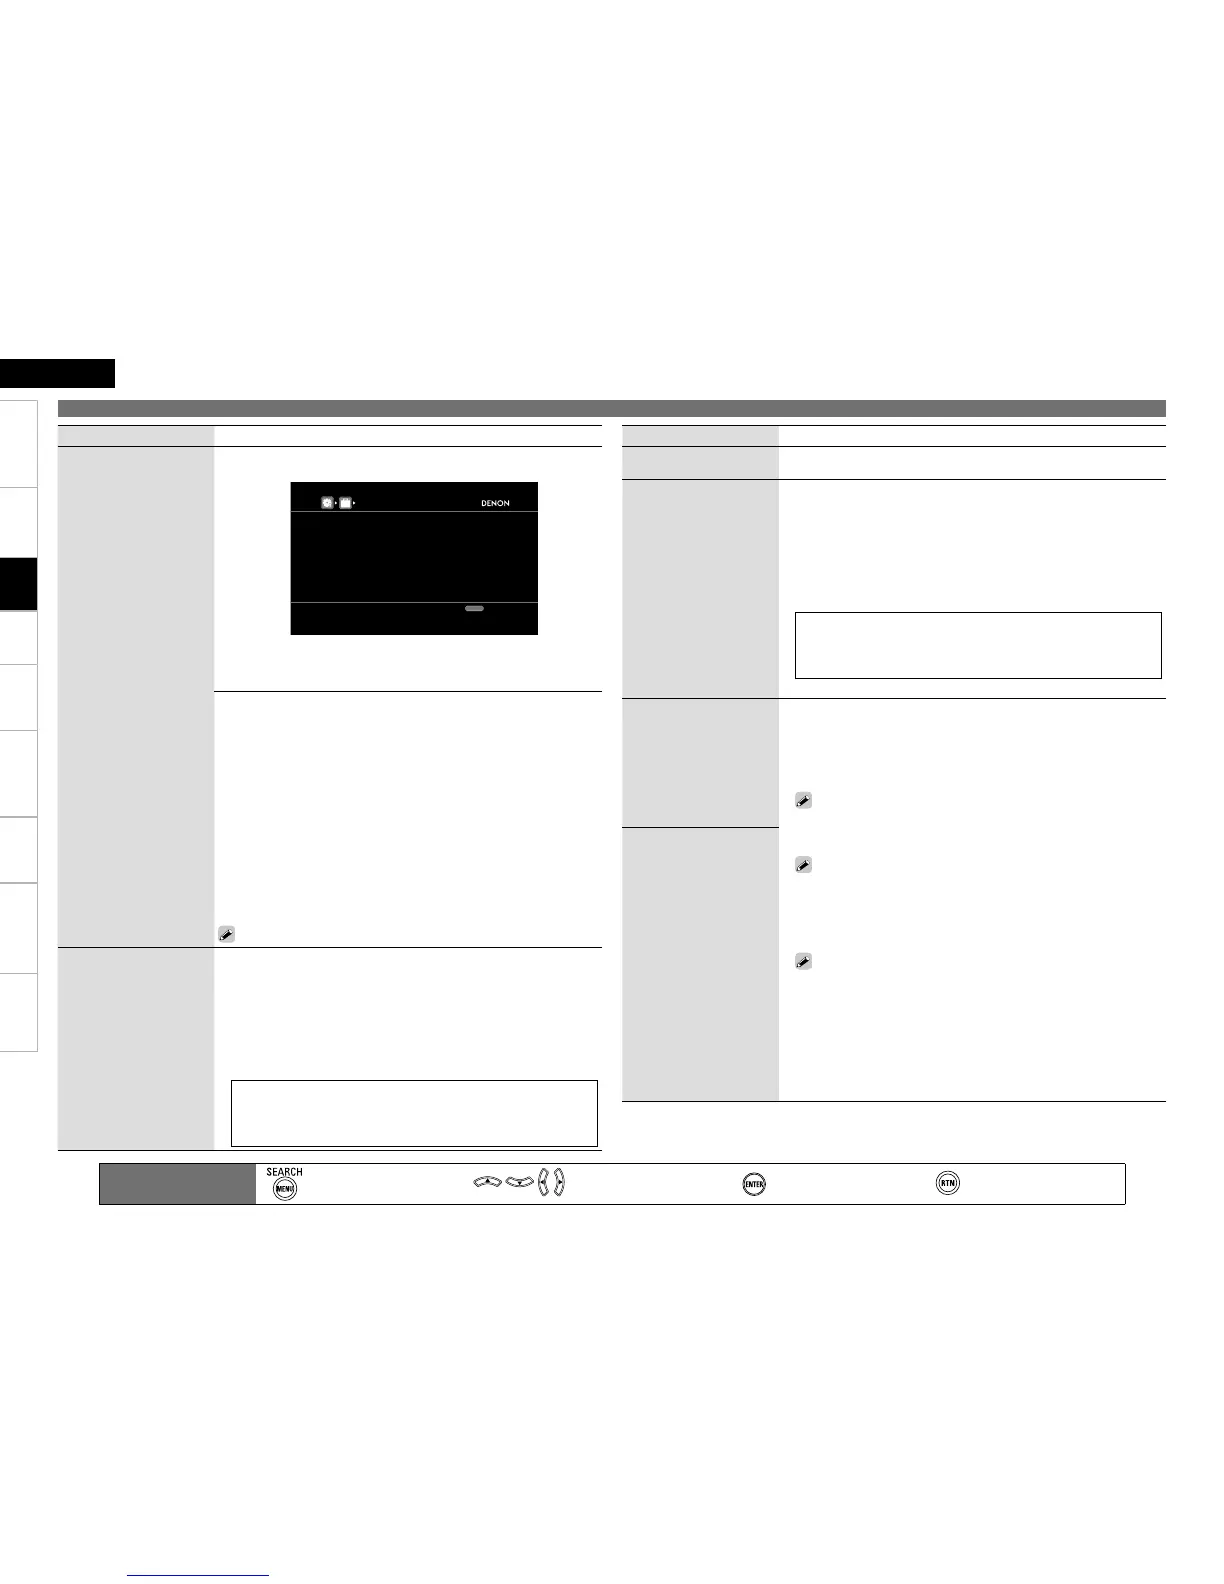
Press MENU.
The main unit can also be operated with MENU, uio p, ENTER.
n
Quick Select Name
Change the “Quick Select”
display title to one you
prefer.
1. Use ui to select the name of the Quick Select setting you want to
change, then press p or ENTER.
2. Use o p to set the cursor to the character you want to change.
3. Use ui to change the character, then press ENTER.
Up to 16 characters can be input.
You can change the character type when you press SEARCH on the
main remote control unit or MENU during character input.
The types of characters that can be input are as shown below.
GUpper case charactersH ABCDEFGHIJKLMNOPQRSTUVWXYZ
GLower case charactersH abcdefghijklmnopqrstuvwxyz
GSymbolsH ! # % & ‘ ( ) * + , - . / : ; < = “ > ? @ [ \ ]
GNumbersH 0123456789 (Space)
•
•
•
Setting items Setting contents
Quick Select Name
(Continued)
4. Repeat steps 1 ~ 3 to change the display name.
Zone Rename
Change the display title of
each zone to one you prefer.
1. Use ui to select the zone name (MAIN ZONE, ZONE2, ZONE3 or
ZONE4) you want to change, then press p or ENTER.
2. Use o p to set the cursor to the character you want to change.
3. Use ui to change the character, then press ENTER.
Up to 10 characters can be input.
You can change the character type when you press SEARCH on the
main remote control unit or MENU during character input.
The types of characters that can be input are as shown below.
GUpper case charactersH ABCDEFGHIJKLMNOPQRSTUVWXYZ
GLower case charactersH abcdefghijklmnopqrstuvwxyz
GSymbolsH ! # % & ‘ ( ) * + , - . / : ; < = “ > ? @ [ \ ]
GNumbersH 0123456789 (Space)
4. Repeat steps 1 ~ 3 to change the display name.
•
•
•
Trigger Out 1
Select the condition for
activating Trigger Out 1 for
the input source, surround
mode, etc.
See “TRIGGER OUT jacks”
(vpage 26) for more
information on trigger out.
When Setting for Zone (MAIN ZONE / ZONE2 / ZONE3 / ZONE4)
Trigger out is activated through linkage to the power of the zone set to
“ON”.
When Setting for Input Source
Activate trigger out when the input source set to “ON” is selected.
Valid for the zone set to “ON” with “When Setting for Zone”.
When Setting for Surround Mode
Activate trigger out when the surround mode set to “ON” is selected.
Valid when the “MAIN ZONE” set to “ON” with “When Setting
for Zone” is selected, and when the input source set to “ON” with
“When Setting for Input Source” is selected.
When Setting for HDMI Monitor
Activate trigger out when the HDMI monitor set to “ON” is selected.
Valid when the “MAIN ZONE” set to “ON” with “When Setting
for Zone” is selected, and when the input source set to “ON” with
“When Setting for Input Source” is selected.
When setting for “Vertical Stretch”
Activate trigger out through linkage when “Vertical Stretch” (vpage
42) is set to “ON”.
ON : Activate trigger on this mode.
– – – : Do not activate trigger on this mode.
n
n
n
n
n
•
•
Trigger Out 2
As with “Trigger Out 1”,
select the condition for
activating Trigger Out 2.

 Loading...