TroubleshootingInformationHDMI Control FunctionPlaybackSetupGetting Started Specications
ENGLISH
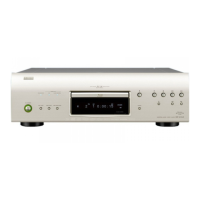
1. Home Theater Playback – Playing Back Using Multi-channel System –
NOTE
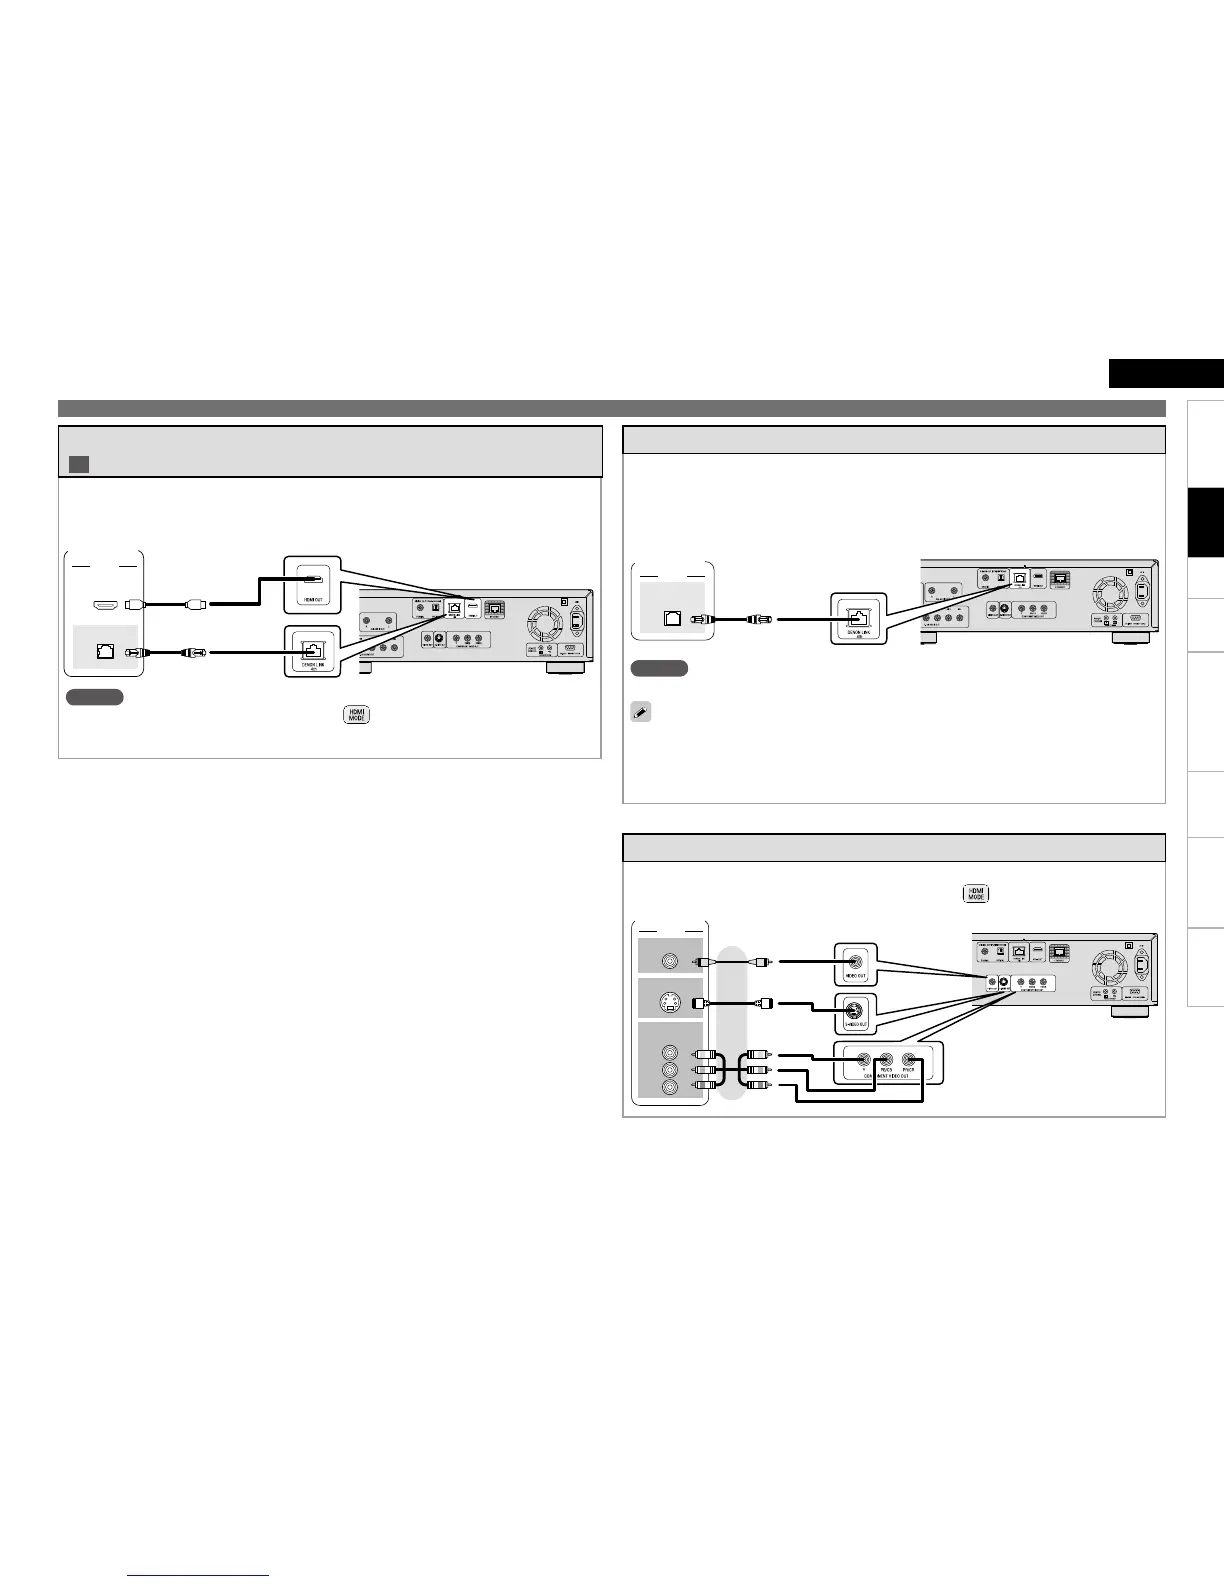
When using DENON LINK 4th functions, press the and set to “HDMI On”.
The jitter-free function does not work except during BD playback. In this case, the video signal is
output from the HDMI OUT terminal, and the audio signal from the DENON LINK terminal.
•
•
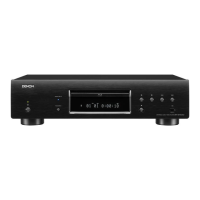
When you connect the DBP-4010UD to a DENON LINK 4th compatible AV Amp using DENON LINK
cable and HDMI cable, during BD playback the DBP-4010UD’s circuit operates with the AV Amp’s
master clock signal. (The clock control indicator of the DBP-4010UD lights.) This enables transmission
of high-quality digital audio with minimal jitter.
AV Amp
DENON LINK Connection q Making a Jitter-free Connection
BD
Connection to an AV Amp with No HDMI Video Input
7*%&0
7*%&0*/
47*%&0*/
:
1#
13
$0.10/&/5
7*%&0*/
AV Amp
NOTE
DENON LINK does not support BD audio transmission.
When connecting to a DENON LINK-compatible AV Amp, the multi-channel signals of DVD-Audio
discs, Super Audio CDs, etc., can be transferred as such in digital format.
DENON LINK connection requires that the version of AV Amp to be connected match the DBP-
4010UD version. Check the version of the AV Amp, and then on the GUI Menu, set “DENON LINK
Setup” – “DENON LINK Mode” (vpage 28).
If the DBP-4010UD and AV Amp versions do not match, audio cannot be output correctly.
•
•
AV Amp
DENON LINK supports digital transmission up to 24 bit/2 ch at 192/176.4 kHz, and up to 24 bit/6 ch
at 96 kHz or less.
When you have made a DENON LINK connection, the DBP-4010UD’s speaker setting becomes
invalid. (Make the speaker setting on the connected AV Amp)
DENON LINK 2nd cannot transmit multi/stereo area audio of Super Audio CD.
•
•
•
DENON LINK Connection w Making a Normal Connection
Check the video terminals and make the connection to one of them.
When connecting using the component video outputs, press and set it to “HDMI Off”.
•
•
Connections