ENGLISH
TroubleshootingInformationHDMI Control FunctionPlaybackSetupConnectionsGetting Started SpecicationsSetup
Setting items
Setting
contents
Default
DNR
Reduce noise in the entire
picture.
0 ~ +3 0
Contrast
Adjust picture contrast.
–6 ~ +6
0
Brightness
Adjust picture brightness.
0 ~ +12 0
Enhancer
z
3
Strengthens the contours of
the picture.
0 ~ +11 0
Gamma Correction
z
1
Adjust video brightness in
detail.
G0 ~ 9
G0 = 24 / G1 = 32
G2 = 48 / G3 = 64
G4 = 80 / G5 = 96
G6 = 128 / G7 = 160
G8 = 192 / G9 = 224
Sharpness (medium range)
z
1, 3
Adjust picture sharpness
for the medium frequency
range.
–6 ~ +6
0
Sharpness (high range)
z
3
Adjust picture sharpness for
the higher frequency range.
–6 ~ +6 0
Hue (color tone)
z
4
Adjust the green and red
color balance.
–6 ~ +6 0
White Level
Adjust the white level.
–5 ~ +5 0
Black Level
z
3
Adjust the black level.
–5 ~ +5 0
Chroma Level
Adjust the color density.
–6 ~ +6 0
Setup Level
z
2
Adjust the black areas of the
image.
0 IRE
7.5 IRE
0 IRE
H.Position
z
3
Adjust the left/right position.
–7 ~ +7 0
V.Position
z
3
Adjust the top/bottom
position.
–7 ~ +7 0
You can adjust the picture quality to your liking.
You can store up to a maximum of 5 values in memory.
When Finishing Picture Adjustment
Press during picture adjustment.
When Outputting Standard Picture Quality without
Using Picture Adjustment
Press and to select “Standard” and then press .
n
n
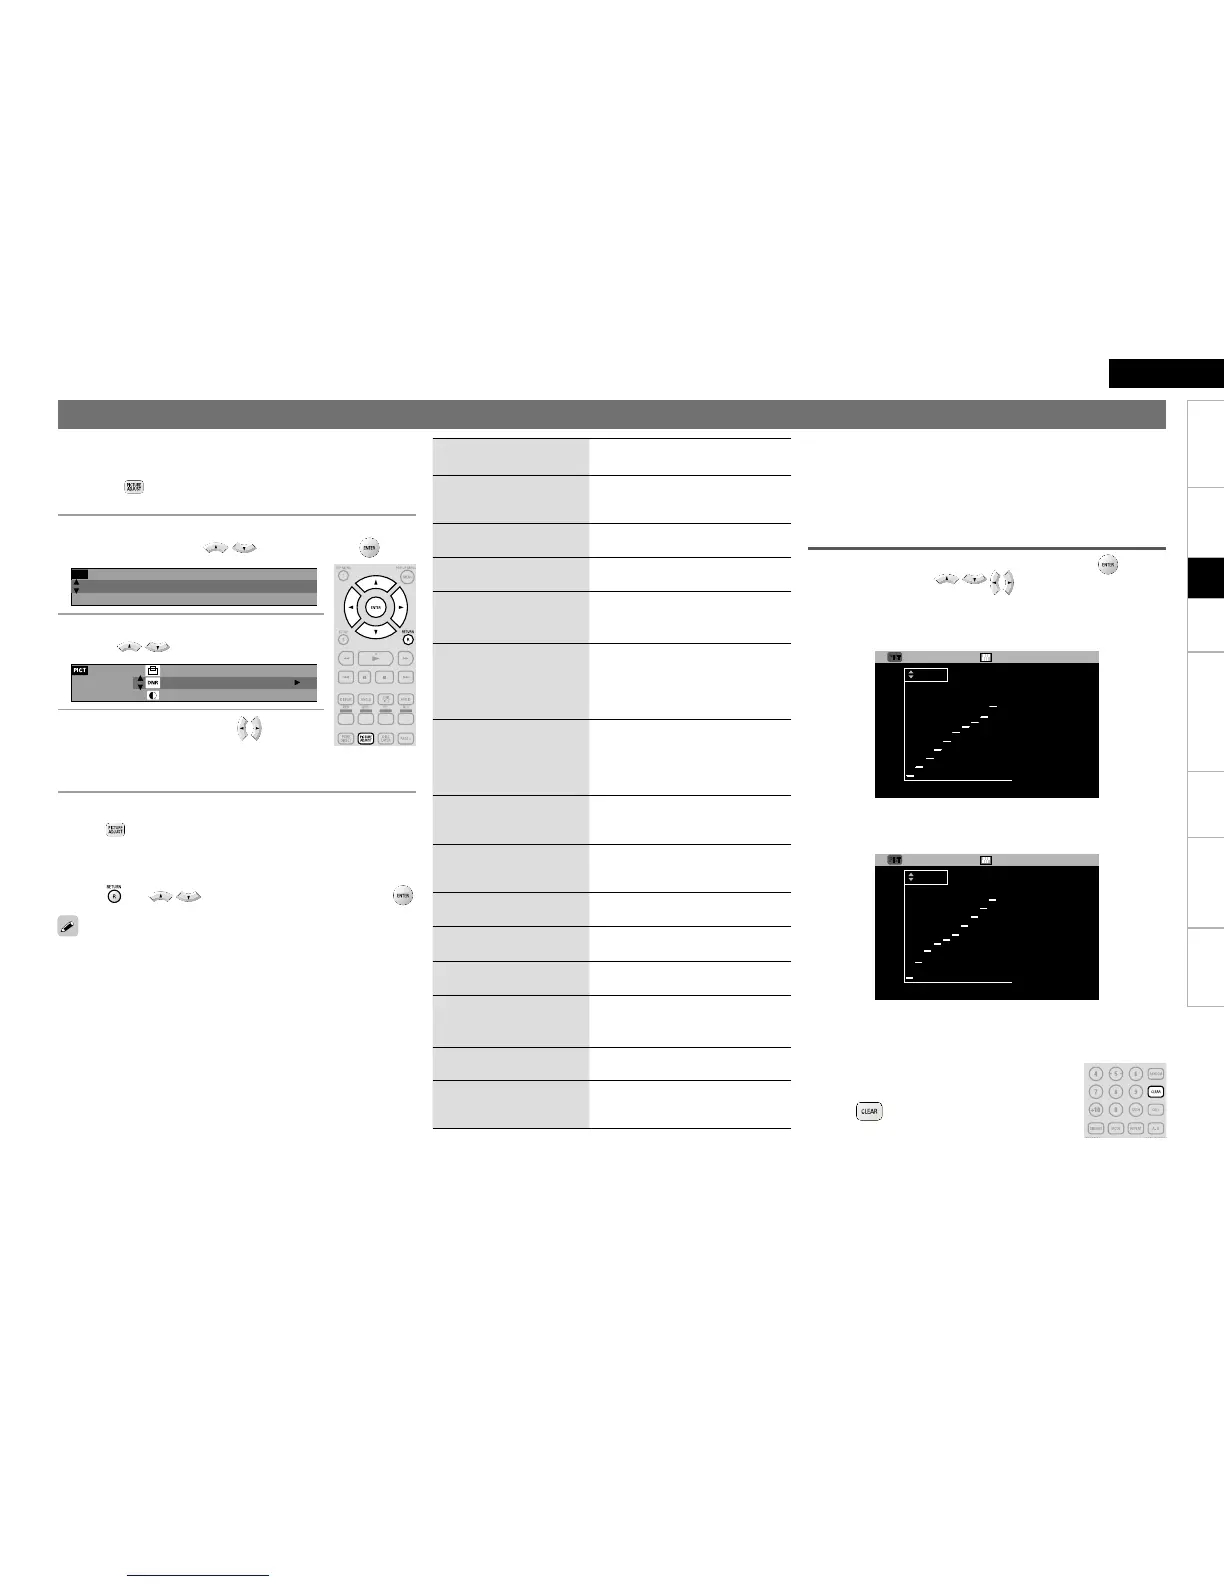
About Gamma Correction
When you select “Gamma Correction”, and then press , you can
change the setting with .
In the example of the graph below, the horizontal axis shows the
brightness level of the pictured recorded on the disc. The vertical axis
shows the brightness of the picture output by the DBP-4010UD.
On adjusting the brightness on the output side of dark parts on
the disc side, the normally hard to see dark parts become clearly
discernible images.
Resuming Initial Values after Gamma
Correction
Press while a graph is displayed.
•
•
n
The picture adjustment set values are retained in memory even after
the power is turned off.
Adjusting the Picture Quality (Picture Control)
1
Press .
The currently set status is displayed.
2
Select the memory number you want (“Memory 1” ~
“Memory 5”) with , and then press .
4
Change the setting with .
Refer to the table on the right regarding contents of items which
can be set.
b
z1:This is not available for HDMI output.
z2: Effective only for the 480i video signal from the video output terminal, S
video output terminal, and component video output terminal.
z3: This has no effect with the video and S-Video outputs.
z4: This has no effect with the video and S-Video outputs when playing PAL
video.