SGX VIBRATOR MOTOR
7-24 15 Jun 12
HyperPoolShaker
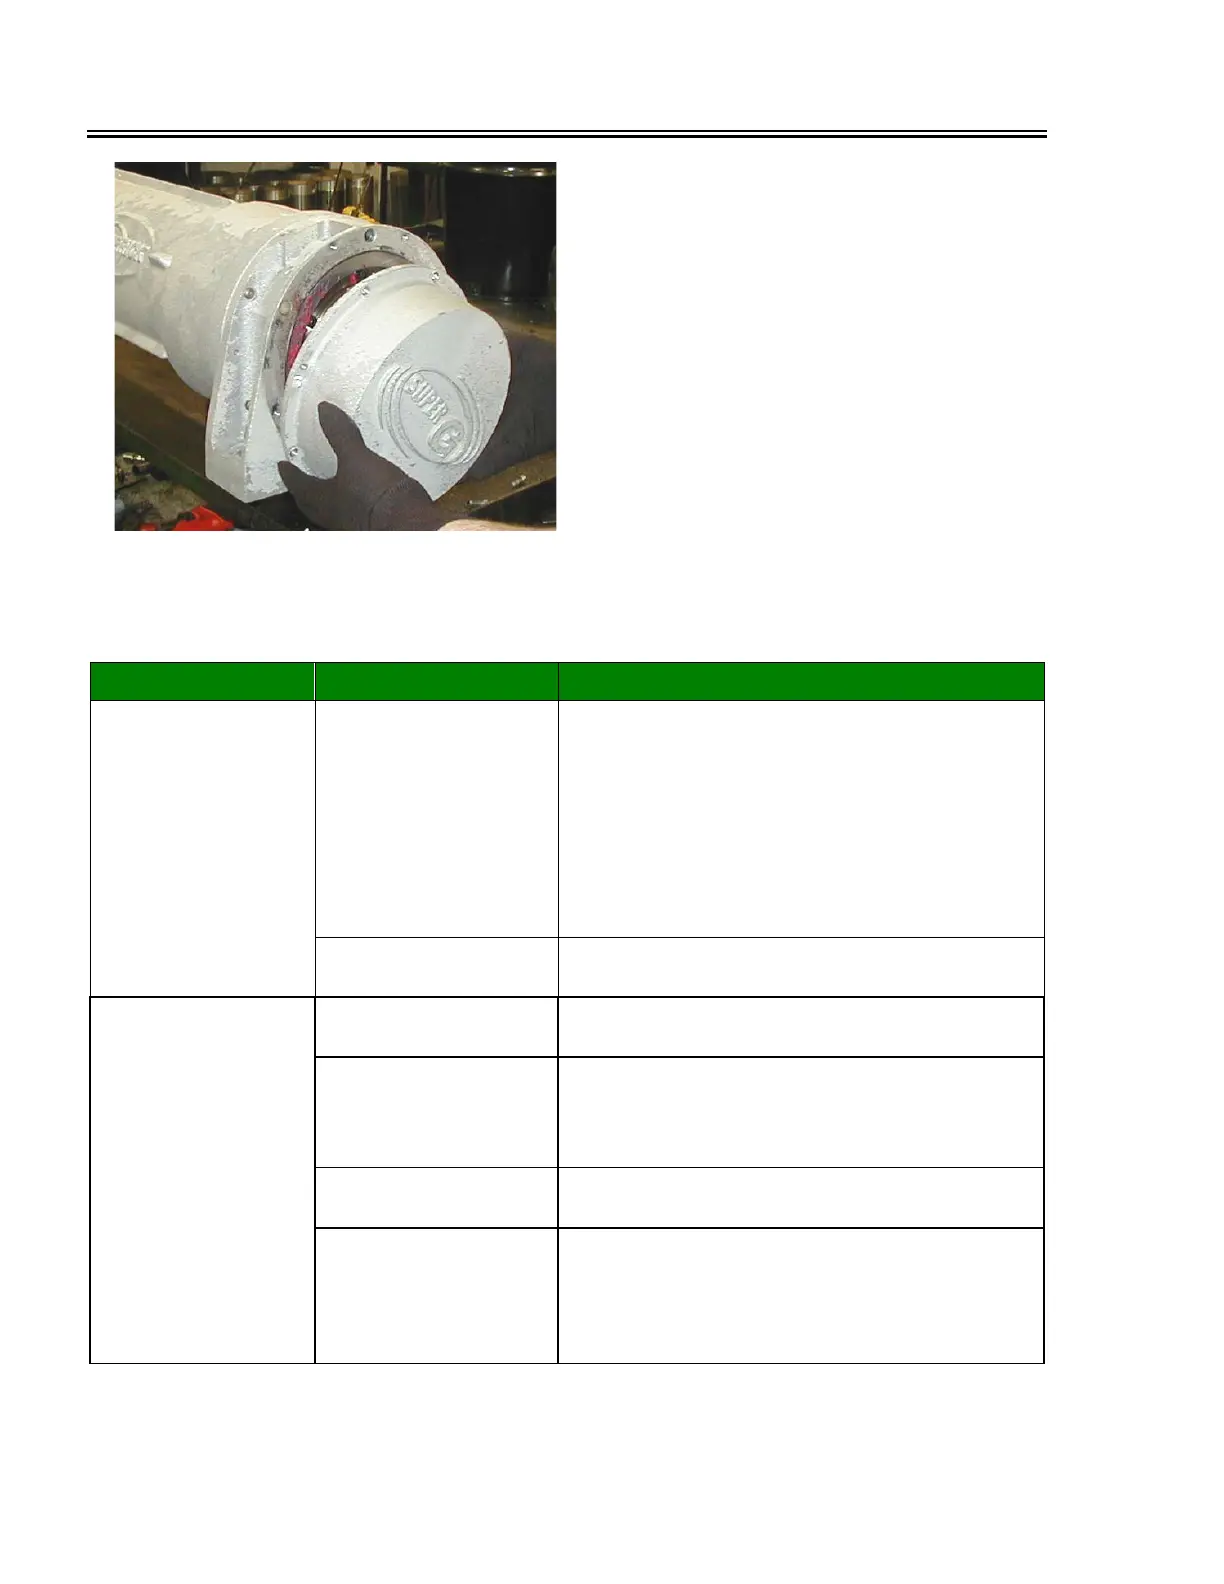
12 - Apply a small amount of grease to O-
ring groove between bearing housing and
bearing mount, and then carefully install O-
ring in groove.
DO NOT STRETCH O-RING DURING
INSTALLATION.
Position cover on motor case, and install six
M6-1.0 x 16 screws hand tight. Using a
torque wrench and a 5mm hex bit, tighten
screws to 115 in. lbs.
TROUBLESHOOTING
The troubleshooting procedures presented in the following chart are designed to assist in fault
isolation and correction of defects in the Derrick SGX vibrator motor.
Trouble Possible Cause Corrective Action
Motor fails to run
Incorrect voltage
Check that supply voltage agrees with motor
data plate. If correct, check fuses / circuit
breakers. Using a voltmeter, check for correct
supply power to all three phases at starter(s).
Using a voltmeter, verify that motor starter is
functioning properly and terminals T-1, T-2, and
T-3 are energized. Check for damage to power
cable connected to motor junction box. Correct
all defects.
Incorrect power supply
connections
Check electrical connections, and correct any
defects.
Starter circuit
overloads and trips
Incorrect supply
voltage
Check that supply voltage agrees with motor
data plate.
Incorrect thermal
overload
Check that thermal overload is capable of
handling full load current. Replace overload, if
inadequate (see motor data sheet for load
data).
Mounting hardware
loose
Check that mounting hardware is properly
tightened.
Vibrating motion of
motor and related
components are
restricted
Check that shipping brackets have been
removed or disengaged as required. Check
condition of float mounts. Verify that solids are
not preventing motion of the screen frame.
Correct all defects.