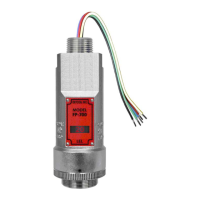
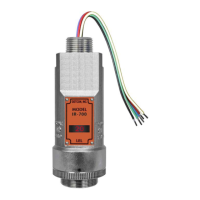
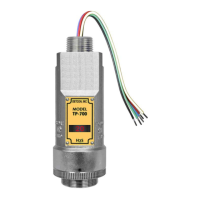
Model FP-700
FP-700 Instruction Manual Rev. 5.1 Page 26 of 46
NOTE: The “Set Bridge Voltage” function is executed during factory calibration of every FP-
700 sensor. In the field, this menu item is only needed when a replacement plug-in sensor is
being installed, or when mating a new FP-700 ITM with an existing plug-in sensor.
The menu item appears as: “Set Bridge Voltage”.
From the Set Bridge Voltage text scroll, hold the magnet over PGM1 or PGM2 until the “◄” prompt appears
and continue to hold the magnet in place for an additional 7-8 seconds (until the display starts to scroll “Setting
Bridge”). The ITM will then display “WAIT”. During the 1-minute sequence, the ITM will display the three-
digit number that corresponds to the bridge current as it is being adjusted. At conclusion, display will scroll “Set
Bridge Voltage”. The new bridge voltage can be viewed in the “View Sensor Status” menu.
Move to another menu item by executing a momentary hold, or, return to Normal Operation via automatic
timeout of about 15 seconds (the display will scroll “Set Bridge Voltage” 4 times and then return to Normal
Operation).
3.5.8 Signal Output Check
Signal Output Check provides a simulated 4-20mA output and RS-485 Modbus™ output. This simulation
allows the user to conveniently perform a functional system check of their entire safety system. This signal
output simulation also aids the user in performing troubleshooting of signal wiring problems.
The menu item appears as: “Signal Output Check”.
From the “Signal Output Check” text scroll, hold the magnet over PGM1 or PGM2 until the “◄” prompt appears
and then hold continuously for an additional 10 seconds. Once initiated, the display will scroll “Simulation
Active” until the function is stopped. During simulation mode, the 4-20mA value will be increased from 4.0mA
to 20.0mA (in 1% of range increments at about a 1 second update rate) and then decreased from 20.0mA to
4.0mA. The same simulation sequence is applied to the Modbus™ output gas reading.
NOTE: Signal Output Check stays active indefinitely until the user stops the function. There is
no automatic timeout for this feature.
To end simulation mode, hold magnet over PGM1 or PGM2 for 3 seconds. The display will either move to the
prior menu item or move to the next menu item respectively.
Move to another menu item by executing a momentary hold, or, return to Normal Operation via automatic
timeout of about 15 seconds.
3.5.9 Restore Factory Defaults
Restore Factory Defaults is used to clear current user configuration and calibration data from memory and
revert to factory default values. This may be required if the settings have been configured improperly and a
known reference point needs to be re-established to correct the problem.
This menu item appears as: “Restore Defaults”.
NOTE: “Restoring Factory Defaults” should only be used when absolutely necessary. All
previously existing configurational inputs will have to be re-
entered if this function is executed.
A full 10-second magnet hold on PGM 2 is required to execute this function.