1918
3.0 Setup and Power Check
Carefully follow setup, assembly and alignment procedures defined in this manual, to
ensure quality image captures of defined areas of the patient’s anatomy.
3.1 The Backscatter Shield
In addition to the radiation shielded cone, the backscatter shield provides additional
protection to the operator and can be adjusted to permit exposures made at various
angles.
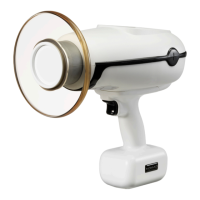
You may find that the backscatter shield needs to be
adjusted to accommodate sensors or angled exposures.
If adjustments are needed, gently glide the shield up or
down along the cone using equal pressure to maintain a
perpendicular alignment and to avoid binding.
To keep the shield securely on the cone, a cap is
permanently attached at the outer cone end. Do not
attempt to remove this cap or to remove the backscatter
shield. Attempting to do so will result in damage to your
device and will void the warranty.
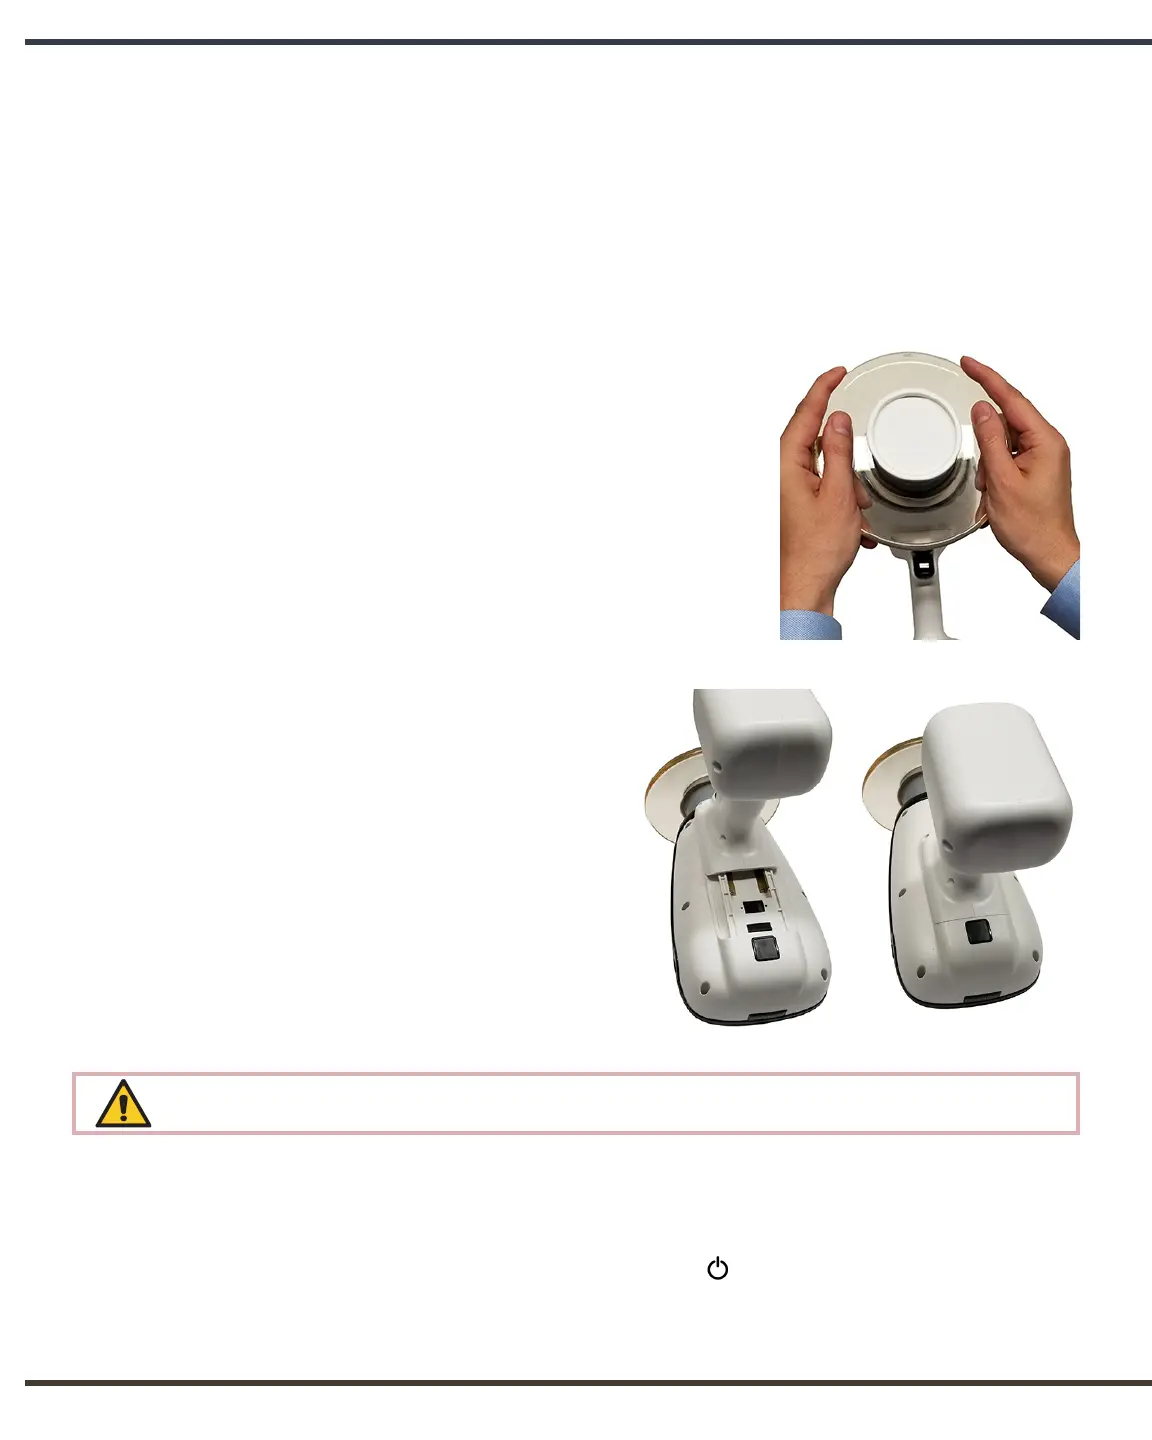
3.2 Attaching a Charged Handset
With the NOMAD Pro 2 placed bottom
up on a secure surface, properly orient and
carefully slide the charged handset onto
the base of the NOMAD Pro 2. (A properly
oriented handset should click into place
with firm pressure.)
The clicking sound ensures the locking
mechanism has secured the NOMAD Pro
2 to the handset. To verify this lock, apply
slight pressure in the release direction.
There are electric voltages present at the handset terminals. Protect the handset from
damage; do not probe with fingers or conductive objects.
3.3 Checking for Power
After locking a handset in place press the Power button.
The display panel will activate with a battery power level icon in the upper right
corner. Five bars is an indication of a fully charged handset.