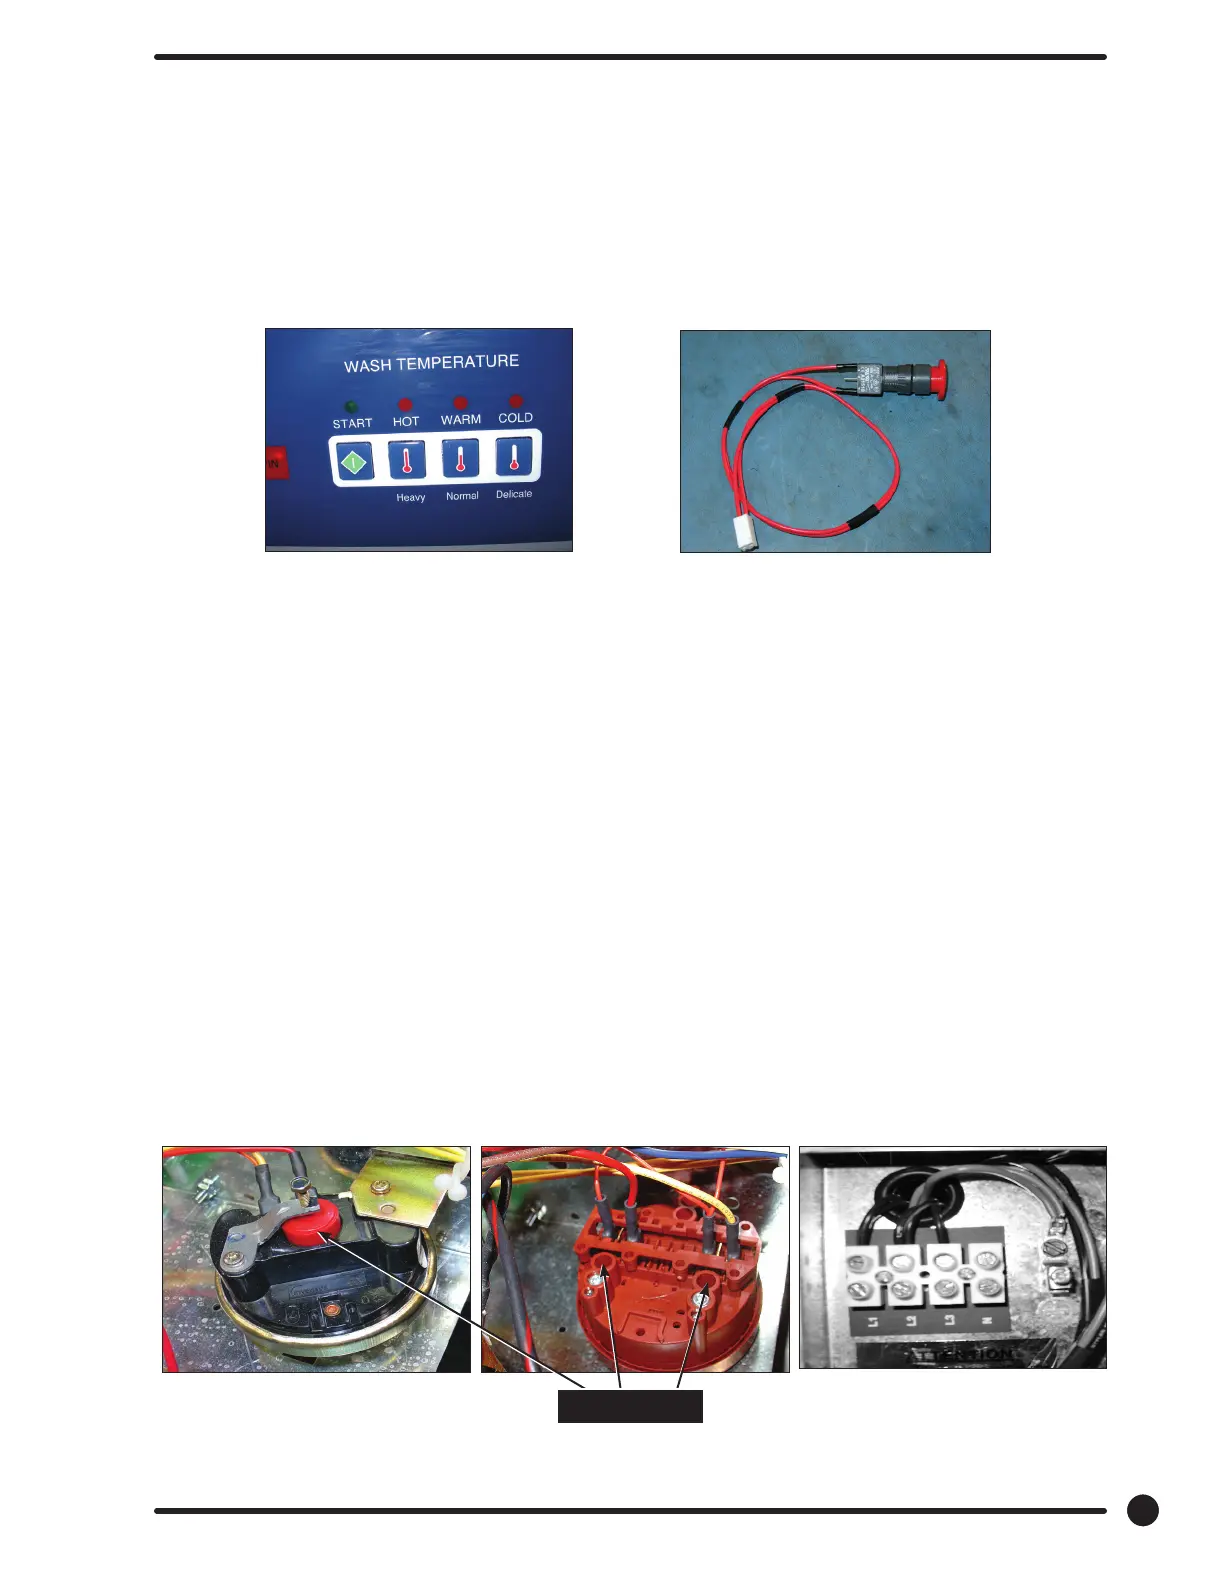
Emergency Stop Button Switch Assembly
The stop button is mounted on right side of machine. Remove the top and access the rear of button.
Remove the plastic retainer by unthreading CCW. The switch assembly will have to be removed by
pressing down on the plastic clip while pulling the switch body away from the stop button.
Pressure Switch Caution (Not recommended by Factory!)
Changing Factory preset adjustment voids all factory water usage specications.
The pressure switch sets the water level in the washer. As the water level rises, it compresses the air in
the pressure switch hose. When the washer reaches the desired water level, the compressed air in the
pressure switch hose opens the contacts in the switch, shutting o the water. When at the empty level,
the pressure switch contacts are closed allowing the machine to either spin or ll with water. The 1/4”
screw in the middle of the switch adjusts the water level. Counter clockwise will lower the water level, and
clockwise will increase the water level on the single level switch. The dual level switch can be adjusted by
turningthe torx screws as shown. Before making any adjustments of the pressure switch, drain the tub
and blow the hose clear of possible water bubbles which can cause erratic pressure switch operation.
Pressure Switch
SINGLE LEVEL DUAL LEVEL
Rear
Adjustment
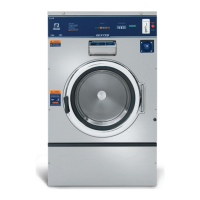
Temperature and Start
Display
Stop Button
Switch Assembly
89
Part # 8533-093-001 1/18