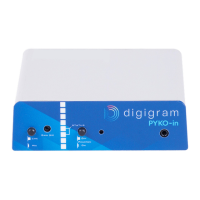
PYKO-out: Professional IP audio endpoint
4. INSTALLATION
Connecting your PYKO-out device
It is recommended to establish all connections before powering the device up.
Power supply
Before plugging the power cord, make sure it is not damaged.
Just like for any other audio system, power the individual devices up following the audio path and power
down in the opposite direction.
Do not allow anything to rest on the power cable. Keep the power cable away from where people could
trip over it.
Set-up
● Use an Ethernet cable to connect your PYKO-out to the network through its RJ45 port (labeled
‘ETH.’ on the back panel). To connect your PYKO-out directly to your computer, use a crossover
cable.
● Plug your headphones (front panel)
● Prepare a pen and a paper in order to write the IP address that will be announced on the ne
(default value set in factory = 192.168.0.100).
● Connect the power supply cable to the plug labeled ‘PWR’ on the back panel.
Audio
The pinout used on the XLRs is standard: pin 1 carries the signal ground, pin 2 carries the positive
signal (“hot”, +) and pin 3 carries the negative signal (“cold”, -).
Internal USB port
PYKO-out features a USB port for connecting a memory stick for storing audio files (.mp3) and playlists
for audio backup fo for announcements. The USB memory stick can be connected either internally (it is
then necessary to open the box) or externally on the front panel.
The USB stick has to be connected before powering the device up and connecting it to the network.
If the stick is inserted once PYKO has started, This makes PYKO restart.
8