115
Connecting a VCR to the Remote TV
• DishCOMM equipment should not be plugged into switched outlets.
• Dimmers for home lighting can interfere with DishCOMM. It is not recommended to
use dimmers on the same home electrical circuit as DishCOMM equipment.
• Avoid plugging DishCOMM equipment into GFI (Ground Fault Interrupter) outlets, as
they may interfere with network communications.
• When sharing a receiver's built-in telephone modem, the Caller ID feature must be
enabled on both receivers in order to provide the information to the receiver that is not
physically connected to the phone line. Caller ID service must be active on this line.
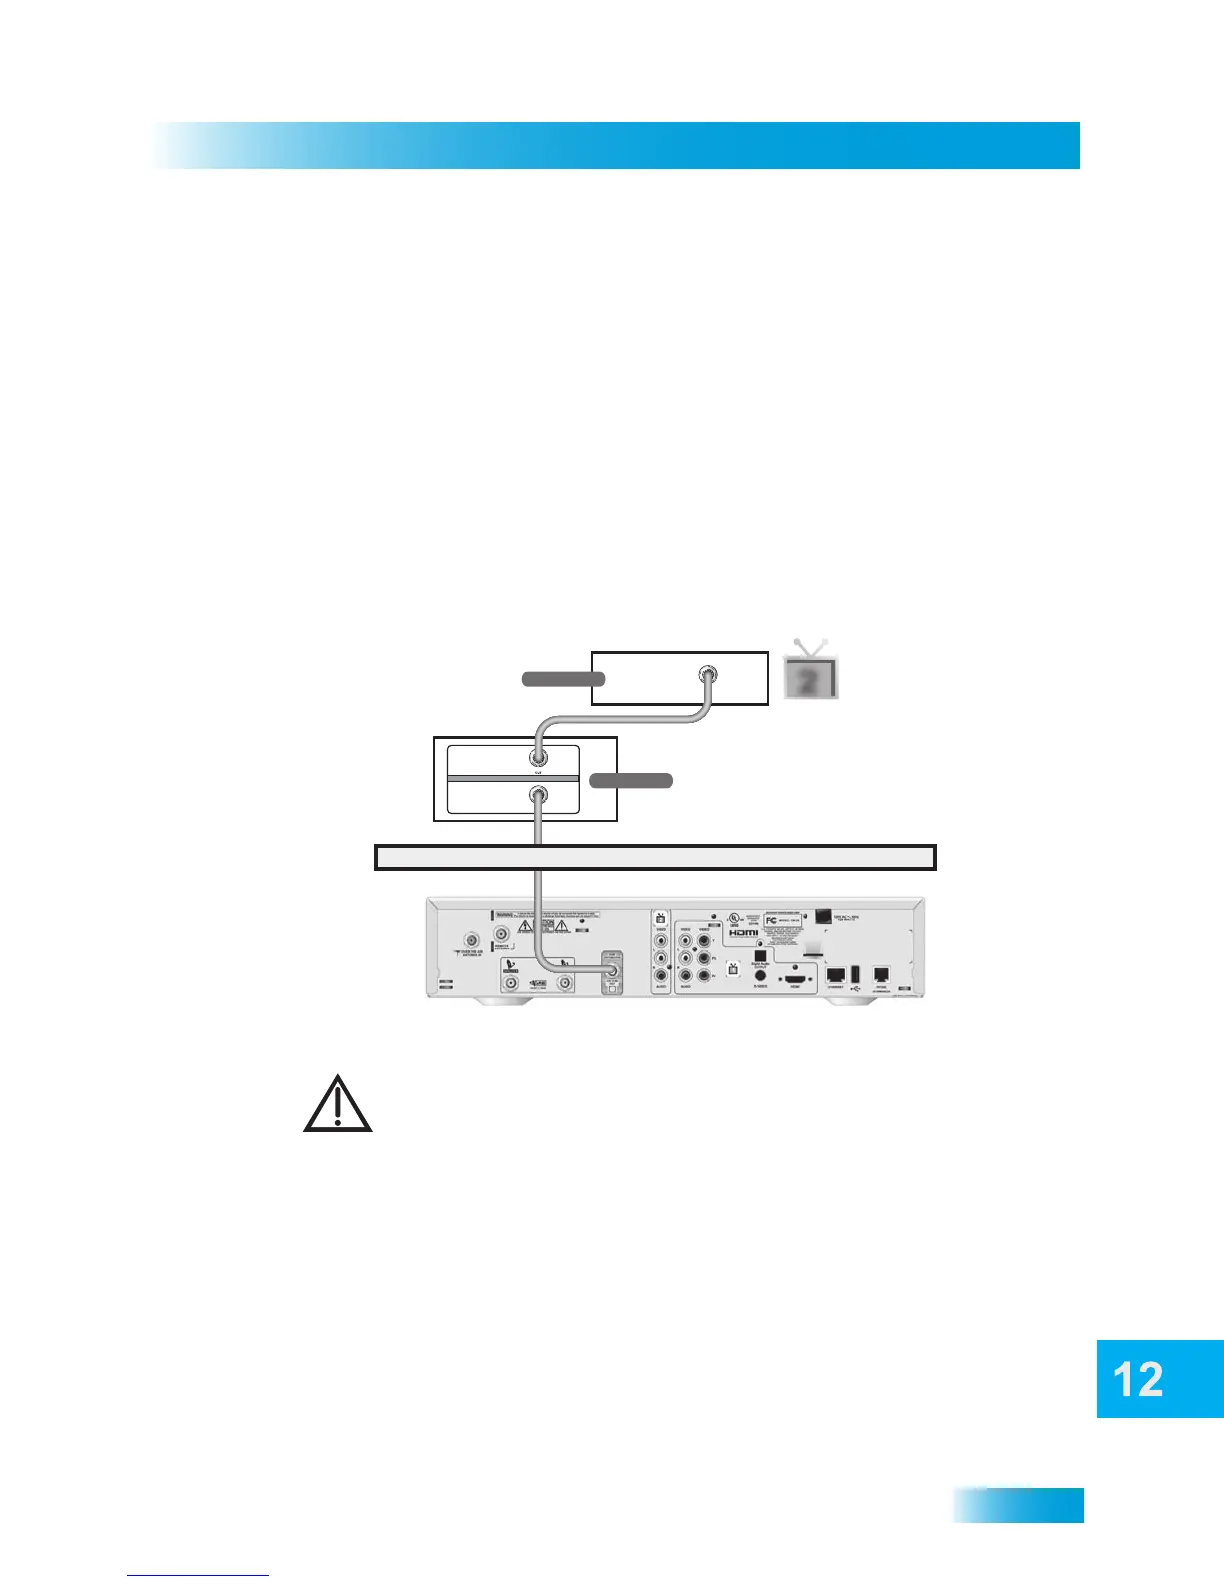
CONNECTING A VCR TO THE REMOTE TV
Below is an example of how to connect a VCR to your satellite TV system.
Note: Connecting your TV directly to the satellite receiver provides the best audio and
video quality.
1 Connect the tuner input of the remote VCR to an existing wall cable outlet using a coaxial
cable.
2 Connect a coaxial cable from the output on the VCR to the remote TV’s tuner port.
3 Plug in and turn on the remote VCR and TV.
4 Tune the remote VCR to the remote TV channel that you use to watch satellite TV
programming (for example, channel 60) as set on page 108.
2
IN
Coaxial Cable
IN
IN
OUT
VCR
Coaxial Cable
IN
Coaxial Cable
Remote TV
Wall
For this installation, always leave your VCR powered on so that the TV can
receive satellite programming. If you turn off your VCR, then your TV will not
be tuned to the correct channel to receive satellite programming.