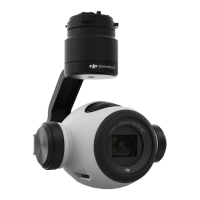
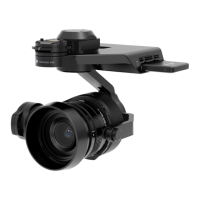
Zenmuse Z15-A7
User Manual
12
©
2015 DJI. All Rights Reserved.
This example is based on a Z15-A7 gimbal and the A2 ight control system.
1. Connect the Gimbal Port on the Lightbridge Air System to the G7 port on the Z15-A7 GCU using the
supplied HD video power cable (7-pin cable).
2. Connect the DBUS port on the Lightbridge Air System to the DBUS port (X2 port) on the A2 ight control
system. Toggle the HD/AV switch to the HD position.
3. Refer to the Lightbridge and A2 ight control system manuals to complete the connection.
To transmit gimbal and aircraft signals, connect the RC receiver to the DJI Lightbridge ground
system when connecting the GCU.
Always connect the wireless video transmission module to the GCU before powering on.
A standard HD video power cable (7-pin cable) is recommended.
Complete the other connections according to the Lightbridge user manual.
If the gimbal LED indicator blinks red continuously, please power cycle the gimbal. (Power it off,
then power it back on)
If the video signal does not transmit, check each step.
1. Connect the iOSD Mark II cable to the GCU’s G7 port.
2. Complete the other connections between the iOSD Mark II cable and the wireless video transmission
module, according to their manuals.
3. Toggle HD/AV Switch to the AV position. (See Page 7 for the location of the HD/AV Switch)
4. Power on the gimbal. If the gimbal LED indicator blinks yellow, it is functioning normally. If the LED indicator
shows a constant yellow light, the video signal is lost. Check the connections between the camera and the
HDMI video input.
Make sure to connect the wireless video transmission module and the iOSD Mark II cable to the GCU
before powering on.
C. DJI Lightbridge Air System
Video Signal Transmission

 Loading...