Zenmuse Z15-A7
User Manual
24
©
2015 DJI. All Rights Reserved.
Port Descriptions
GCU
ROLL For roll axis control
TILT For tilt axis control
PAN For pan axis control
MODE For working mode switch
SHUT For camera shutter control
AUX1 Reserved channel
AUX2 For gimbal orientation (down or forward) switch in FPV mode ; S-Bus receiver
AUX3 For video recording
G7
1. Connect to the wireless video transmission module, for transmitting AV
or HD signals.
2. Connect to DJI Lightbridge, for transmitting HD, gimbal and aircraft control
signals.
XT60 Connect to the battery (or to GIMBAL if DJI S1000+ is used)
G6 Connect to gimbal, for transmitting motor commands
G9 Connect to gimbal, for transmitting the video signal
Micro-USB port: for PC connection (Assistant conguration and rmware upgrades)
CAN-Bus port: Use CAN-Bus to connect GCU to the ight control system
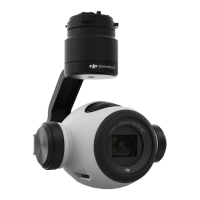
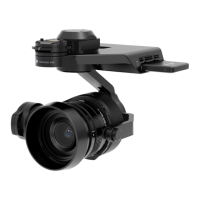
Gimbal
HDMI-HD/AV Port To camera HDMI port
Motor Command Input Port To GCU G6
10-Pin to 9-Pin Cable Port To GCU G9
Gimbal LED Indicator
Description LED Indicator
HD mode, HDMI-HD/AV module transmits normally
LED is blinking green.
HD mode, without camera HDMI video input
Green LED is constant on.
HD mode, DJI Lightbridge App video source has been set
to “HDMI/AV”
Yellow LED is constant on.
AV mode, HDMI-HD/AV module transmits normally
LED is blinking yellow.
AV mode, without camera HDMI video input
Yellow LED is constant on.
HD video transmission module and gimbal is disconnected
LED is blinking red.
Appendix

 Loading...