15
5. Press the Next Screen key to scroll to the next
screen.
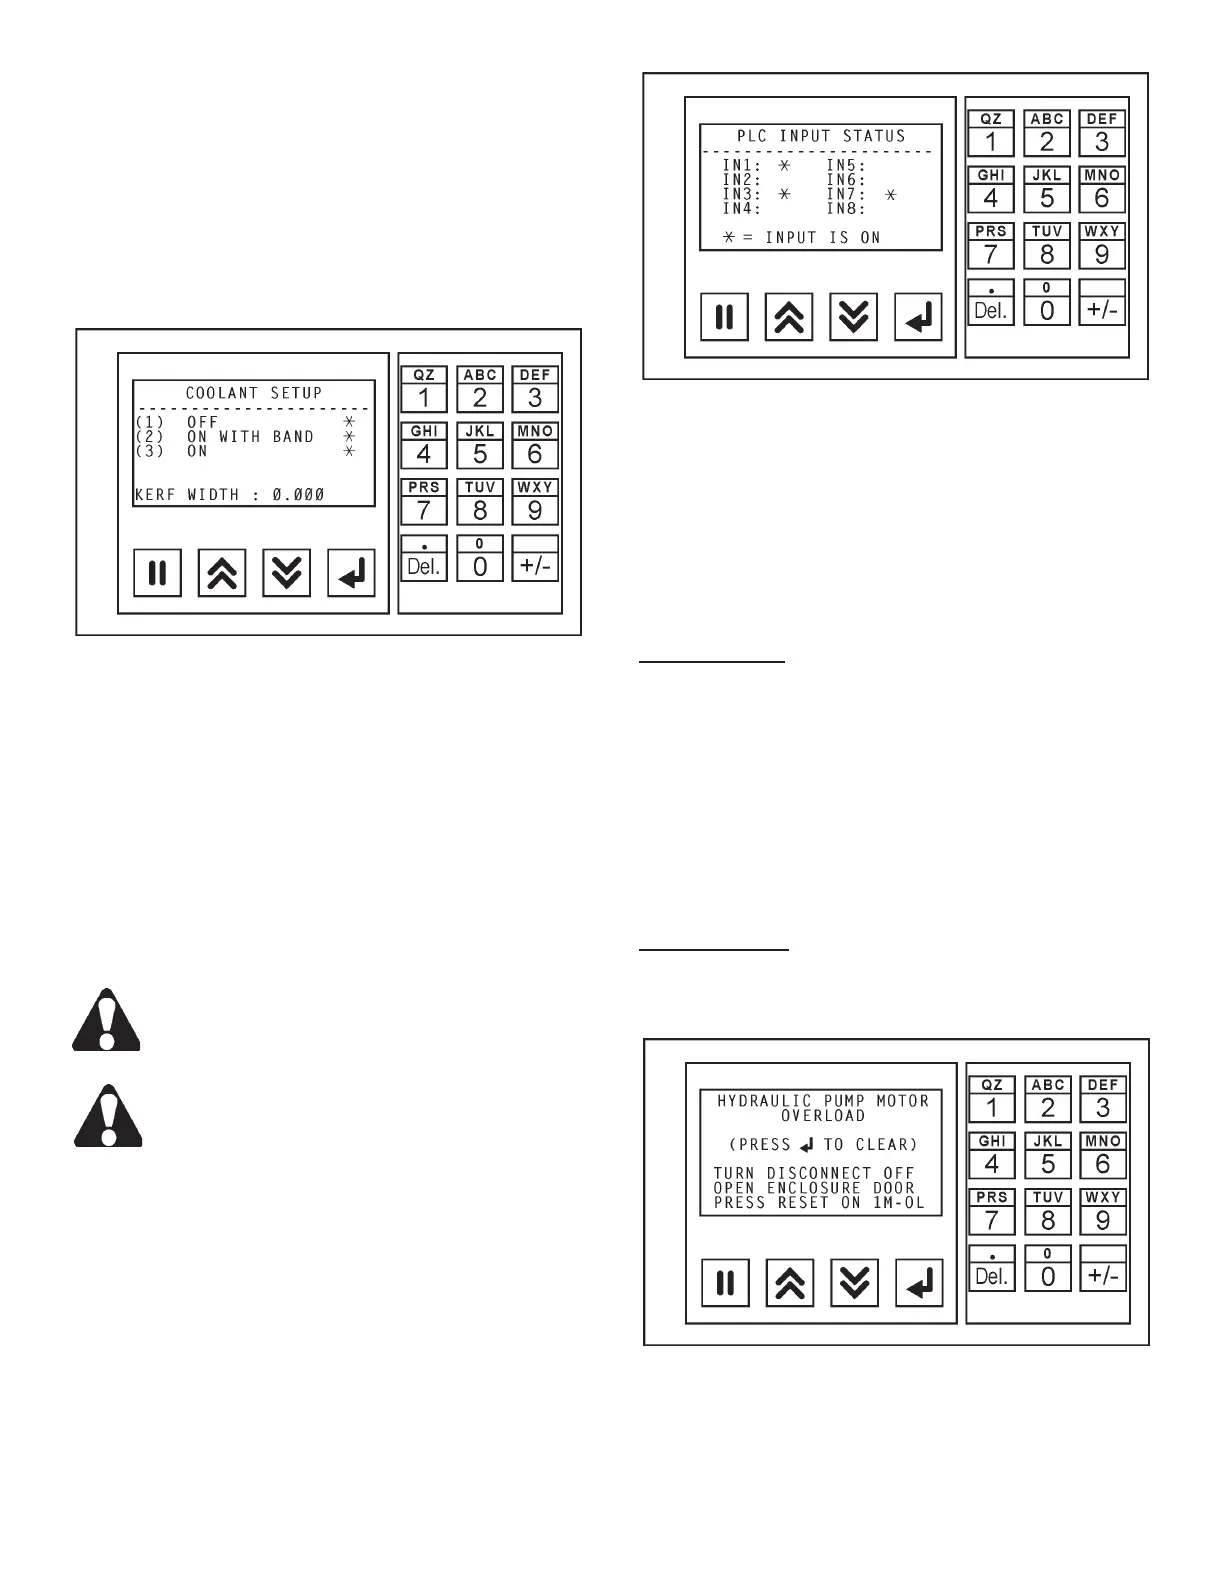
6. This screen shows the controls for COOLANT
SETUP and KERF WIDTH data entry.
• A blinling star symbol after a selection indicates that
this control is in operation.
Coolant Setup Screen.
• Press the "1" key on the numeric keypad turns
OFF the coolant ow; press the "2" key turns ON
the coolant ow with the saw band running; press
the "3" key to turns the coolant ow ON with the
saw band not running.
• To enter the kerf width of the saw band, press the
Data Entry function key. Then: (a) With the kerf
width eld highlighted, enter the kerf width of the saw
band using the numeric keypad; (b) Press the Ac-
cept function key to enter the data into memory.
Remember, changing between the INCH and
mm settings will require that any data entered
for kerf width will need to be changed also.
If you make an error in entering data, just press
the Data Enter key again, change your entry
and then press the Accept key.
7. Press the NextScreen key will bring the operator
to the rst screen.
8. Press the "9" key to see the I/O STATUS group of
sub-menu screens.
I/O Status Screen.
• A series of screens will appear which show different
input and output modules and their status. These
screens are for diagnostics and service only and
needs NO interaction from the operator.
• A blinling star symbol after a notation indicates that
this module is in operation.
Operator Notes
1. The minimum length that can be entered is 0.50
inch (12.7 mm).
2. To skip a job or jobs in a list, set the quanities to 0
(zero) on those jobs to skip.
3. The operator may want to check and review the se-
lections and data entered by scrolling "up" or "down"
through the sub-menus before proceeding.
Error Messages
1. When an error condition occurs, a message will
appear on the Display and an alarm will sound.
Typical Error Message.
2. The operator must make the proper corrections
before machine operation can continue.
MACHINE CONTROLS (Continued....)