Page 23
10-01 Dismantling the driving mechanism
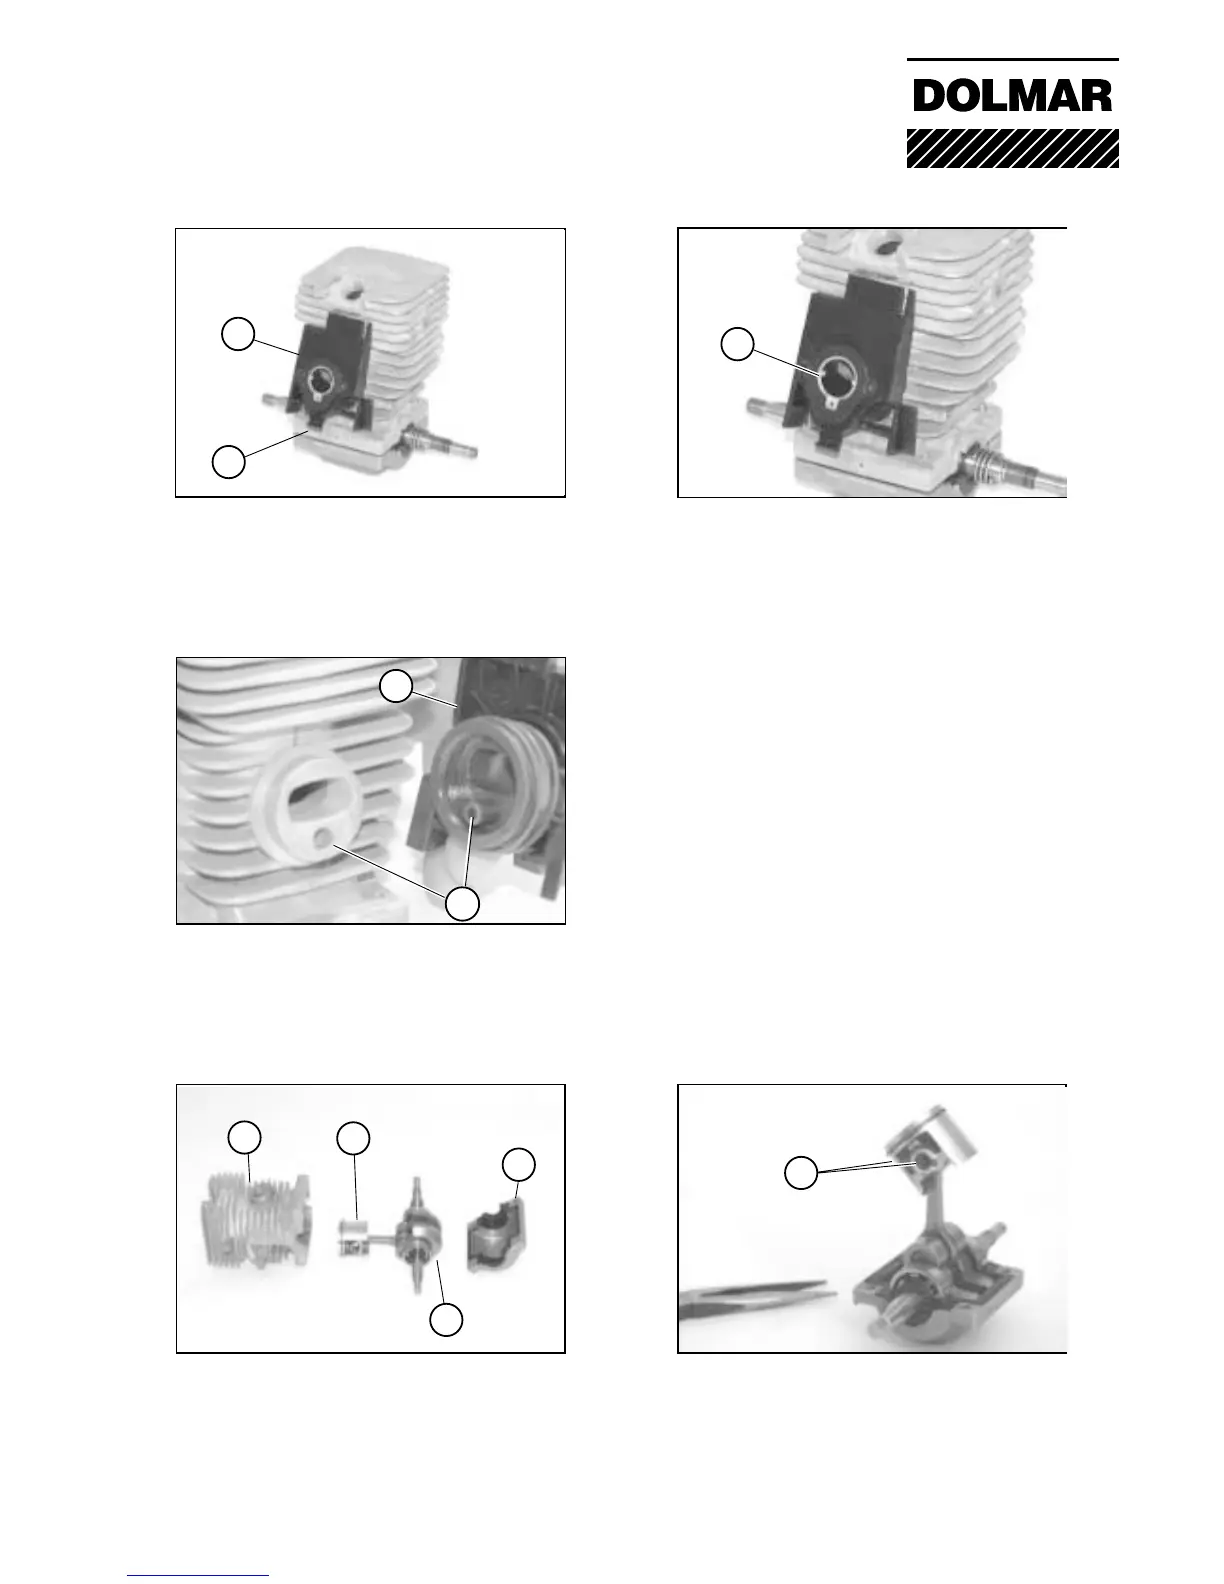
Remove carburetor clip (1) and check
pulse wire. for assembly, click the holding
clip (2) into place in the motor housing.
1
10-01 Dismantling the driving mechanism
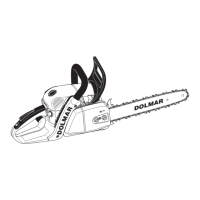
The white insert ring (3) is positioned loose
in the carburetor clip. Make sure that it
does not get lost.
3
To prevent damage during mounting, the pulse
wire (4) in the connecting muff should be lightly
greased before assembly.
For greasing, please use oil or DOLMAR sili-
cone paste, order no. 980.007.100.
Note: If you use silicone paste, make sure that
the pulse opening (3) is not blocked.
1
4
10-01 Dismantling the driving mechanism
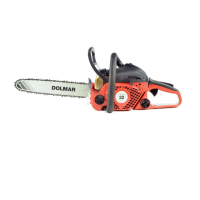
The driving mechanism consists of the
cylinder (5), piston (6), crankshaft (7) and
the crank case lower part (8).
10-01 Dismantling the driving mechanism
Remove carburetor clip (1) and check pulse
wire (4).
5
8
7
6
10-01 Dismantling the driving mechanism
The piston bolt is fixed by 2 snap rings (9).
To dismantle, remove one snap ring and
push out piston bolt.
9
2
10 Piston / cylinder