- 16 -
DISPLAY NUMBER OF LOW PRESSURE STOPS
The number the water purier stops due to low inlet pressure is
counted by the water purier.
Any low pressure stop increase the risk for pump damages and
should be avoided, and this function is a help in this work.
Follow the instructions for 1. “DISPLAY TIME IN OP-
ERATION”, point 1-6.
When all three diods for ‘purication level’ are 2.
lightened, to conrm that timer display function is
completed, click ‘calibration’ button.
Count the blinks of ‘lter I’ diod. 3.
(35 blinks indicate 35 low pressure stops.
Maximum displayed is 255. )
supply and connect again.
When the total number of low pressure stops have 4.
been displayed, the diod for ‘stop’ lights up for a
second and goes out.
Display of low pressure stops is completed.
change.
Connect the water purier to electrical and water 1.
supplies. The product starts ushing (30 seconds)
and then stops.
With the product in standby, press and hold the ‘cali-2.
bration’ button throughout points a) and b) which
takes totally 14 seconds:
diod for ‘lter II’ lights up and goes out (8 sec)a)
diod for ‘lter II’ lights up and goes out (6 sec)b)
Release the button. 3.
-
sure stops is now set to zero.
RESET FAULT INDICATION
To avoid the necessity of unplugging the water purier to over-
ride an alarm stop, a reset function is included.
This function can be used for all possible faults.
When the product is in alarm state, press and hold 1.
the ‘calibration’ button until the warning lights go
out.
Release the button, and the product will restart with 2.
normal ushing (30 seconds).
When a reset is made to over-ride a low pressure restart at-
tempt, will the product start to produce water immediately,
without ushing.
DISPLAY TIME IN OPERATION
The water purier is equipped with a counter for measuring
the total time of water production.
This is a valuable function, for example to estimate time to
next service.
Connect the water purier to electrical and water 1.
supplies. The product starts ushing (30 seconds)
and then stops.
With the product in standby, press ‘calibration’ but-2.
ton for approx 3-4 seconds and then release.
If the button is pressed too long the timer for
Immediately, press ‘calibration’ button and hold 3.
until all three diods for ‘purication level’ lights up.
Release the button. The timer display starts.4.
Count the blinks of ‘purication level I/II/III’ diods 5.
(see details below).
When the total number of hours have been dis-6.
played all three diods light up and stay on.
(If there is no blinks before all 3 diods lights up, the
total number of hours is less than 10 hours)
Timer display function is completed. 7.
This is the starting point for next function, see
“DISPLAY NUMBER OF LOW PRESSURE STOPS”.
The timer displays 1000 hours, 100 hours and 10 hours by
blinking the ‘purication level’ diods in sequence.
Example: A total operation time of 1044 hours will be dis-
played with:
1 blink ‘purication level I’TDS LED 1
0 blink ‘purication level II’
4 blinks ‘purication level III’
The last digit (4 hours) will not be displayed.
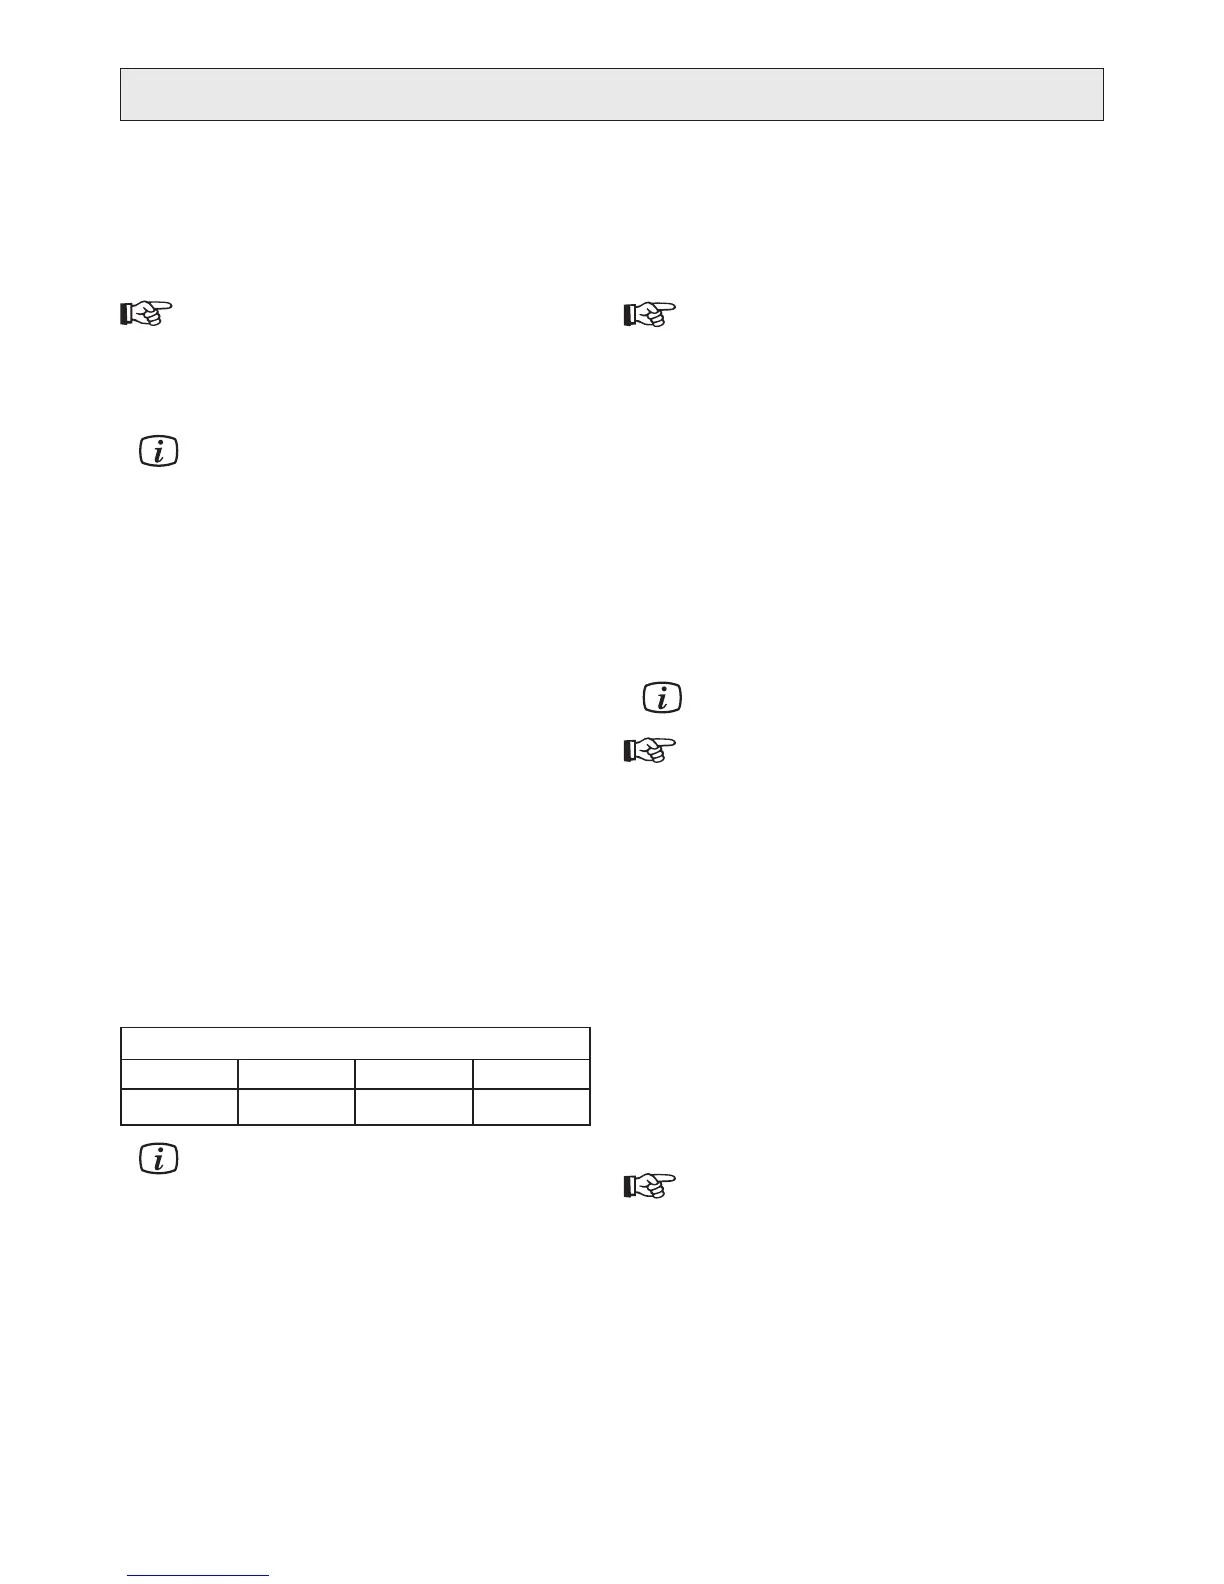
Time in operation (hours)
1000 h 100 h 10 h 1h
1 0 4 0
It is not possible to reset the counter for time in
operation.
PRODUCT DESCRIPTION