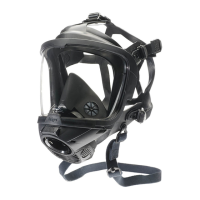
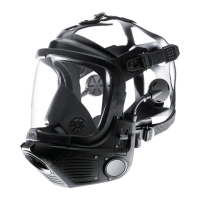
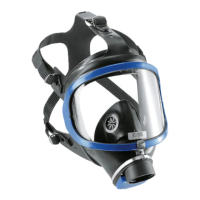
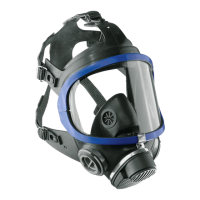
12 Use Instructions for NIOSH-approved full facepieces
Replacing O-ring and speech diaphragm
● Remove the nose cup.
● Unscrew the speech diaphragm with a socket wrench (Figure H)
and remove it.
● Perform visual inspection of speech diaphragm and O-ring and
replace if necessary.
● Insert O-ring, then screw in speech diaphragm (recommended
torque: 2.95 ±0.37 ft lb/400 ±50 Ncm).
● Attach the nose cup.
Replacing the exhalation valve
● Remove the screw from the flap.
● Open the flap.
● Pull the straight arm of the spring adapter outwards and remove
the spring adapter (Figure I).
● Remove the valve disk.
● Check if valve disk and seat are clean and undamaged. Clean or
replace if necessary.
● Insert the valve disk.
● Put the spring onto the center of the valve disk, insert the bent arm
and lock both arms of the spring adapter into place.
● Close the flap and fasten the screw.
Replacing the inhalation valve
● If fitted, open the button protector.
● Press the button on the connection piece.
● Pull the inhalation valve out of the connection piece.
● Check if valve disk and seat are clean and undamaged. Clean or
replace if necessary.
● Press the button on the connection piece and insert the inhalation
valve into the facepiece.
● If fitted, close the button protector.
Replacing the valve disks of the nose cup valves
● Check if valve disk and seat are clean and undamaged. Clean or
replace if necessary.
Replacing the connection piece
● Remove the nose cup.
● Remove the screw from the flap and take off the flap.
● Unhook the cap from the visor frame (Figure F1-1) on both sides.
● Use your thumb to press against the bottom part of the cap, then
remove the cap from the fastening noses (Figure F1-2).
● Pull the cap upwards and away from the facepiece.
● Use a screw driver to pry open the clip, then remove it.
● Pull out the old connection piece.
● Insert the new connection piece so that it is form-fitting and
aligned according to the center marking.
● Align and mount new clip: Attach the hook to ensure the tightest
possible fit of the clip. Compress the nose on the connector clamp
using type R 53 239 pliers until the facepiece connector is
securely located in the facepiece body.
● Put the cap onto the connection piece, lock it into place on the
fastening noses and hook it into the visor frame.
● Close the flap and fasten the screw.
● Attach the nose cup.
Replacing head harness or hairnet
Replace head harness or hairnet as follows:
● Pull the head harness away from the flap of the facepiece
(Figure J1-1).
● Push the clip of the head harness towards the visor (Figure J1-2).
Attach head harness or hairnet to the facepiece as follows:
● Put the clip ont
o the flap of the facepiece, then press the lock
(F
igure J2).
Make sure that the nose of the flap locks firmly into hole of the clip.
9021721_5.book Seite 12 Donnerstag, 21. Mai 2015 11:44 11