PROPRIETARY AND CONFIDENTIAL DRAFT 5 Feb 04
4 - 8
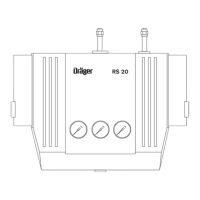
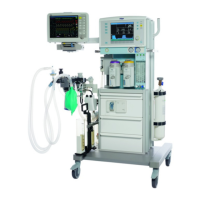
17. Mount the controller on the upper post.
18. Re-install the two #8-32 x ¾" screws that secure the
controller to the head support plate.
19. Remove and discard the two #10-32 x 3/8" Nylok
screws.
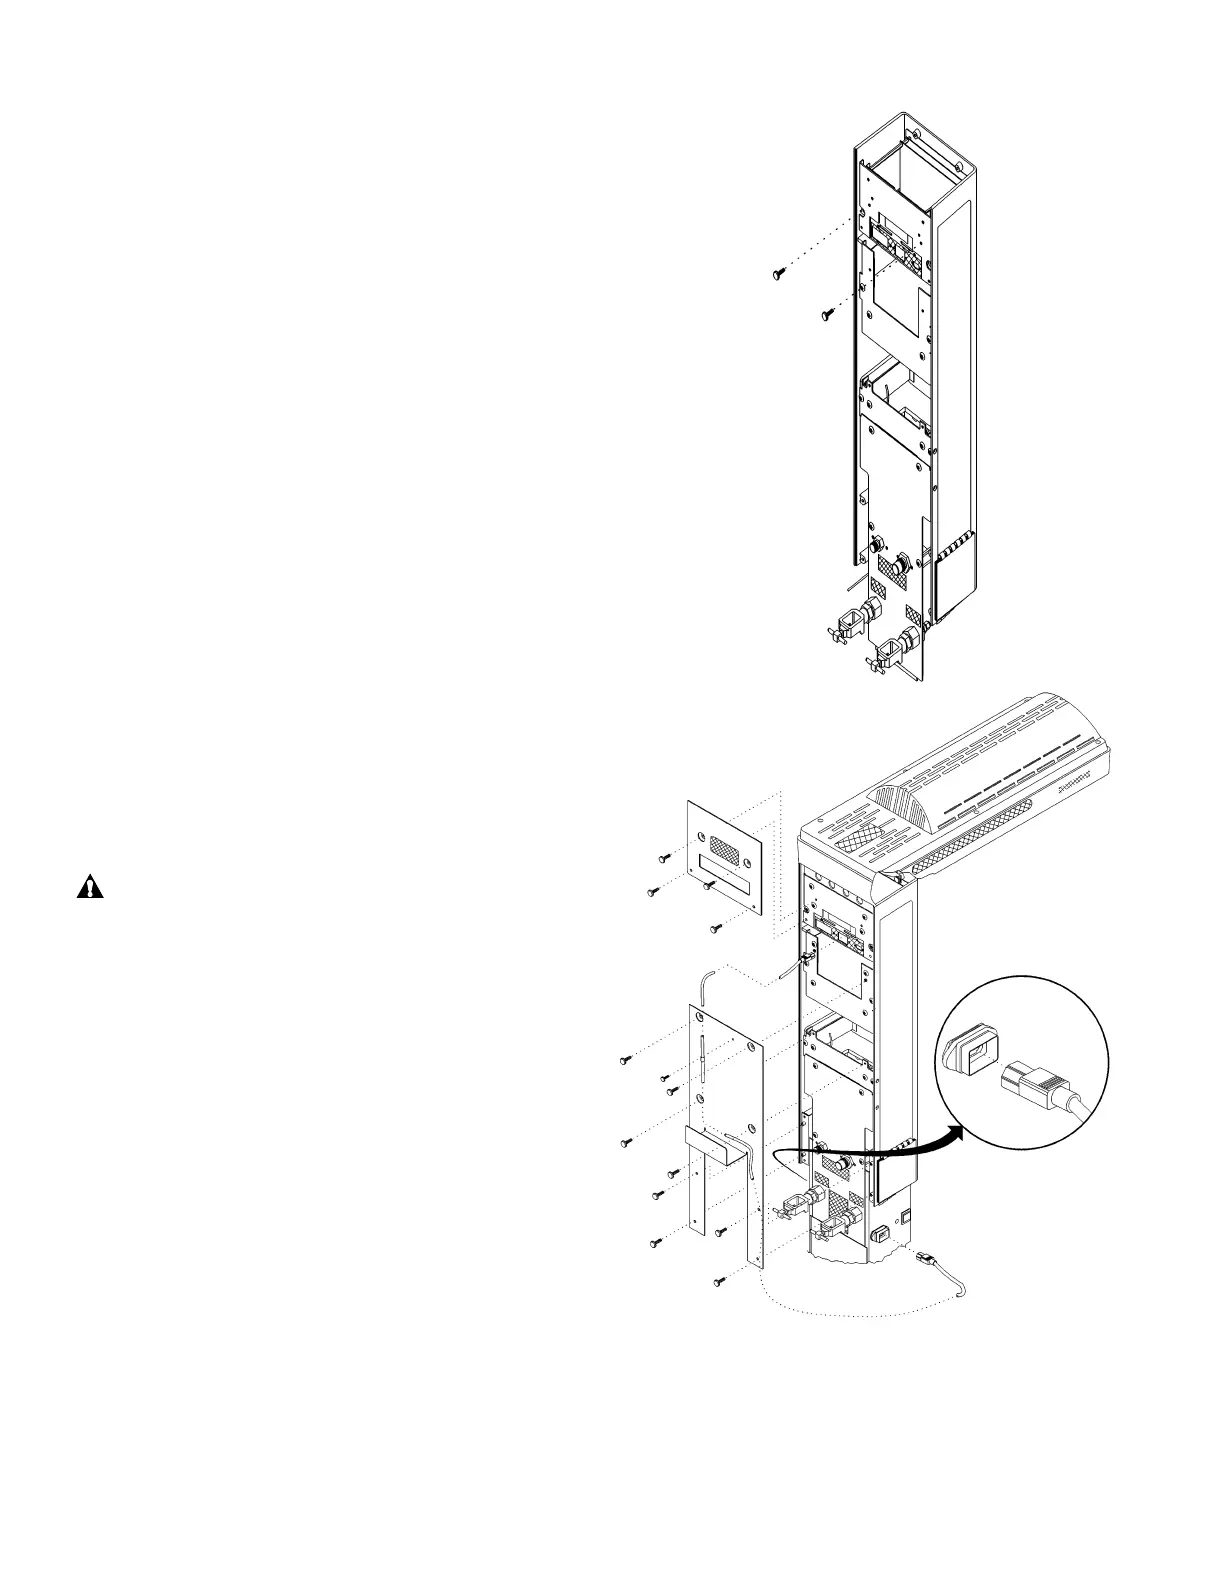
20. Secure the lower rear cover to the upper post
and the bassinet/cart assembly using the eight
#10-32 x ¾" white screws.
21. Secure the upper rear cover to the upper post
using the four #10-32 x ¾" white screws.
CAUTION:
To prevent removal of the controller
chassis with the AC power on, secure the
line cord to the back cover. Failure to do so
could result in equipment damage.
NOTE:
Use the line cord on standard fixed-height model
only. Use the 102 cm (40”) power cord on the
variable height (VHA) model only.
22. For a standard fixed-height model, perform
the following:
a. Connect the line cord to the power
connector on the rear of the controller.
b. Using the cable clamp and the #8-32 x 3/8"
screw, secure the line cord to the lower rear
cover.
Or, for a variable height (VHA) model,
perform the following: