Section 3: Configuration
4 flashes - low battery trouble
5 flashes - AC trouble
6 flashes - AUX trouble
7 flashes - bell trouble
8 flashes - TLM trouble
How to Enter Data
Conventions Used In This Manual
Brackets [] indicate numbers or symbols that must be entered on the keypad.
e.g., [*][8][Installer Code][804] requires the following key entries:
[*][8][5555][804]
[*] initiates a special command.
[5555] is the default installer code. The default installer code should be changed during initial programming of the system.
[804] indicates the particular programming section being accessed.
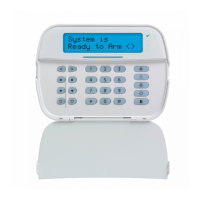
Entering Letters Manually (System Labels)
1. In Installer Programming, enter the section requiring text input.
2. Use the arrow keys [<][>] to move the cursor to a blank space or existing character.
3. Press the number key corresponding to the appropriate letter. Each number button accesses three letters and a number.
The first press of the number key displays the first letter. The second press displays the second letter, etc.
1
A, B, C, 1
2
D, E, F, 2
3
G, H, I, 3
4
J, K, L, 4
5
M, N, O, 5
6
P, Q, R, 6
7
S, T, U, 7
8
V, W, X, 8
9
Y, Z, 9,0
0
Space
4. To select lower case letters press [*]. The Select Options list opens. Scroll to “lower case” and press [*] again to select.
5. When the required letter or number is displayed use the arrow keys [<][>] to scroll to the next letter.
6. When finished, press the [*] key, use the [<][>] keys to scroll to “Save” then press [*].
7. Continue from step 2 until all labels are programmed.
For information on entering hexadecimal data, see "Programming Hex and Decimal Data" on page 59.
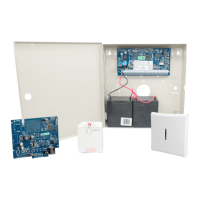
3.3 Enrollment
All optional modules and devices must be enrolled on the system. During enrollment, the electronic serial number (ESN) of
each device is identified to the control panel and zones are assigned. A wireless transceiver HSM2HOST or an RF keypad
must be enrolled first before wireless devices can be enrolled.
3.3.1 Enrolling Modules
During automatic and manual enrollment, if an attempt is made to enroll more than the maximum number of modules, an
error tone sounds and a message is displayed on LCD keypads.
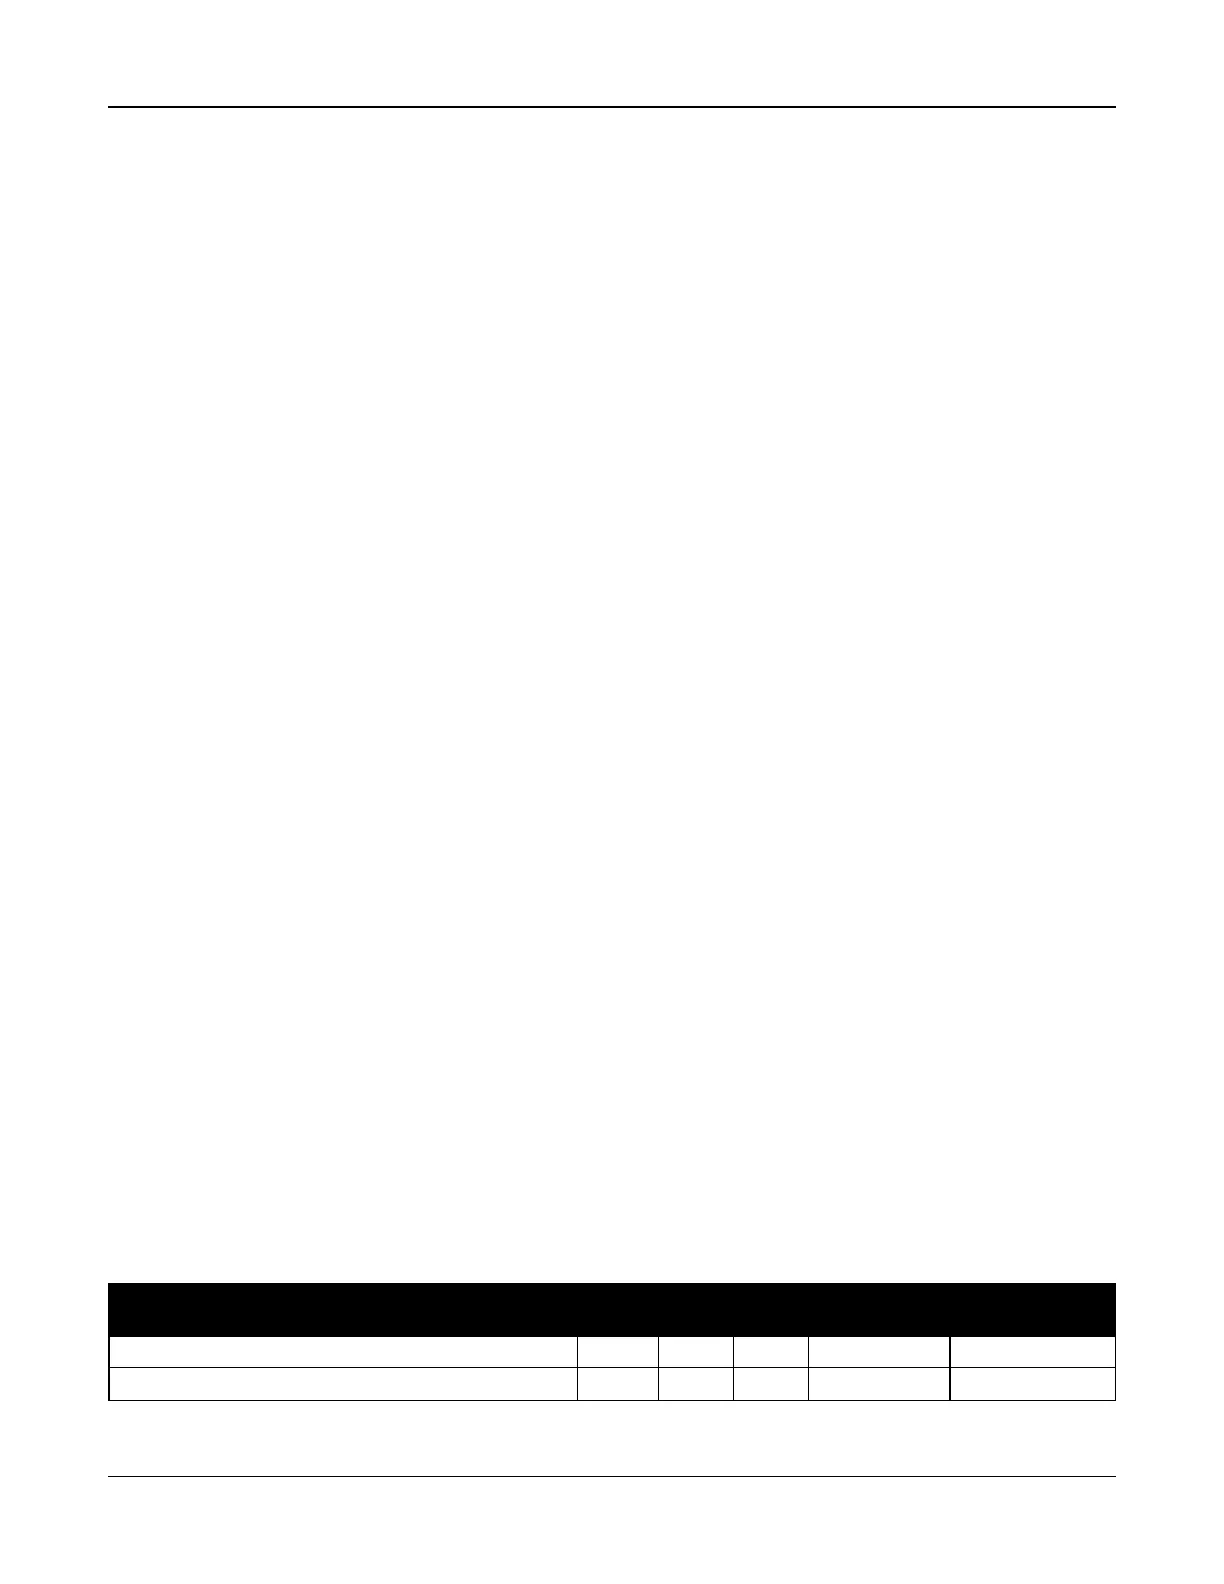
Table 3-1 Module Capacity
Module HS2016-
4
HS2016 HS2032 HS2064/
HS2064 E
HS2128/HS2128 E
HSM2108 8 Zone expander
1
1 3 7 15
HSM2208 8 Output expander
2
2 4 8 16
- 28 -