Section 3: Configuration
3.1 Basic Configuration Steps
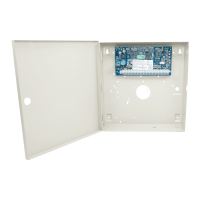
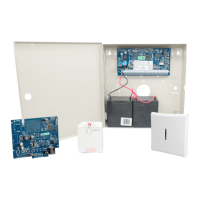
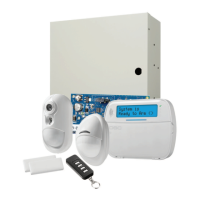
Once basic installation of the alarm panel is complete, the following general configuration options should be set:
l create partitions, See "Working with Partitions " on page 30
l assign keypads to partitions, see "Keypad Partition Setup " on page 31
l assign sirens to partitions, see "Bell/Siren Operation " on page 30
l create global zones, see "Global Zones " on page 31
l set up partition account codes, see "Communications" on page 32
l set up partition timers, see "System Times" on page 69
l enroll wireless modules and devices, see "Enrolling Modules" on page 28
l assign zone types, see "[001] Zone Types" on page 64, and attributes, see "[002] Zone Attributes" on page 68
l create zone labels, see "Adding Labels" on page 61
l add users, see "Assign Access Codes" on page 46
l set up the alternate communicator if equipped, see "Alternate Communicator Setup" on page 33
l program phone numbers, see "System Communications" on page 106
l set up call directions for the central monitoring station, see "System Communications" on page 106
l set up system timers, see "System Times" on page 69
l configure reporting codes, see "Reporting" on page 101
l test the system, see "Testing the System" on page 34
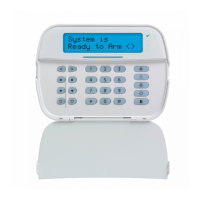
3.2 Using the Keypad
The PowerSeries Neo alarm panel is compatible with several different keypad types (see "Compatible Devices" on page 8);
However, all keypads have certain basic functionality in common.
3.2.1 Special Keys
Scroll symbols < > on keypads with LCD displays indicate that options can be viewed by pressing the scroll keys.
These keys can also be used to position the cursor.
The [*] key is similar in function to the “Enter” key on a personal computer. It is generally used to accept the existing pro-
gramming option. It is also the first key entry for [*] commands and can be used to enter the letters A-F when in Installer Pro-
gramming mode.
The [#] key is similar in function to the “ESC” (escape) key on a personal computer. It is generally used to exit the current pro-
gramming section or to return to the previous one.
3.2.2 LED Indicators
Keypads have the following status lights that provide visual indication of basic system status:
Ready: Panel is ready to be armed.
Armed: Panel is armed.
Trouble: System trouble. Enter [*][2] to view troubles.
AC Power: ON=AC present. OFF=AC absent.
Panel Status LED Operation
The red status LED, located on the alarm controller PCB, indicates the following:
l Power up sequence – flashes rapidly until the end of the power-up sequence.
l Firmware indication – flashes during the firmware upgrade process. If the firmware upgrade fails, the LED flashes rap-
idly.
l Trouble indication – Flashes when troubles are present. Troubles are indicated according to the following priority:
1 flash - no keypads enrolled
2 flashes - module supervision trouble
3 flashes - bus low voltage