SECTION 2 - MAINTENANCE & ADJUSTMENTS
CUTTING TABLE SQUARENESS
The cutting table must be properly aligned to the
cutting line. If there is any misalignment adjust the
table accordingly.
TESTING FOR CUTTING TABLE SQUARENESS
1. Check the cutting table alignment by any of the
following methods:
a) Check the cutting stick for a notch that has
been cut by the blade. If the notch is not parallel
to the edge of the stick the table is not aligned
properly.
b) Place a small block under the clamp. Lower
the clamp and knife using the blade change
switch. Use a square to check the alignment
of the blade to the sides of the cutting table.
CUTTING TABLE ALIGNMENT
1. Determine what correction is necessary (see
“Testing for Cutting Table squareness”).
2. Remove the front and rear covers (four Allen
screws each).
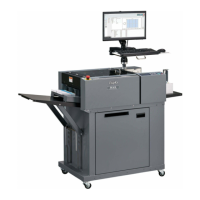
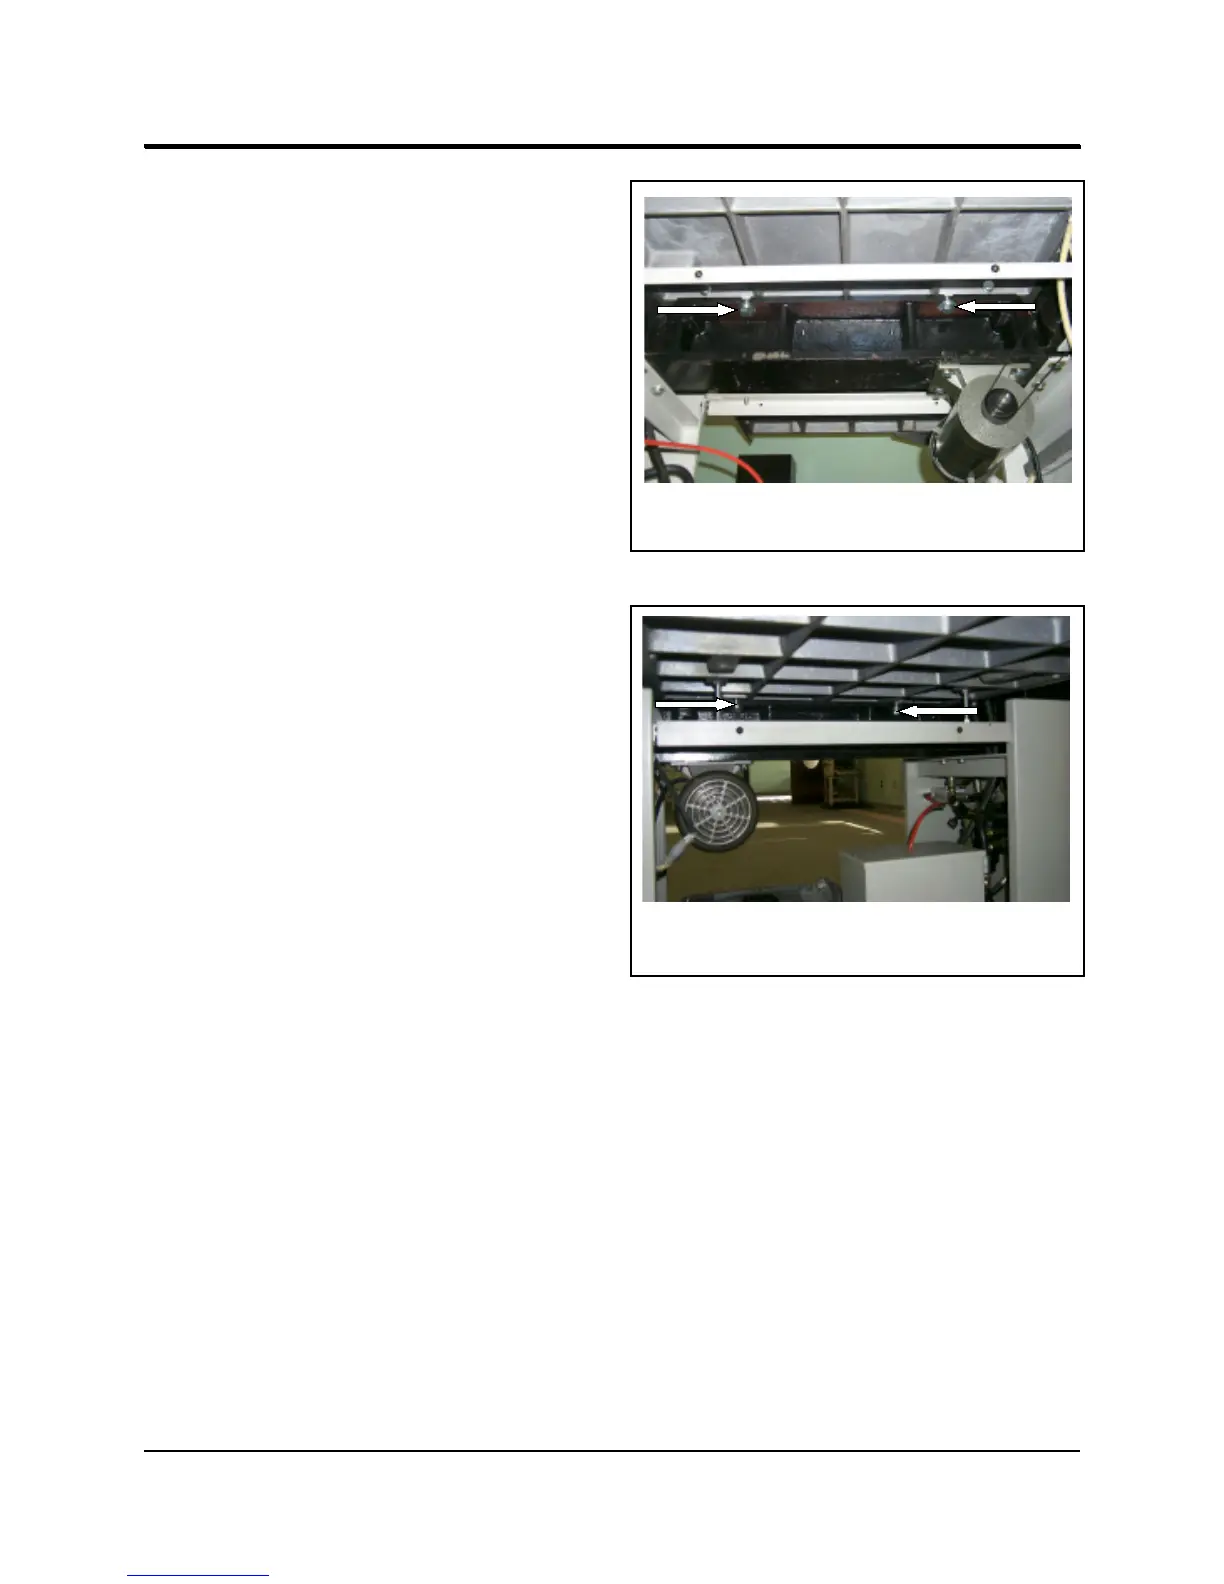
3. Loosen, but do not remove, the two front table
bolts and the left rear bolt (19mm) that secure
the cutting table to the cutter frame, see
Figures
1 and 2
.
4. Loosen the lock nut on the table adjusting bolt. It
is located underneath the table on the front left
side.
5. Adjust the table adjusting bolt until the table is
square.
6. Test for squareness. When satisfactory, lock the
bolts from steps 2 and 3.
Figure 1 - Cutting Table Bolts
Front View (front cover removed)
Figure 2 - Cutting Table Bolts
Rear View (rear cover removed)
660P Cutter
2 - 4
https://www.supplychimp.com
 Loading...