18
DYMO LabelWriter Wireless
User Guide
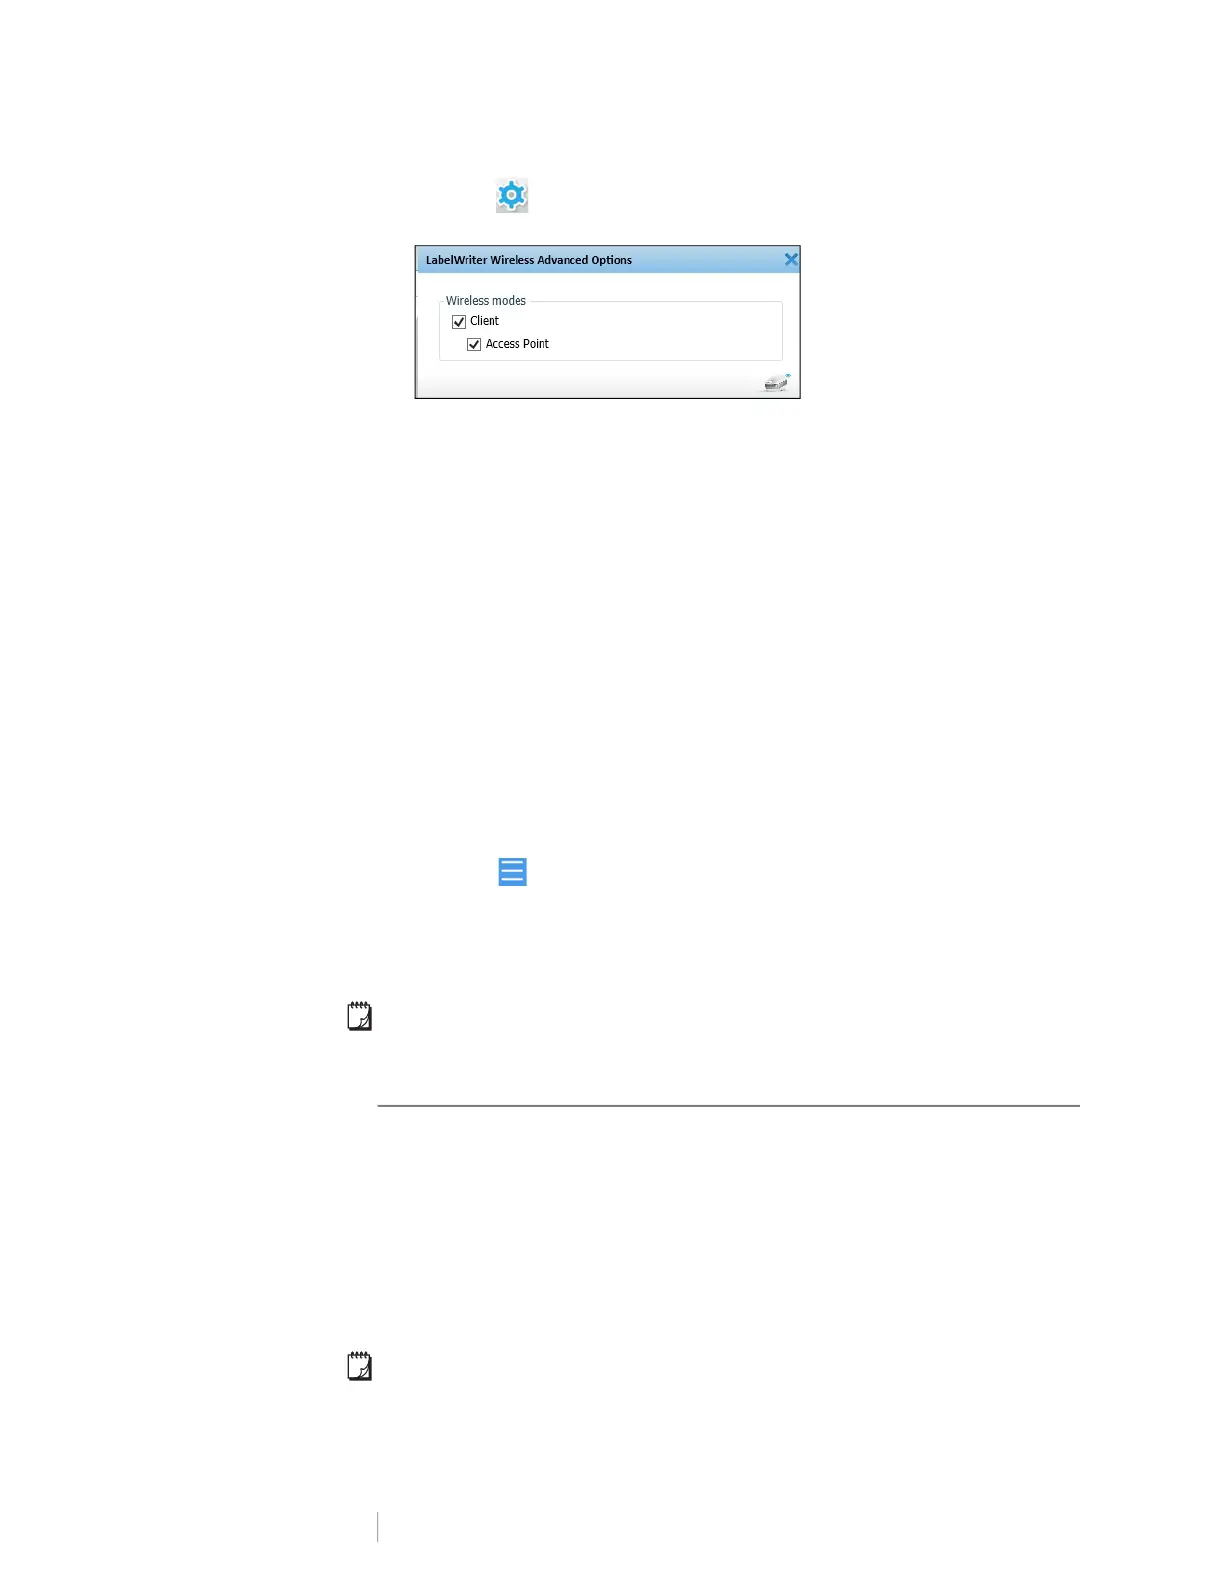
3 Click the icon next to the printer.
The LabelWriter Wireless Advanced options dialog box appears.
4 Select Access Point and click X to close the dialog box.
The printer is now in access point mode and can be accessed wirelessly from your
computer.
To configure the printer’s access point
1 Connect to the wireless network named DYMOLWWxxxxxx. This unique
printer name can be found on the bottom of the printer. However, the name
may have been changed during initial setup.
Your computer has now dropped the connection to your wireless network
and established a wireless connection to the printer.
2 In your web browser, enter the following URL: http://192.168.58.1or the url
assigned during initial setup.
The Web Configuration utility will open in your browser displaying the login
page.
3 Log in to the LabelWriter Web Configuration utility using the following:
• Username: admin
• Password: admin (or a custom password that you have assigned)
4 From the menu, click IP Configuration>Access Point.
The Access Point page displays.
5 Select the security method, enter the authentication details, and click Save.
If you are currently connected to the printer in access point mode, the connection
will be lost.
Configuring the printer’s access point does not turn on the access point. You can
only turn on the access point through DYMO Label Software.
Connecting the Printer to a Different Network
When moving the printer to a new wireless network, you will need to connect the
printer to that new network. You can do this in several ways:
Using the WPS button. See Connecting the Printer using WPS on page 12.
Resetting the printer to factory default settings by pressing the RESET button
on the back of the printer and then using the Quick Setup wizard. See
Connecting the Printer using the Quick Setup Wizard on page 12.
From your computer, connecting to the printer in access point mode and
using the Web Configuration utility on the printer. See the instructions below.
You will need to connect the printer to the new network each time you move the
printer. The printer does not ‘remember’ networks it was previously connected to.